
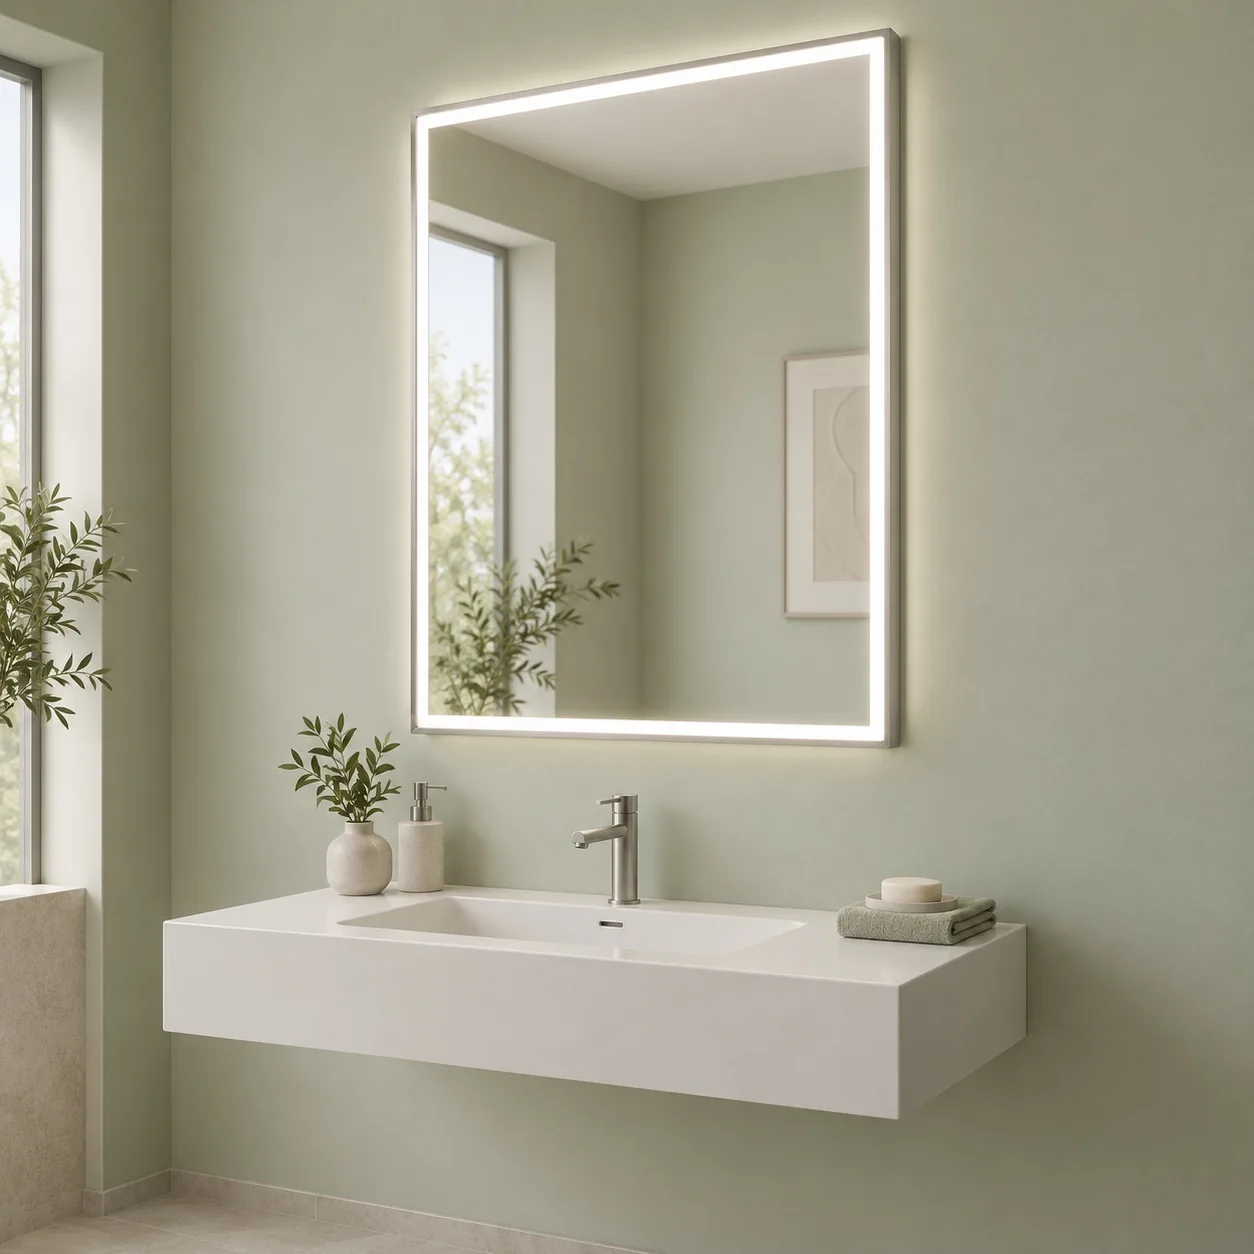
LED wall mirrors
Diffused frontlight, backlight or combined light for patient and visitor-facing spaces.
- REVIEW
- CCT, dimming, controls, demister and power configuration.
- SUITED TO
- Patient ensuites, clinics and selected public washrooms.
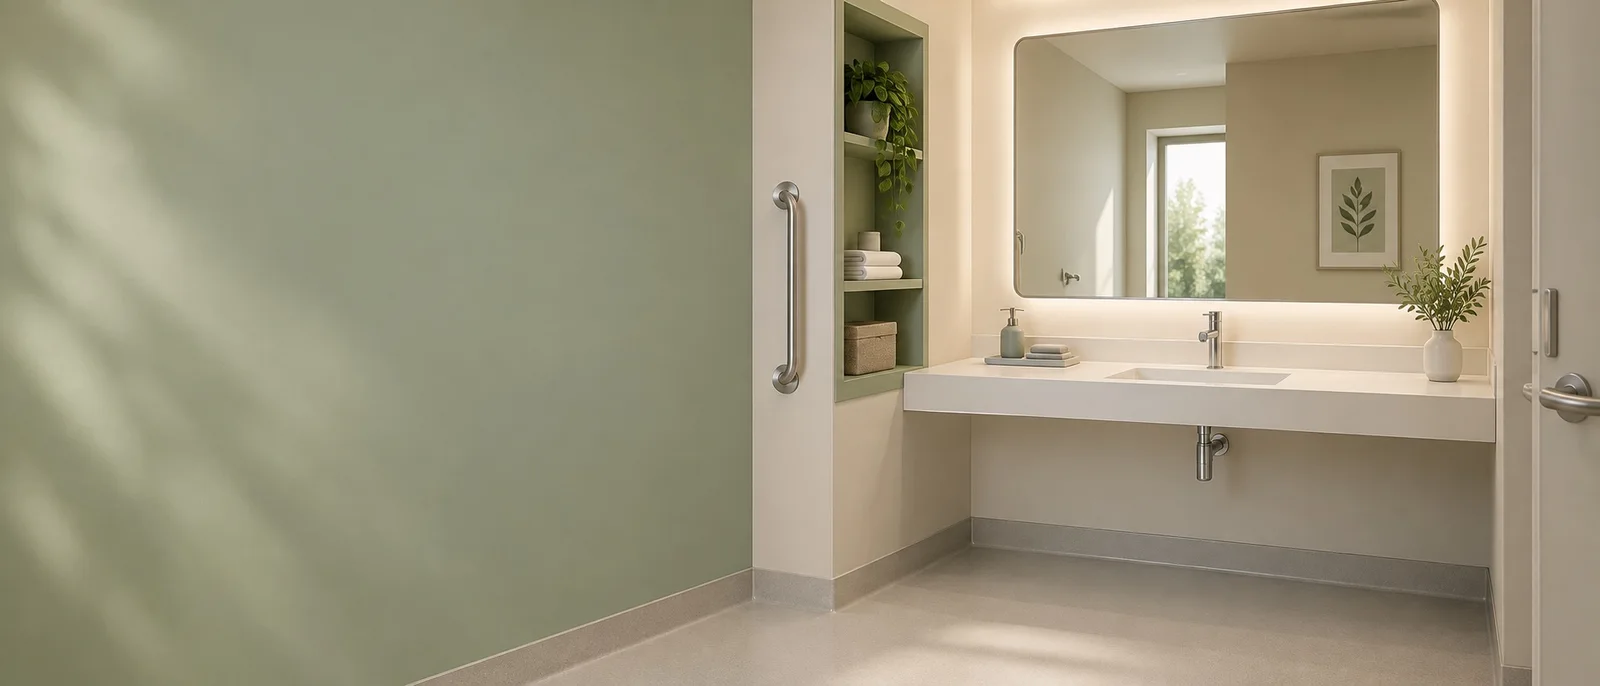
APPLICATIONS / HEALTHCARE
Custom LED, framed and bathroom mirror options for hospitals and clinics. Compare room requirements, prepare your specification and request model-specific drawings for project supply.
ONE FACILITY. A COHERENT MIRROR PROGRAM.
A patient bathroom needs comfortable visibility. An accessible washroom needs drawing-led placement. A public area needs practical cleaning and secure installation.
Use this page to compare healthcare mirror configurations and prepare an OEM/ODM inquiry. The selected construction, finish, electrical options and installation details need to be agreed for each project.
Compare specification priorities ↗FOUR MIRROR FAMILIES
Compare four product families for hospital bathrooms and clinical support spaces. Select a direction, then confirm the actual model, dimensions and supporting documents with your quotation.
Diffused frontlight, backlight or combined light for patient and visitor-facing spaces.
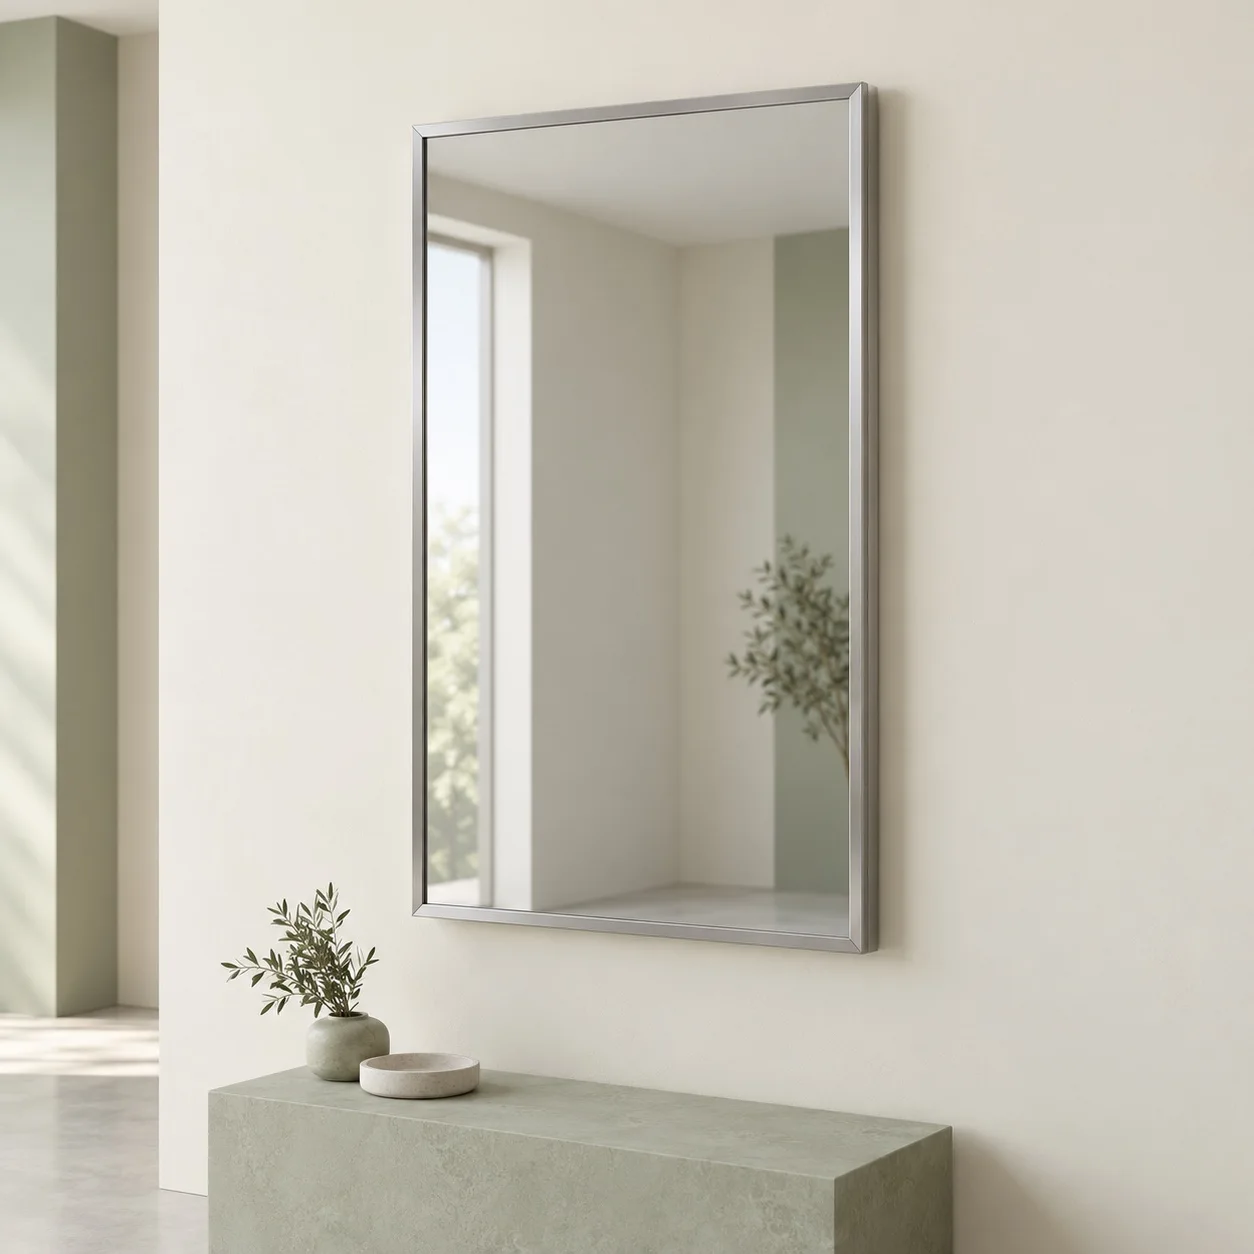
A defined edge and finish for coordinated interiors and repeated schedules.
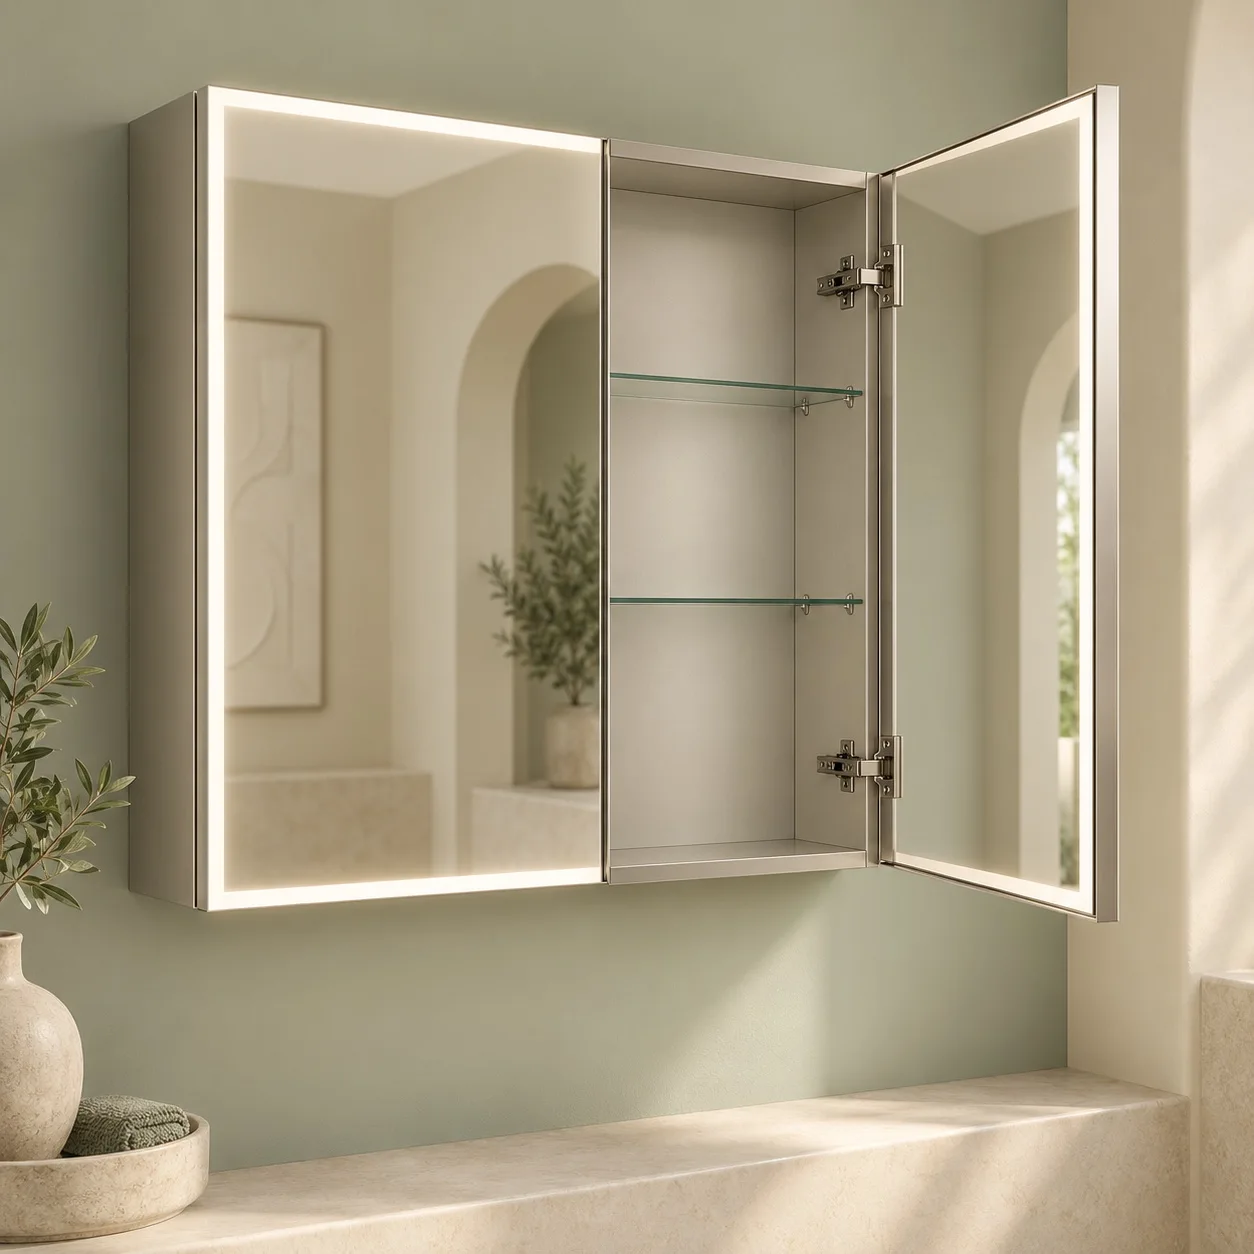
Integrated reflection and storage where the room brief permits a cabinet.
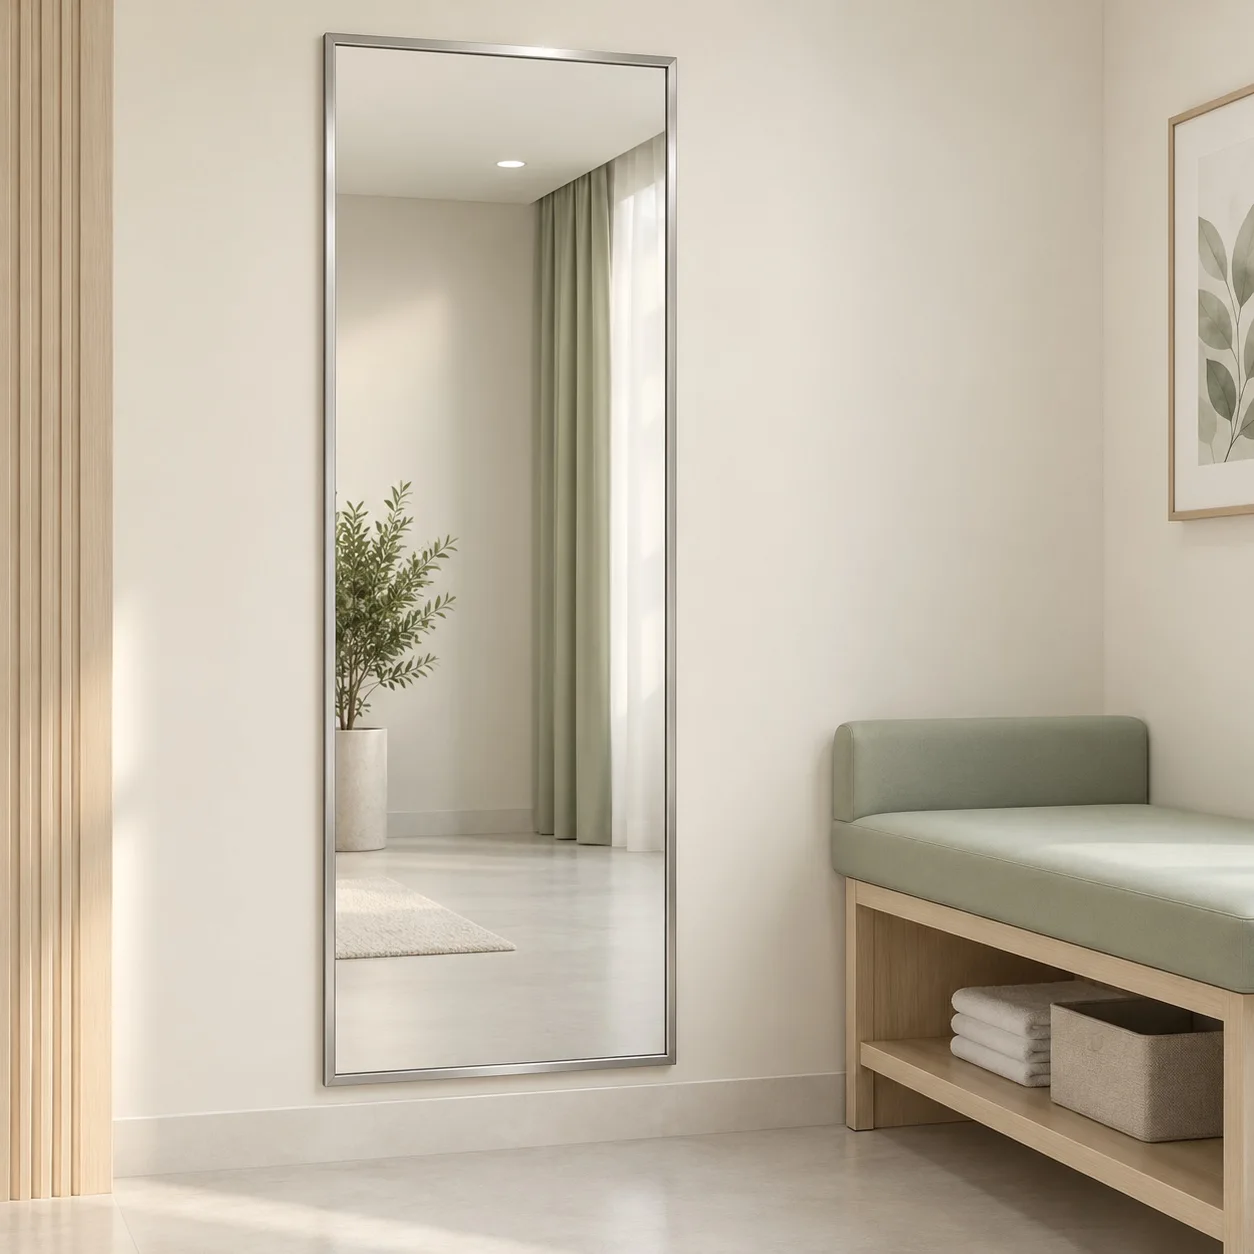
Wall-mounted formats for rehabilitation, changing and selected patient spaces.
MAKE THE TRADE-OFF VISIBLE
A frame, integrated light and storage solve different problems. Compare the room requirements before adding features to every unit.
| If the room needs… | Direction to review | The decision to resolve |
|---|---|---|
| Reflection with lighting already provided elsewhere | Unlit framed or frameless mirror | Check the reflection in the planned room lighting. An unlit mirror avoids a mirror power connection, but still needs an agreed edge, backing and fixing detail. |
| Light integrated around the reflection | Frontlit or combined-light mirror | Review a sample with the room lighting and intended controls. Do not select by the appearance of the illuminated border alone. |
| A coordinated decorative perimeter | Framed mirror, with or without light | Approve the actual profile and finish sample, including corner details and how the frame meets the wall. A finish name alone is not an approval reference. |
| Reflection and permitted storage in one position | Surface-mounted or recessed cabinet | Confirm what will be stored, who can access it, door clearance and wall depth. A bathroom mirror cabinet is not automatically suitable for clinical or medication storage. |
| A wider view for dressing or room activities | Full-length or larger wall mirror | Define the viewing position, panel arrangement, handling route and fixing design. Dimensions should follow the use and approved elevation, not just the available wall. |
A separate review for specialized areas. A general healthcare application concept does not establish suitability for behavioral-health, secure, high-impact or other specially controlled spaces. Provide the room risk assessment and exact performance requirements before product selection; suitability and supporting evidence remain to be confirmed.
HEALTHCARE MIRROR SPECIFICATIONS
Use these four configuration paths to prepare a hospital or clinic mirror schedule. They are product families, not stocked model numbers or certified assemblies.
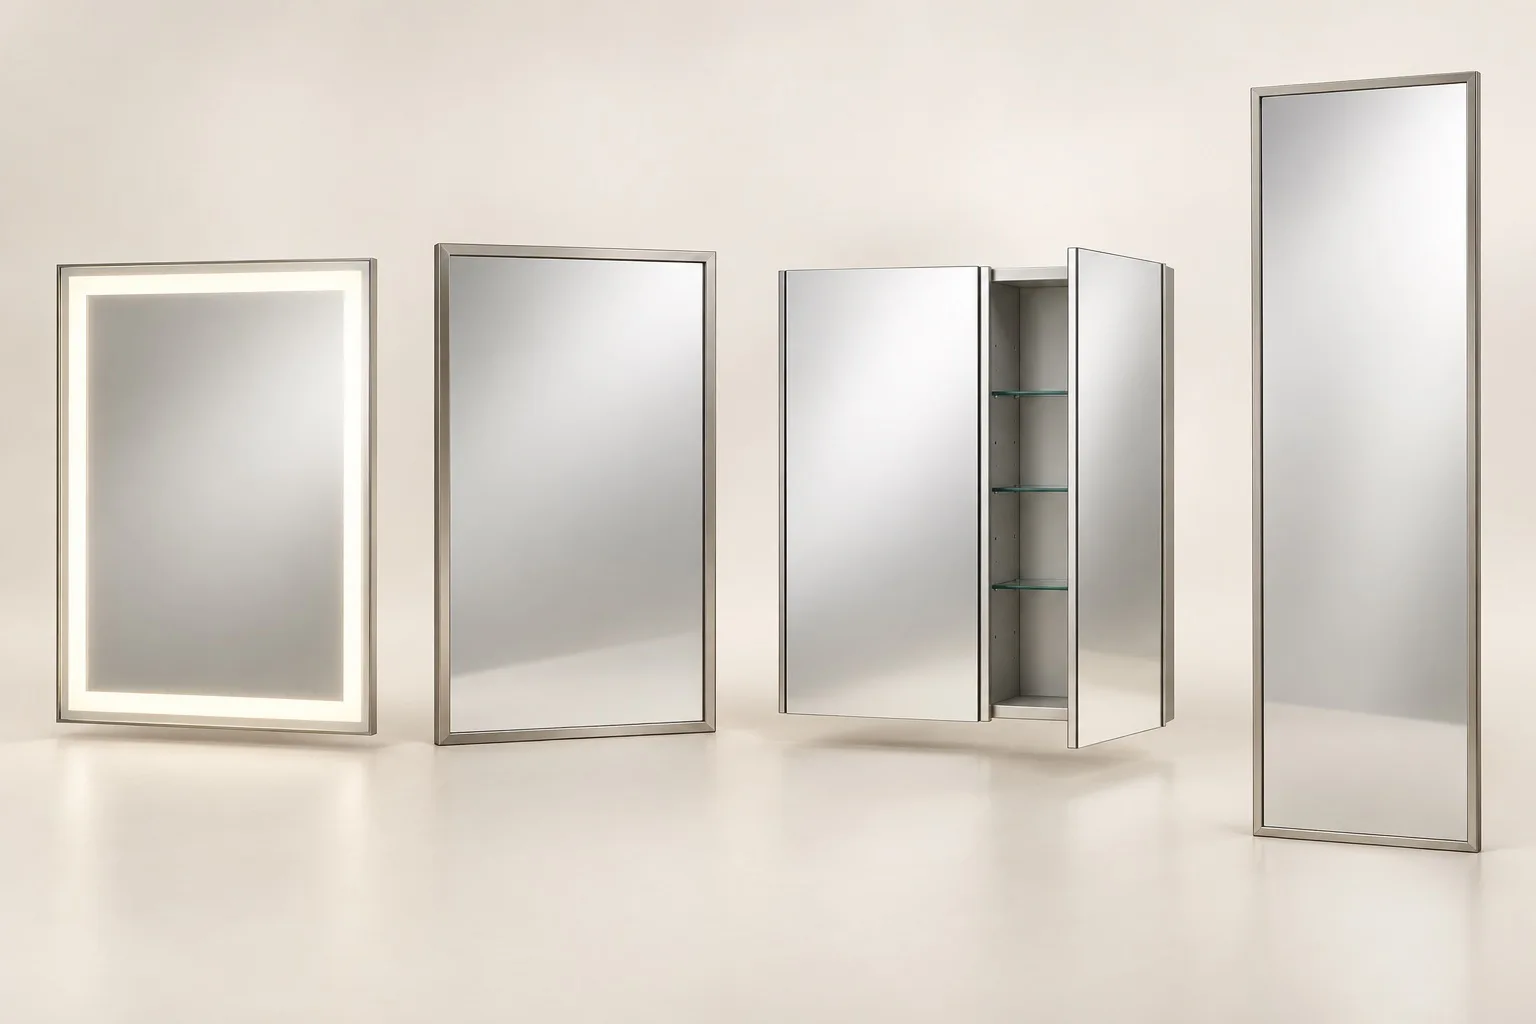
| Configuration | Useful starting point | Resolve before selection | Request with quotation |
|---|---|---|---|
| LED wall mirror | Patient ensuite or visitor washroom needing integrated facial lighting. | Overall size; illuminated versus reflective area; supply voltage; CCT; CRI; wattage; control sequence; driver compatibility. | Dimensioned elevation, electrical data and applicable model-specific reports. |
| Unlit framed mirror | Clinic or staff space where room lighting already provides the required visibility. | Glass specification; frame material and finish; corner detail; backing; fixing; wall projection. | Frame/edge detail, finish sample reference and mounting drawing. |
| Mirror cabinet | Staff or support room where the brief explicitly permits storage. | Body size versus front size; recess; door swing; shelf arrangement; access; electrical functions if specified. | Plan, elevation and section identifying cabinet body, opening and front projection. |
| Full-length mirror | Changing or rehabilitation space with an agreed viewing area. | Reflective height; panel size; edge protection; backing; wall support; impact exposure. | Installed elevation and fixing proposal for the stated wall construction. |
Dimensions, glass thickness, weight, IP rating, electrical certification, warranty, minimum quantity and lead time must be confirmed for the quoted model and configuration. No universal value is implied by this comparison.
GENERAL HEALTHCARE SPACES
For ordinary hospital bathrooms, outpatient clinics and staff facilities, begin with the reflection, cleaning routine, user position and installation interfaces. Include the facility’s own requirements in the brief.
BEHAVIORAL HEALTH / HIGH-RISK AREAS
The concepts on this page do not establish ligature resistance, vandal resistance or impact performance. These terms are not interchangeable. A special-risk room needs a project risk assessment and a separately verified assembly with evidence matching its materials and fixing system.
Discuss a special-risk brief ↗FROM PRODUCT FAMILY TO APPROVED MODEL
Choose a family above, then ask for a named model or drawing reference. A room rendering is not a specification, and a report for one configuration does not cover every size or option.
Editable schedule, submittal checklist and coordination diagrams. Use them to organize requirements; they are not certified product data.
Open the resource library ↗Ask for the proposed reference, revision, dimensions, weight, materials, mounting and applicable reports. File availability and scope must be confirmed.
Mark voltage, wattage and driver data N/A only for an unpowered mirror. For powered assemblies, leave unknown values open until verified.
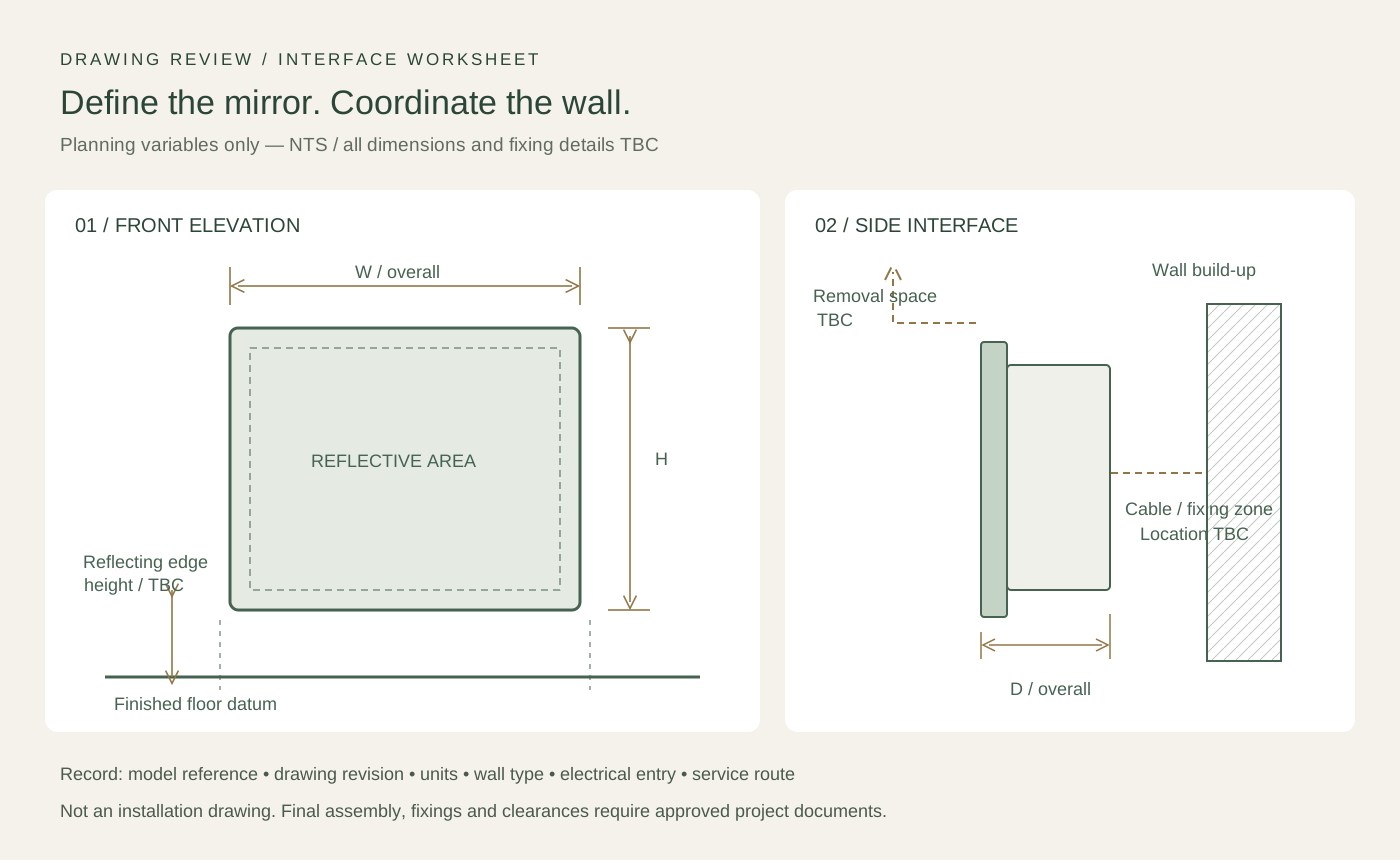
Define the configuration ↗Overall W × H × D, units, weight, reflective substrate and thickness, backing, frame material/grade, finish reference, mounting method and service clearance.
Input voltage, wattage, CCT, CRI, control compatibility, relevant IP/test/certification records, plus written warranty, MOQ, sample timing and production lead time for the quoted configuration.
Each confirmed value should identify its source document and revision. Until then, record “To confirm”; do not substitute a category-wide default.
EXPLORE BY SPACE
Start with the room, its users and operating routine. Final requirements remain subject to the responsible design team and local project standards.
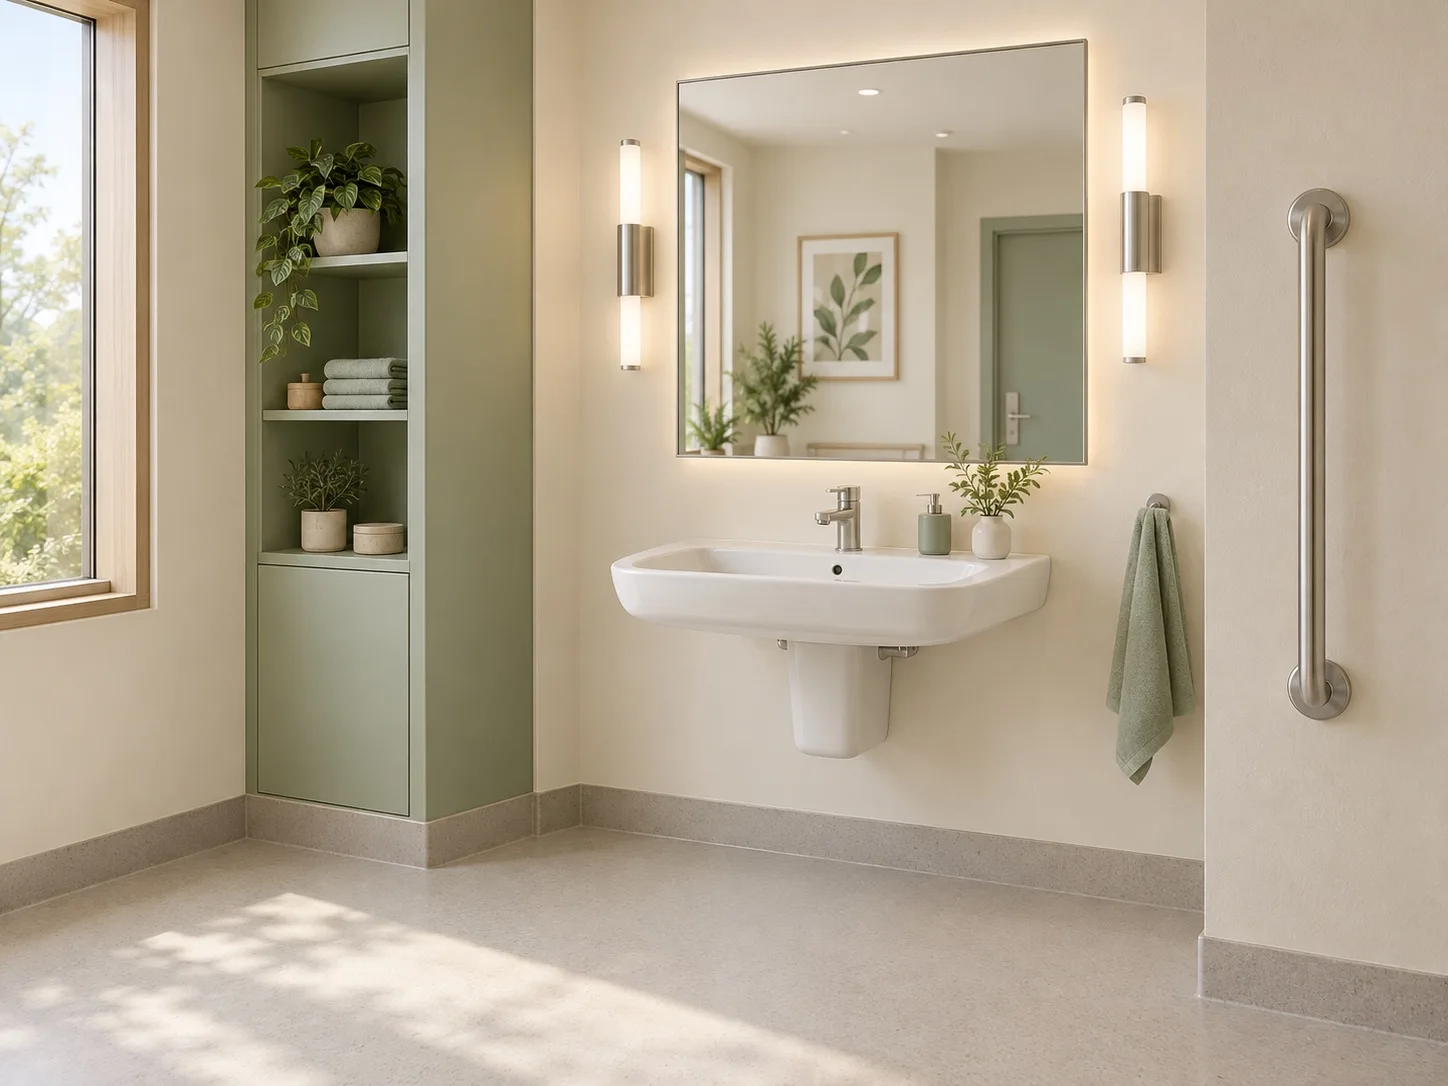
01 / EVERYDAY CARE
Comfortable light, a clear reflection and straightforward controls for daily routines.
Getting ready for a visit should still feel like an everyday routine. A clear reflection, comfortable light and an easy-to-find control are the design priorities—so personal grooming feels familiar in an unfamiliar room.
Experience check: Can the intended user see comfortably and identify the light control from their usual position?
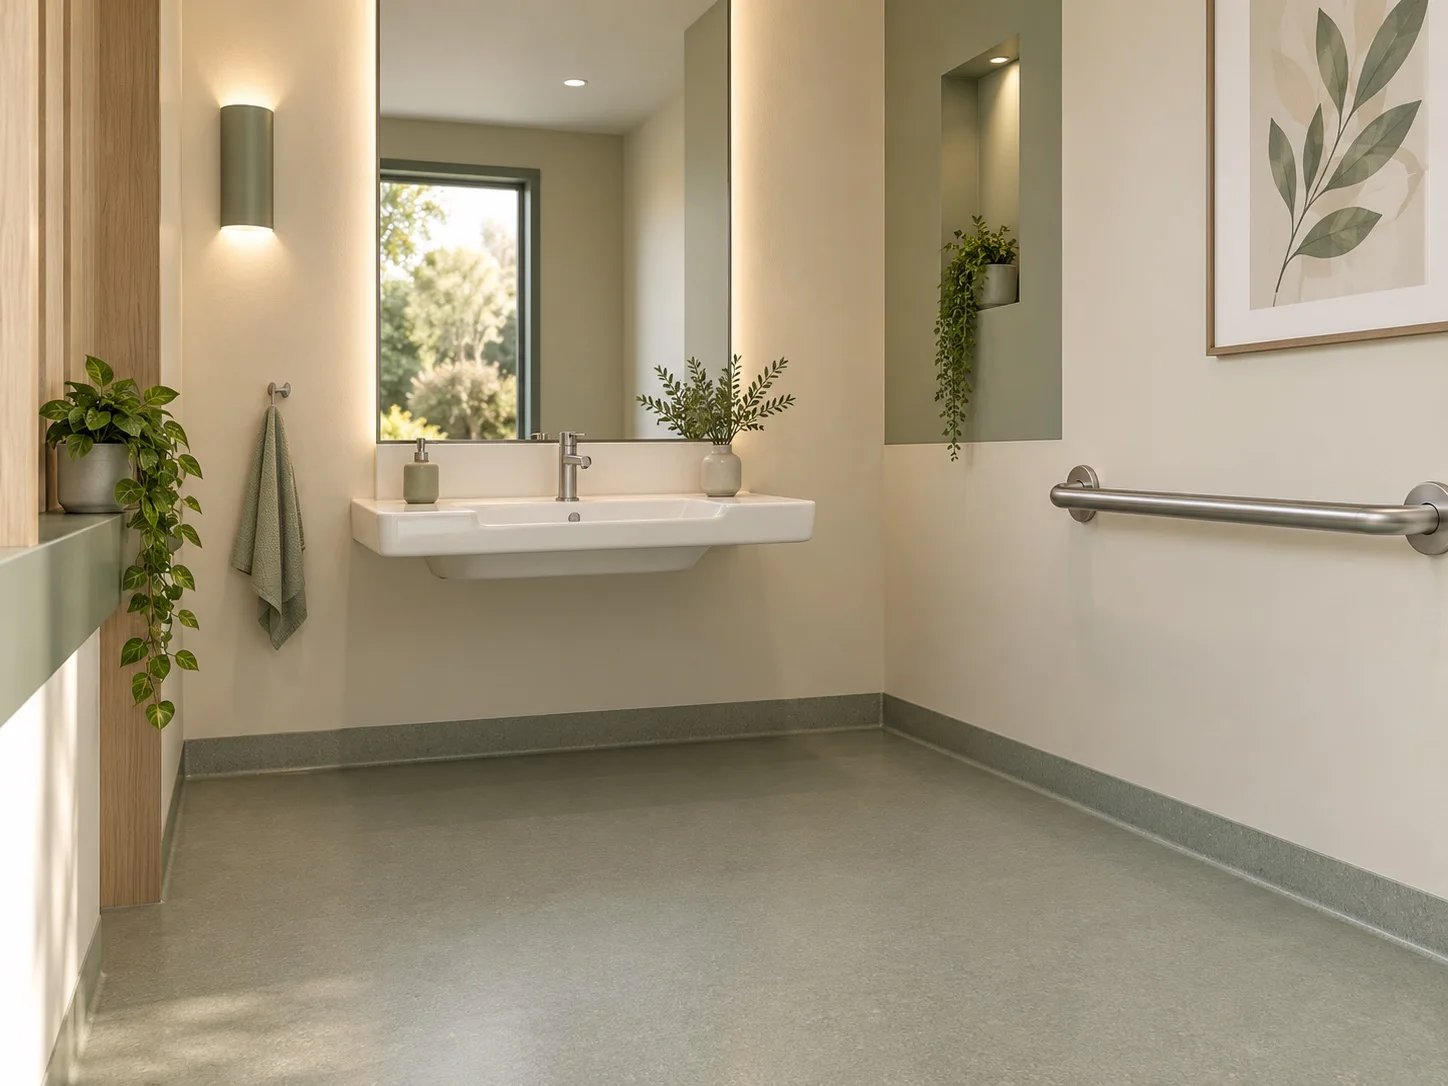
02 / INCLUSIVE USE
Drawing-led placement around the basin, grab rails and intended user positions.
The mirror should feel planned for the person using it. Aim for a clear view from their seated or standing position, without stretching to find the reflection or searching for a control.
Experience check: Check the view and control access from the intended seated and standing positions, alongside the approved layout.
03 / HIGH-FREQUENCY USE
Repeatable layouts with practical finishes, secure mounting and service access.
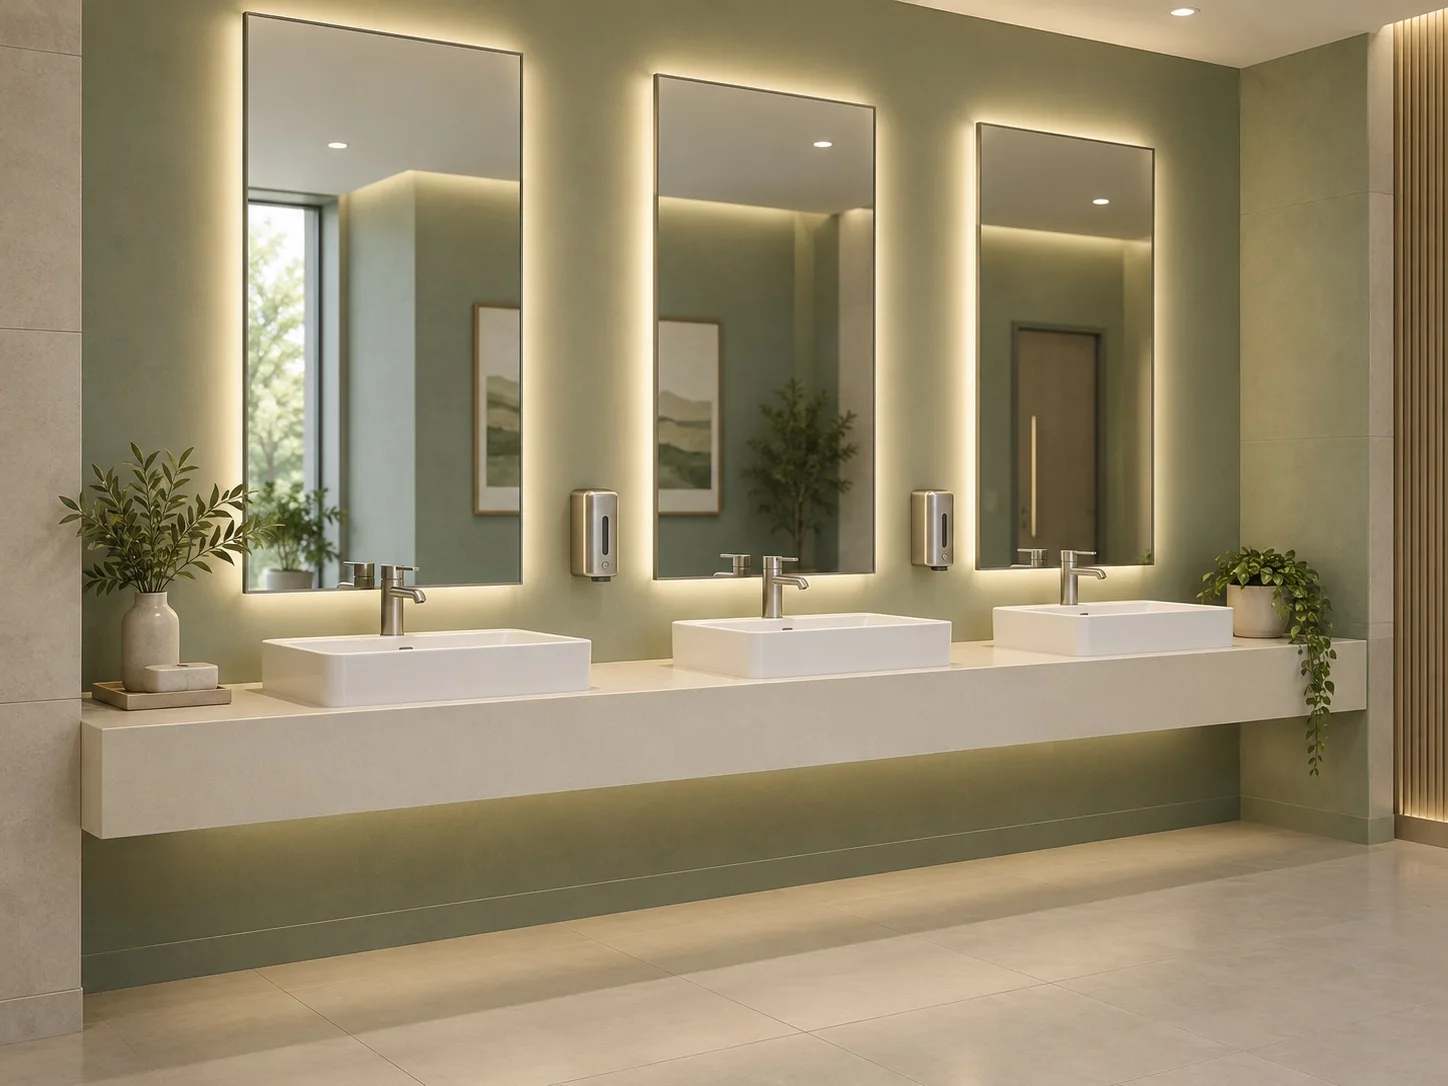
A quick check of hair or clothing can help a visitor feel ready for their appointment. Aim for a useful reflection at the basin and lighting that needs no unfamiliar operating steps.
Experience check: Can a first-time visitor use the mirror immediately, with the room’s normal lighting and switching?
BEYOND THE PATIENT BATHROOM
Carry the schedule into support spaces, while giving each room its own functional brief.
Full-length reflections planned around the activity, viewing position and available room to move.
Seeing an outfit from head to toe should not require stepping into a doorway. Plan a useful view from the designated position, with room to move and privacy while changing.
Experience check: Check the full intended view, room to move and privacy of the mirror position during the room review.
Practical mirrors for everyday staff routines, with functions matched to the room’s actual needs.
A moment to straighten a uniform or freshen up should feel simple. Prioritize a clear reflection and familiar operation, so staff can get ready without figuring out extra functions.
Experience check: Try the everyday routine with the planned room lighting; check whether added mirror functions are genuinely useful.
Coordinated bathroom and dressing mirrors that respect personal routines and the room’s privacy.
Brushing hair or choosing an outfit is part of a personal routine. Aim for a familiar place to get ready, with a comfortable view, predictable controls and privacy from the doorway.
Experience check: Review the reflection, lighting and controls from the resident’s intended positions, and check privacy from the doorway.
U.S. ACCESSIBILITY PLANNING
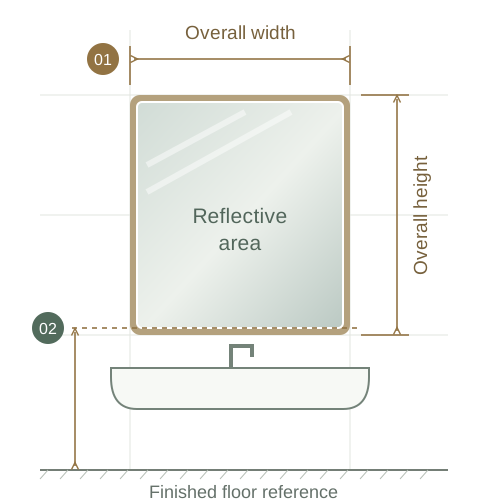
A frame edge and the bottom of the reflecting surface are not necessarily the same height. Mark the reflecting surface explicitly on the room elevation.
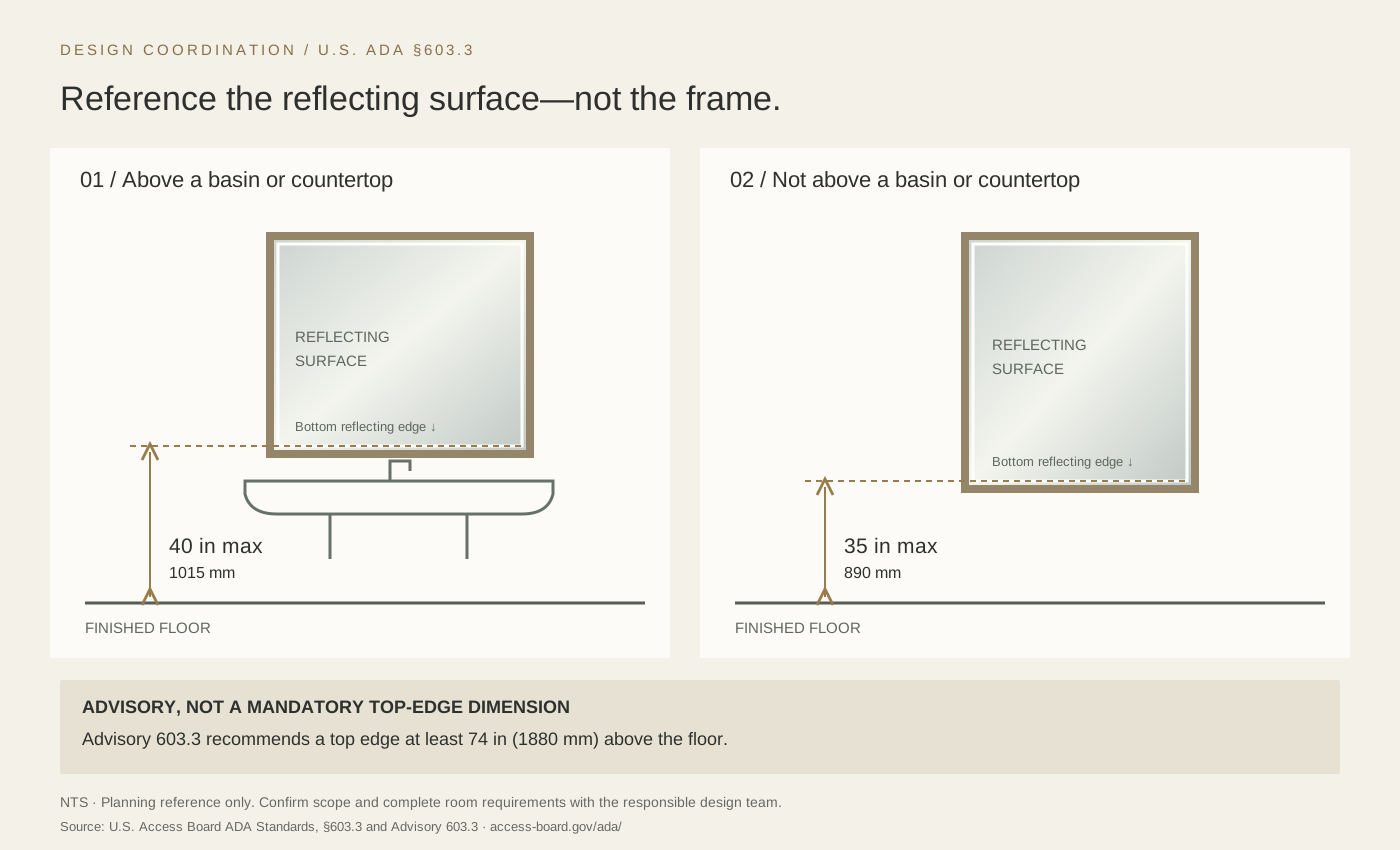
Section 603.3 sets the bottom edge of the reflecting surface at 40 inches (1015 mm) maximum above the finished floor for mirrors covered by this provision.
For mirrors not above lavatories or countertops, Section 603.3 sets that bottom edge at 35 inches (890 mm) maximum above the finished floor.
The accompanying advisory recommends a top edge of at least 74 inches (1880 mm) to serve ambulatory and wheelchair users. This advisory is not the same as a mandatory minimum in Section 603.3.
Source: U.S. Access Board, ADA Standards §603.3 and Advisory 603.3. Scope and local requirements must be checked by the responsible project team. This diagram does not resolve basin clearance, reach ranges, controls, projection or other room requirements.
DRAWINGS & TECHNICAL DOCUMENTS
Download the planning resources below, or request technical drawings and supporting documents for your selected model.
Record room references, dimensions, quantities, materials, lighting, required evidence and approval status in one comparison sheet.
Download planning worksheet · CSV ↓Use the checklist to request dimensions, wall interfaces, electrical data, finish samples and the applicable report identifiers.
Download document checklist · MD ↓Ask which CAD, installation, electrical and test documents exist for the proposed model. Confirm file type, revision, scope and availability before specifying them in a tender. BIM or IES files are not implied to be available.
MATERIALS & FACILITY CLEANING
“Easy to clean” is not a material specification. Match each exposed component to the facility’s proposed cleaning agents, concentrations and contact times.
| Component | Information to request | Facility review |
|---|---|---|
| Reflecting panel & backing | Substrate, thickness, edge finish, backing construction and any supporting test record. | Review edge exposure, expected use and breakage-risk requirements. Safety backing is not evidence of an unbreakable or ligature-resistant assembly. |
| Metal frame & joints | Actual material grade, coating/finish reference, corner detail and cleaning instructions. | Check the facility’s cleaning method against the selected finish. A stainless appearance does not identify a stainless grade or chemical resistance. |
| Lighting & controls | Diffuser, control surface, enclosure and model-specific electrical/environmental information. | Ask for the permitted cleaning method and limits. Do not infer disinfection compatibility or water protection from a rendering. |
| Cabinet & shelves | Body material, shelf specification, hinges, internal access and care guidance. | Confirm intended contents and cleaning access. A bathroom cabinet is not a clinical medication-storage system. |
Do not assume antimicrobial, disinfectant-resistant, corrosion-proof or healthcare-standard compliance. Where such performance is required, specify the claim precisely and review evidence for the actual assembly.
LIGHTING & EVERYDAY OPERATION
Specify what the mirror should do in the room before selecting features. Compare lighting with the ceiling lights on, from the intended user position.
Decide whether the mirror is intended to provide facial light, a background glow or both. Backlighting creates light around the mirror, but the room may still need a separate source for facial visibility.
Record in the brief: frontlight, backlight or combined light; intended viewing position; adjacent luminaires and daylight.
Compare the proposed color temperature, brightness and visible light border in the room palette. If color rendering or dimming performance is specified, request configuration-specific information and review a sample.
Record in the brief: requested CCT, dimming range, light-border position and any specified performance data.
Choose between a room wall switch and compatible mirror-mounted controls. Agree which functions switch together and what should happen when power returns after the circuit is turned off.
Record in the brief: switch or controller reference, function grouping, preferred start-up state and supply voltage.
Discuss a demister for shower-adjacent rooms where the brief calls for a clear viewing zone after bathing. Confirm the heated area, its location within the mirror, activation method and whether it operates separately from the light. A demister is not automatically a full-surface feature; review the selected configuration before ordering.
Have a wall-switch or dimmer specification? Include the actual reference in your project notes.
MAINTENANCE & REPLACEMENTS
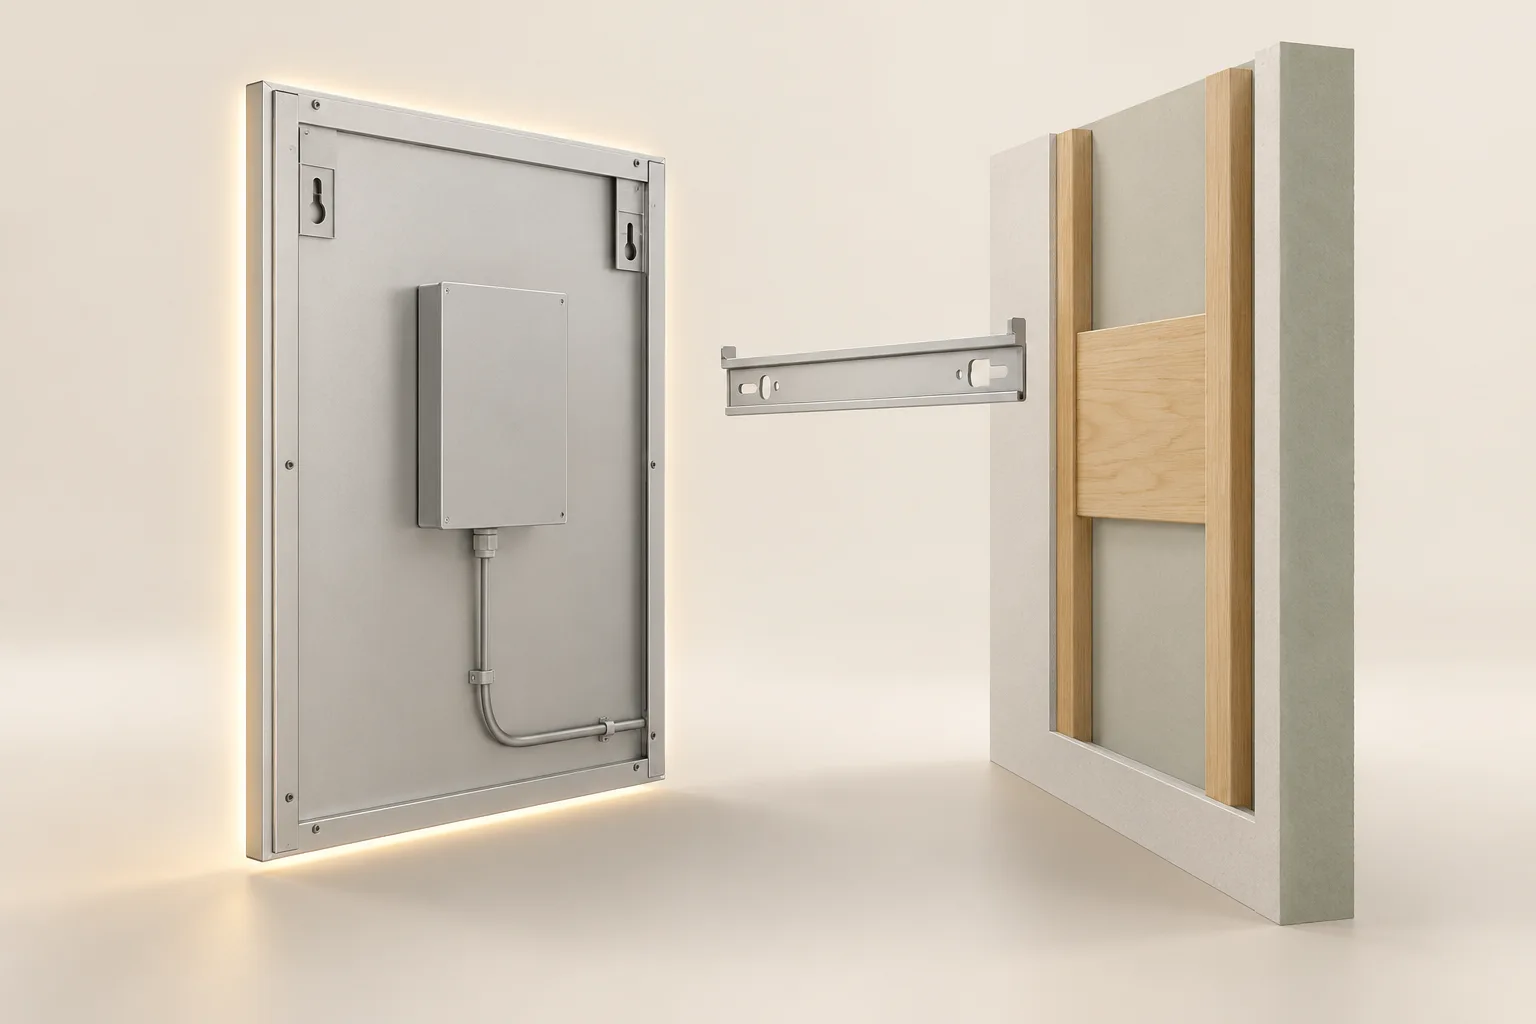
For illuminated mirrors, agree the removal route and access to the connection and driver. For cabinets, review door movement and replaceable components before fixing adjacent fittings.
Keep the model, drawing revision, finish reference, cleaning guidance and component information with the room schedule. Identify any agreed spare units or parts.
Request written warranty coverage, exclusions, claims procedure and parts availability for the order. Future pricing, finish matching and lead times require confirmation; a similar appearance does not establish interchangeability.
DEFINE THE REQUIREMENT
Coordinate the mirror with the elevation, wall construction, electrical plan, cleaning routine and maintenance strategy.
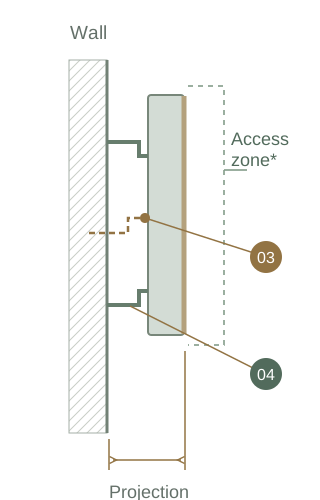
Confirm width, height, orientation, edge or frame and wall area.
Review reflective height, controls, basin, grab rails and clearances.
Match voltage, wiring, driver and cable exit to the room plan.
Confirm wall build-up, fixing, removal and component access.
BUILD THE ROOM SCHEDULE
These are specification inputs, not fixed recommendations. Use the approved room elevation and project requirements for every final configuration.
| Room / zone | Mirror direction | Dimensions to confirm | Functions & interfaces | Installation inputs |
|---|---|---|---|---|
| Patient ensuite | LED, framed or frameless wall mirror | Width, height, reflective area and basin alignment | CCT, control method, demister option and voltage | Wall build-up, cable exit, fixing and service access |
| Accessible bathroom | Drawing-led wall mirror | Reflective height, projection and surrounding clearances | Control position and electrical configuration | Basin, grab rails, accessories and approved elevation |
| Public washroom | Repeated wall-mirror set | Module width, joint lines and repeated spacing | Lighting strategy, switching and maintenance plan | Substrate, fixing zones, removal and room labeling |
| Staff / support area | Wall mirror or approved mirror cabinet | Available wall area, depth and door clearance | Lighting, outlets and internal layout where applicable | Surface or recessed installation and access |
Useful files: room list · bathroom elevation · electrical plan · finish reference · quantity schedule
Prepare your project brief ↗ILLUSTRATIVE SCHEDULE ENTRY
This is a brief-writing example, not a product specification or a real project. Replace the placeholders with your approved information.
Create a separate reference when size, finish, function, fixing or cabinet handing changes. Keep installed quantities and spare quantities separate so purchasing and receiving can reconcile both.
WHO CONFIRMS WHAT
Use this suggested responsibility split to build the project approval list. Confirm the actual owners with your team; an unanswered item should stay visible until resolved.
Confirm viewing position, overall dimensions, finish and coordination with the basin, rails and accessories.
Record: approved elevation, finish reference and room-specific requirements.
Confirm the wall, fixing zones, connection details, control compatibility and access for installation and later removal.
Record: coordinated mounting and electrical details, with unresolved site conditions noted.
Review the proposed cleaning method, routine access and which replacement items the maintenance team needs to hold.
Record: care requirements, service-access review and requested spare-parts list.
Reconcile room references, quantities, inclusions, approval status and delivery groups before authorizing production.
Record: agreed order schedule, revision, release authority and commercial terms.
Use the sample to resolve the interfaces repeated across the order. Record the accepted version before production release.
If size, driver, controls, frame or mounting changes after approval, identify which checks need repeating. Confirm the revised reference before releasing the affected batch.
A SHARED REFERENCE
Agree what each stage must resolve, who approves it and which records need to travel with the order. Confirm these arrangements during the quotation and technical review.
Send the room schedule and drawings. Flag unknown dimensions, site constraints and the required arrival window.
Reconcile functions, construction and order scope. Assign an owner and due date to each open decision.
Agree the sample scope and drawing revision. Close the required approvals before the production release.
Define inspection criteria and requested records against the released specification, including any approved changes.
Confirm packing groups, labels, documents and receiving arrangements against the installation sequence.
CARTON-TO-ROOM TRACEABILITY
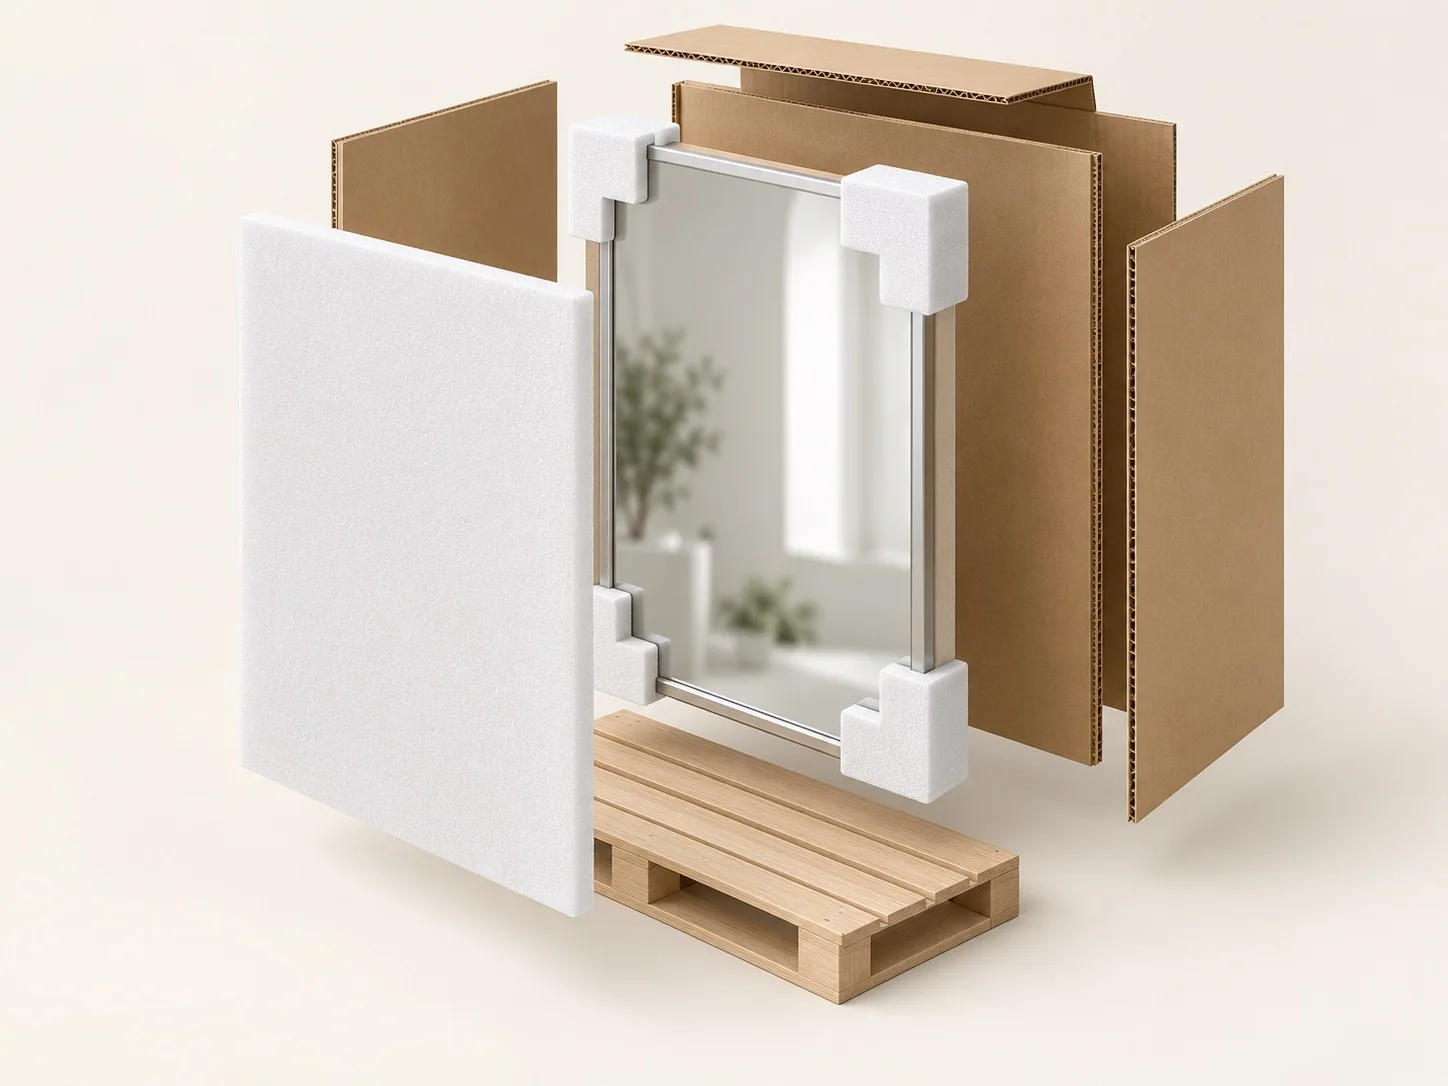
Agree a label format and packing-list structure before dispatch. If one carton serves multiple rooms, identify its contents explicitly rather than relying on a single room mark.
Mirror reference: [HC-P01]
Drawing revision: [Approved revision]
Carton: [Number] of [Total] · Units inside: [Quantity]
Destination rooms: [Room list or schedule reference]
Match the reference on the carton, packing list and approved order schedule.
Confirm the receiving contact, unloading access and suitable storage arrangements. Identify which rooms are ready and whether the delivery must remain grouped by phase.
Reconcile carton counts and reference marks with the packing list. Record visible packaging damage and discrepancies, with photos and carton identification, following the agreed receiving procedure.
Retain the approved drawings, finish reference and component details with the facilities records. Discuss which spares to order and how any later replacement will be matched.
Send the original order and mirror reference, drawing revision, affected room, quantity and clear photos. For powered units, include the product or component label details already available in your maintenance records; access to electrical components should be handled by qualified personnel. Explain whether you need a complete mirror or assessment of a particular component.
If the wall, wiring or surrounding fittings have changed, include updated site information. A similar-looking mirror is not enough to confirm an interchangeable replacement.
BEFORE YOU COMMIT
Request the drawings, samples and supporting records for your selected configuration. Agree the document list during technical review.
Request the dimensions, mounting detail and finish reference for the proposed assembly—not just a similar-looking product image.
If the project specifies tests or certifications, request the relevant records and check which model and configuration they cover. Availability and applicability need confirmation.
Agree the checks and records required with the order, plus installation, care and warranty information. Keep the document list tied to the approved revision.
Include your tender’s document requirements so the technical review can identify what is available and what remains to be confirmed.
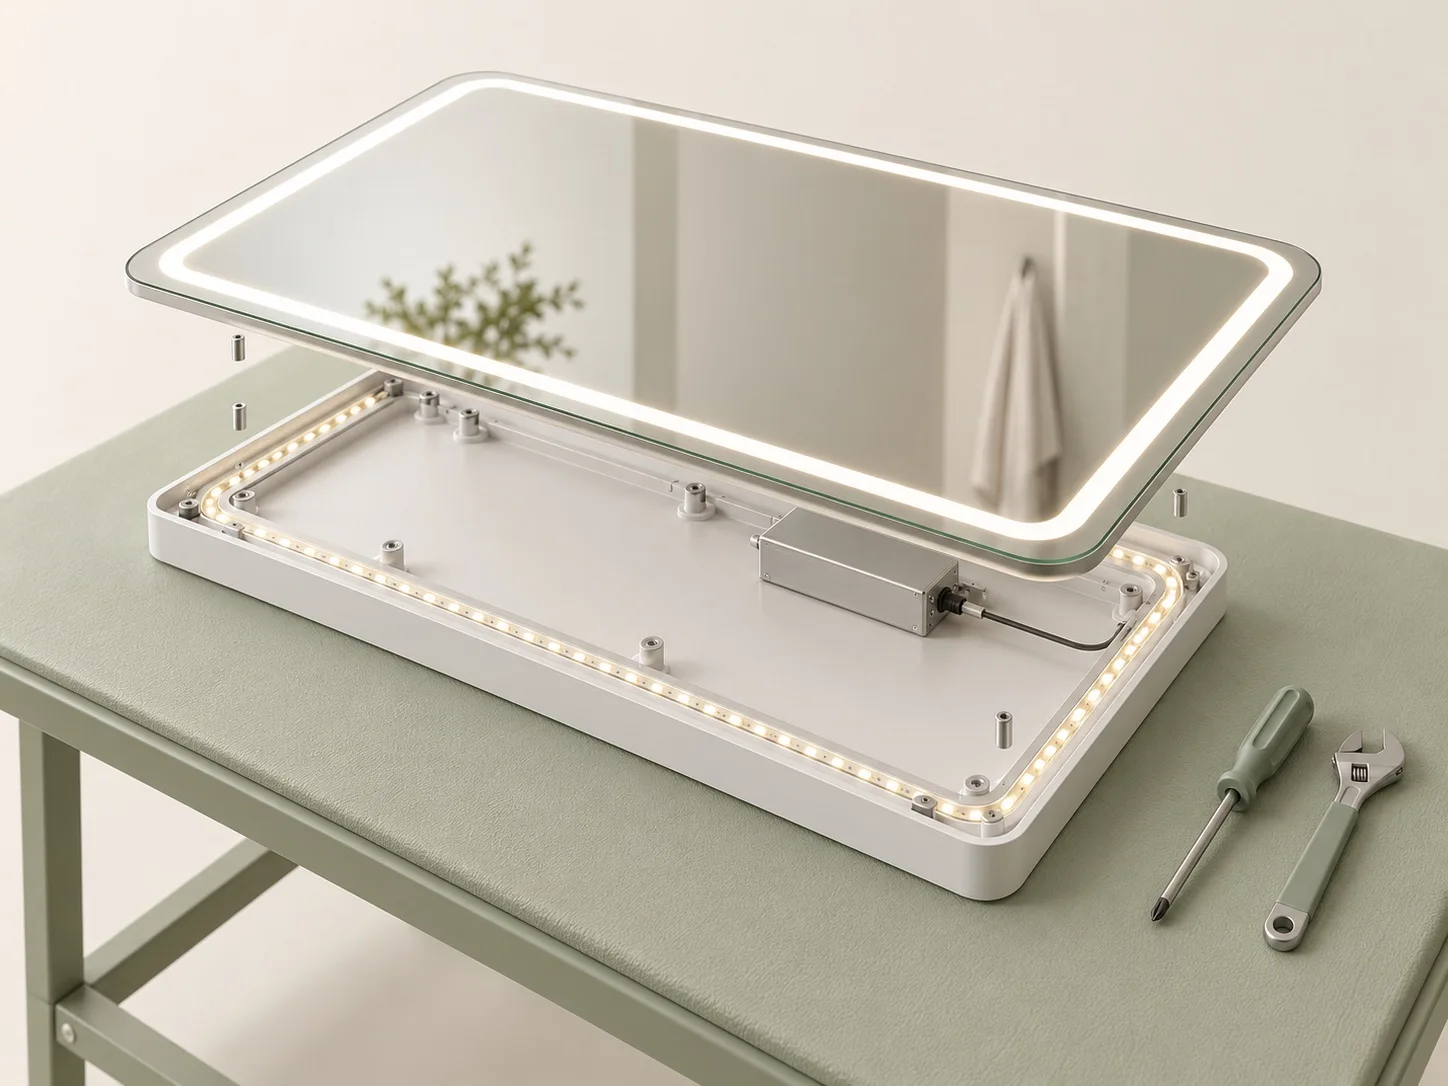
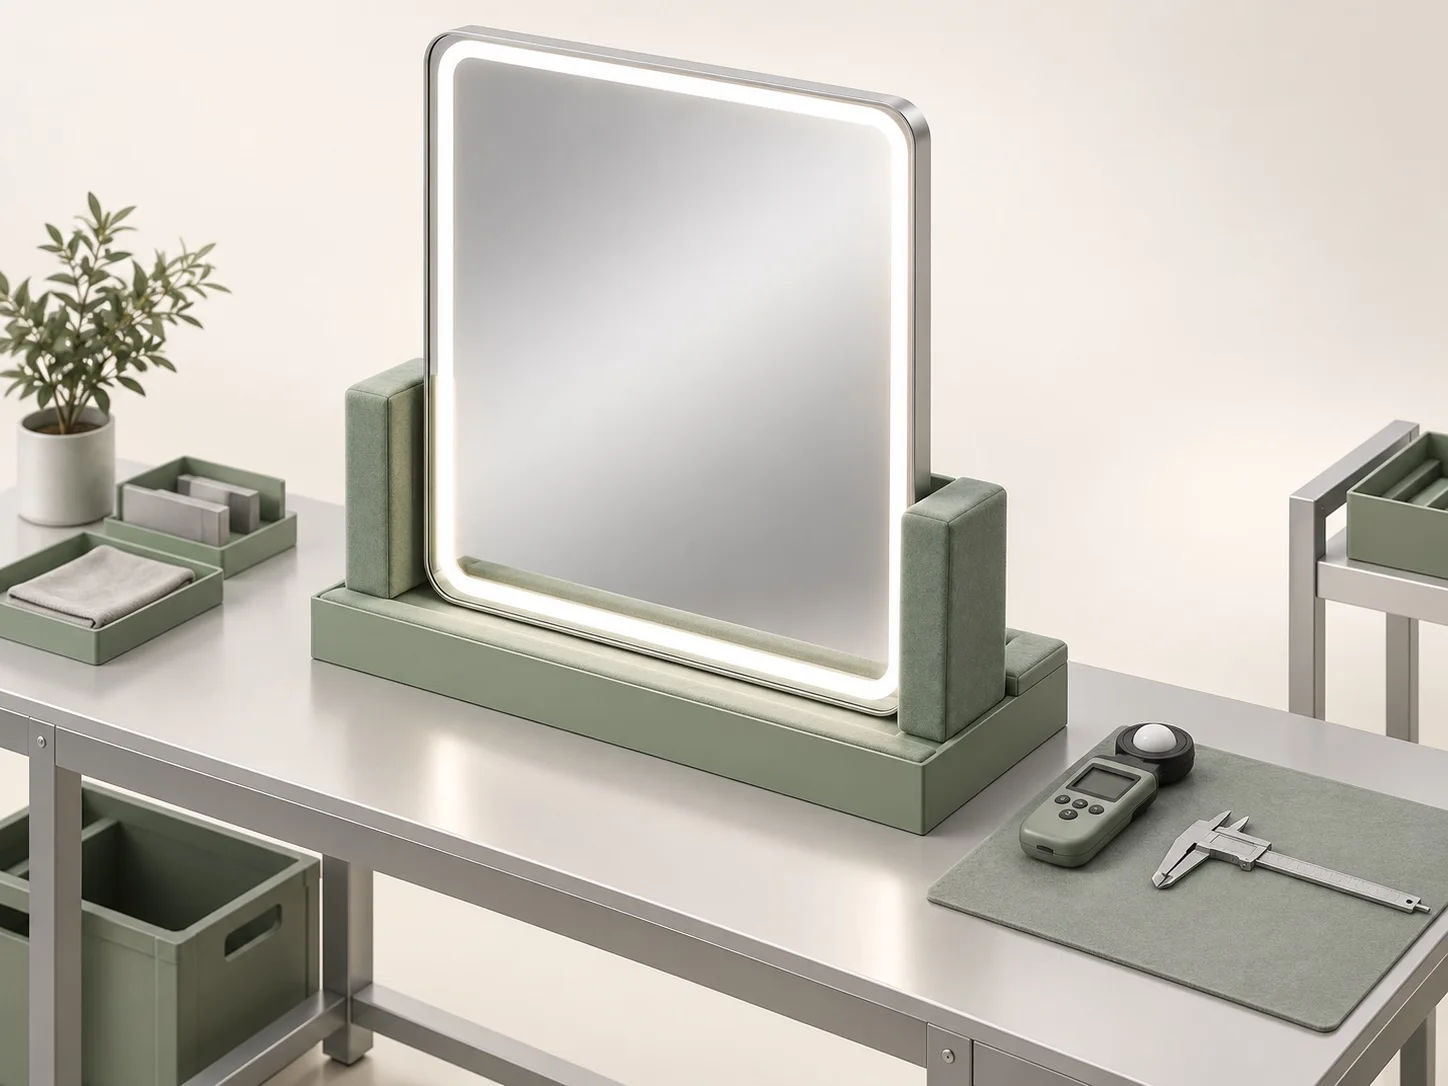
The process illustrations explain a proposed workflow; they are not factory photographs or healthcare project evidence. For supplier review, request current records relevant to your proposed assembly and order.
NEW BUILD OR RENOVATION
The useful first conversation depends on how much is fixed. Send the drawings and site information available now, and identify the items still open.
Use the room schedule to identify repeated mirror families, then align backing, fixing zones, cable routes and service access with the design team. Separate standard rooms from exceptions so quantities and variations remain visible.
Useful starting point: room list, vanity elevations, electrical drawings, finish schedule and target installation sequence.
Measure the available wall area and identify existing fixing marks, outlets, cable positions and neighboring fixtures. Record whether the room remains operational during the works and whether deliveries need to follow short installation windows.
Useful starting point: measured elevations, site photos, existing mirror details, access constraints and replacement quantities.
Compare the same width, height, glass and backing, frame material, finish, lighting, driver, controls and mounting scope. Keep alternative options on separate lines so a lower price can be traced to a specific difference.
Identify sample charges, development, accessories, spare parts, packing, freight and destination handling as included or excluded. Separate sample approval, production release, dispatch and on-site delivery dates.
Use the editable checklist to organize room variations, sample approval and delivery information.
PROJECT QUESTIONS
From early planning to replacements, make the unanswered items visible before confirming the order.
Discuss your requirements ↗No such claim is made for the concepts on this page. Behavioral-health and other special-risk settings need a separately verified assembly and a project risk assessment. Request evidence matching the precise material, construction and fixing system before selection.
The planning diagram, specification worksheet and checklist on this page are available to download. Model-specific CAD, BIM, IES, installation and test files must be requested and their availability confirmed individually; the planning resources do not replace them.
ADA Section 603.3 identifies the bottom edge of the reflecting surface: 40 inches (1015 mm) maximum above lavatories or countertops, and 35 inches (890 mm) maximum elsewhere. The 74-inch (1880 mm) top-edge dimension is advisory. The responsible design team must review scope and the complete installed layout.
Start with the facility type, destination, approximate quantities and mirror sizes or a room elevation. Include the rooms involved and the required installation window. Mark unknown items as “to confirm”; an initial discussion can start before the complete specification is ready, while final pricing depends on an agreed scope.
A common construction or finish can form the basis of several room variations. Record each size, function package and quantity separately. Where one room needs a cabinet or a different control arrangement, identify it as a distinct variation rather than assuming it is included in the standard mirror.
No. The complete installed layout must be reviewed against the applicable requirements. Ask the responsible project team to confirm the reflective height, projection, controls and surrounding clearances on the elevation. The mirror specification and the room design should be reviewed together.
Share the controller or dimmer reference, supply voltage and desired switching behavior. Compatibility needs review for the selected driver and control arrangement. Use the sample review to confirm the agreed operating sequence before repeating it across multiple rooms.
Confirm that the room brief allows this type of storage first. Then review depth, door swing, shelves, recess or surface mounting and service access. Describe what the cabinet needs to accommodate; a bathroom mirror cabinet should not be assumed to meet a separate specialist-storage specification.
Provide the facility’s intended cleaning products and method for review against the proposed glass and frame finish. Request care guidance, and confirm how the assembly can be removed or serviced. Keep model references and drawing revisions available for future replacements.
Discuss sample scope, charges and timing during quotation. Review appearance, lighting, controls, installation fit and packaging, and record the accepted drawing and finish reference. Confirm how any changes after approval will be reviewed before the affected batch is released.
These need confirmation for the selected dimensions, construction, finish, functions and total quantity. Share the required on-site date and any phased handovers. The quotation should distinguish sample timing, production, dispatch and transport rather than treating them as one date.
Begin with measured dimensions, photos of the wall and existing mounting, electrical connection details and any space restrictions. Confirm whether you need an exact visual match or a coordinated replacement range. Existing fixing positions and surrounding fixtures may affect the proposed construction.
Agree a document list covering approved drawings, the variation and quantity schedule, configuration-specific electrical information, relevant reports where required, inspection criteria, packing list, installation and care guidance, and warranty terms. Confirm which records are available for the selected assembly during technical review.
Include building, floor, room-type or phase references in the quantity schedule. Agree shipment groups, carton marks and packing-list references together, including any spare units. Confirm receiving access, storage arrangements and the procedure for reporting transit damage before dispatch.
START WITH YOUR PROJECT
A room schedule helps, but a sketch, approximate quantity or reference image is enough to begin.
info@ojmirror.com ↗Room list · elevation · electrical plan · finish reference · quantity schedule · destination

Open WeChat and scan this QR code to contact our team.