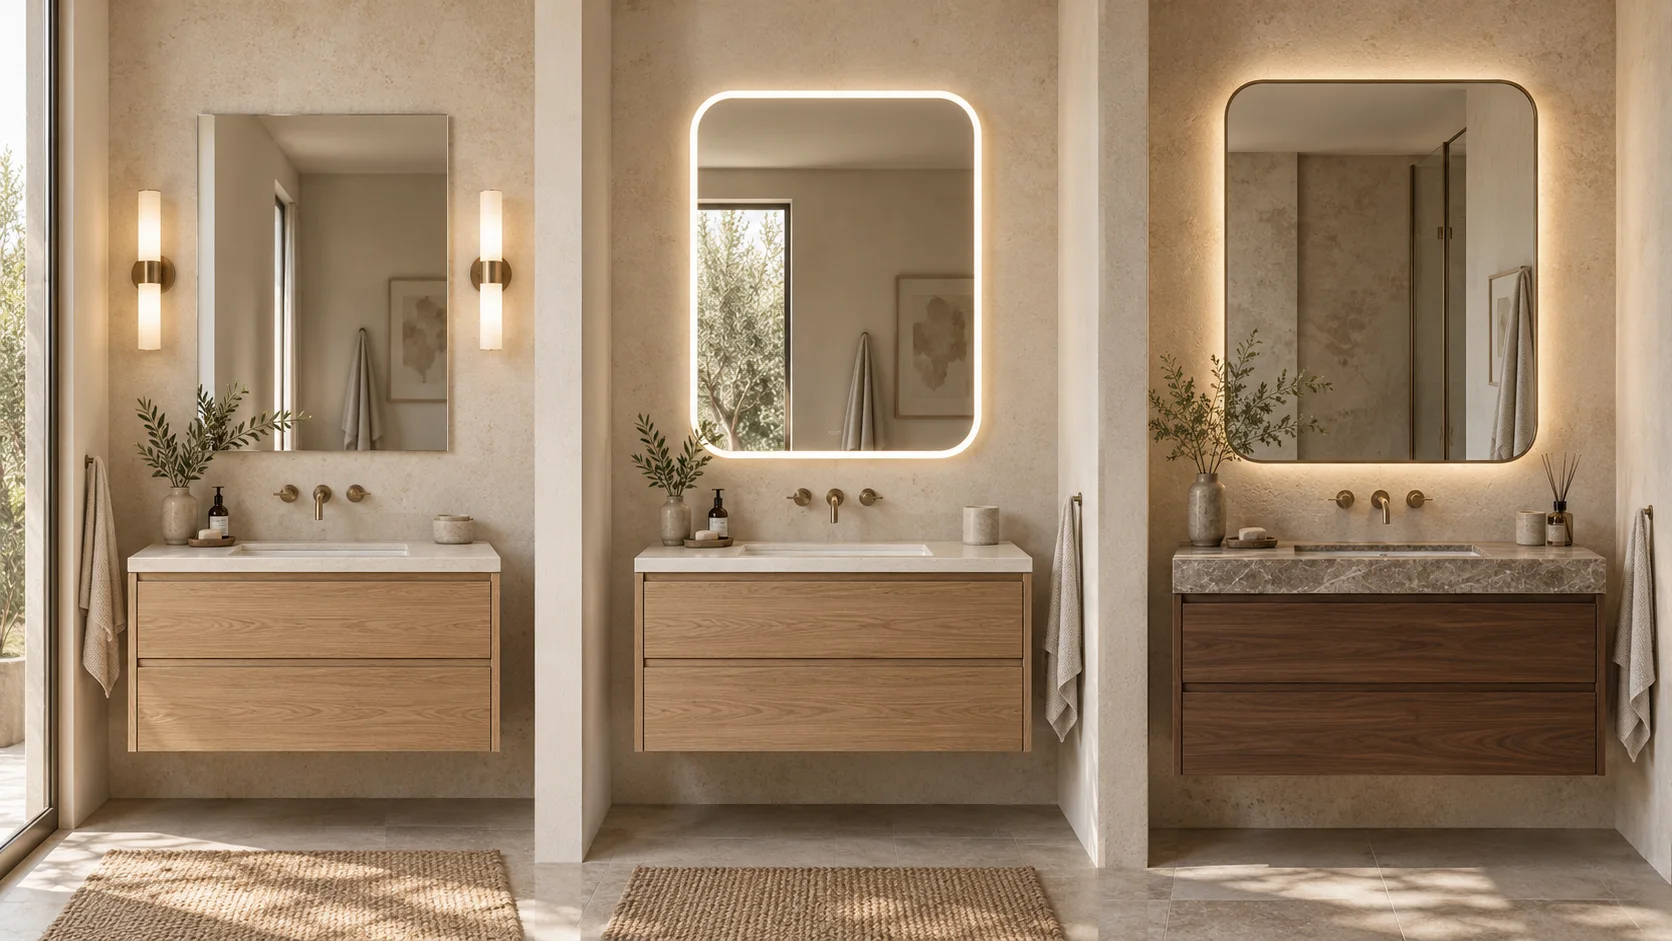
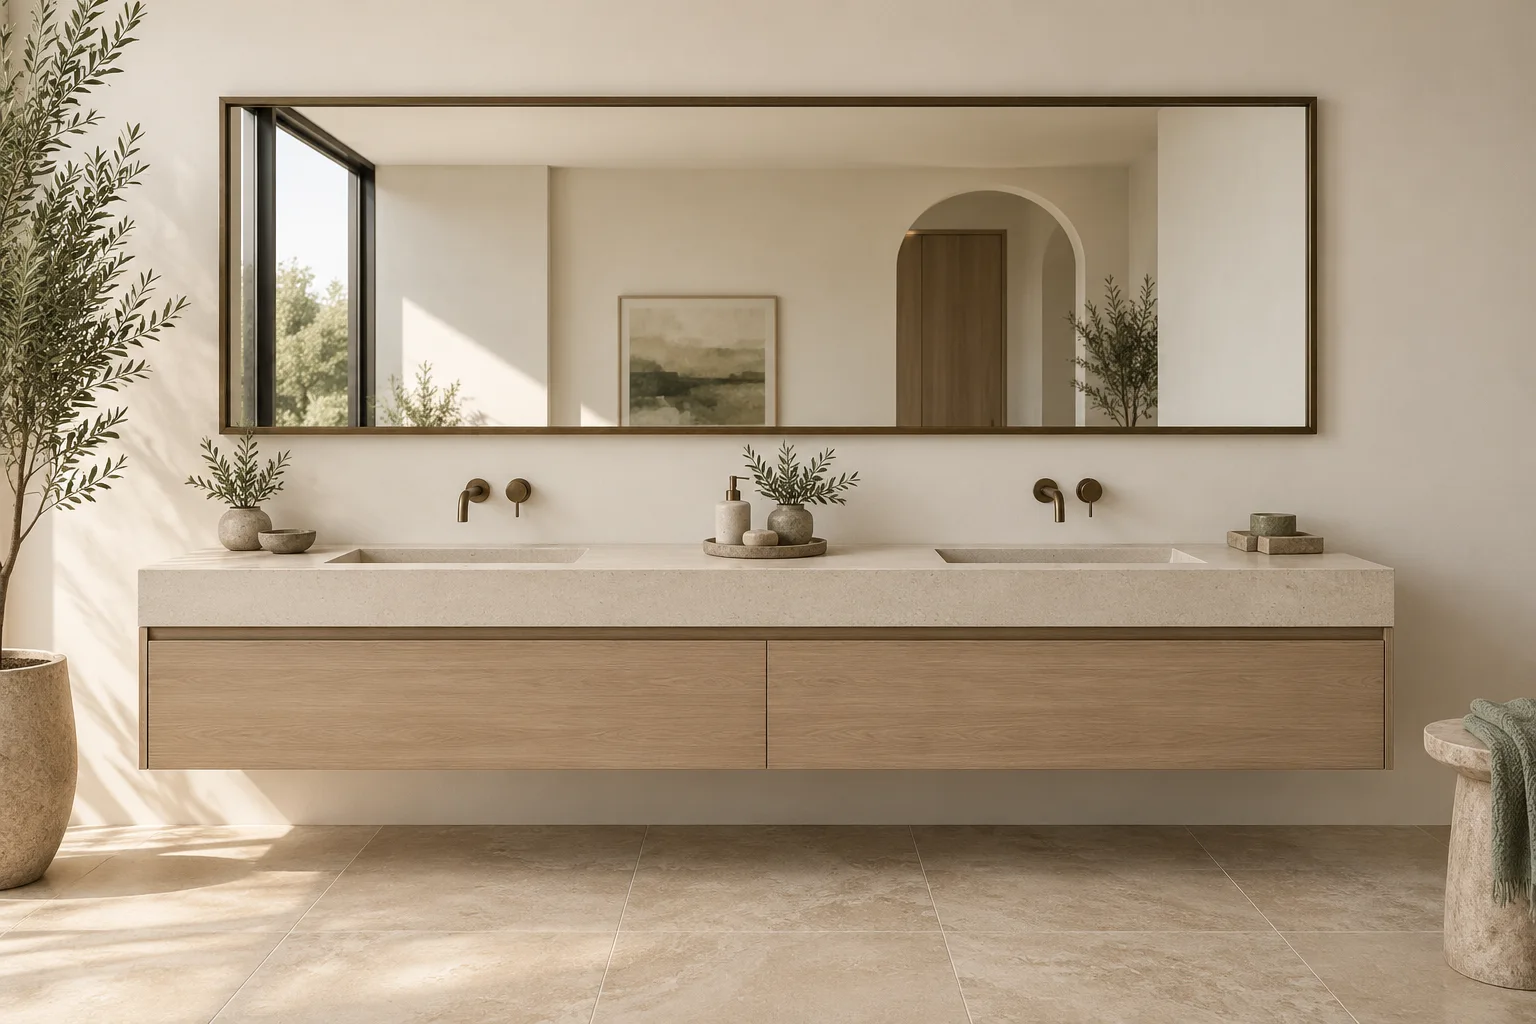
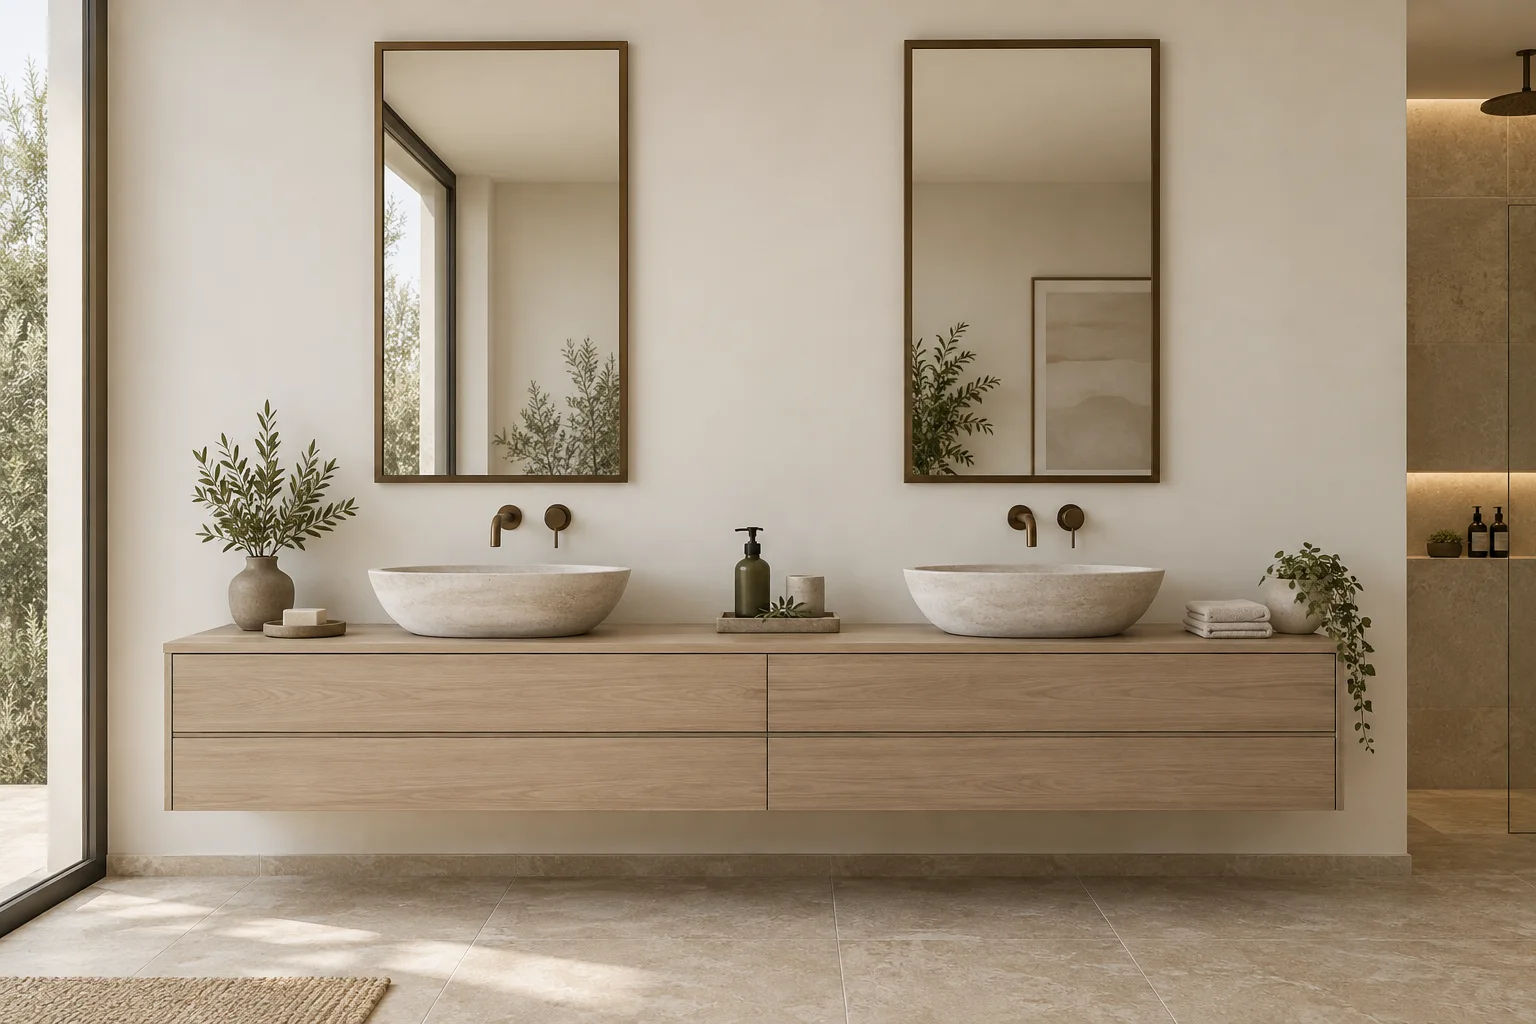
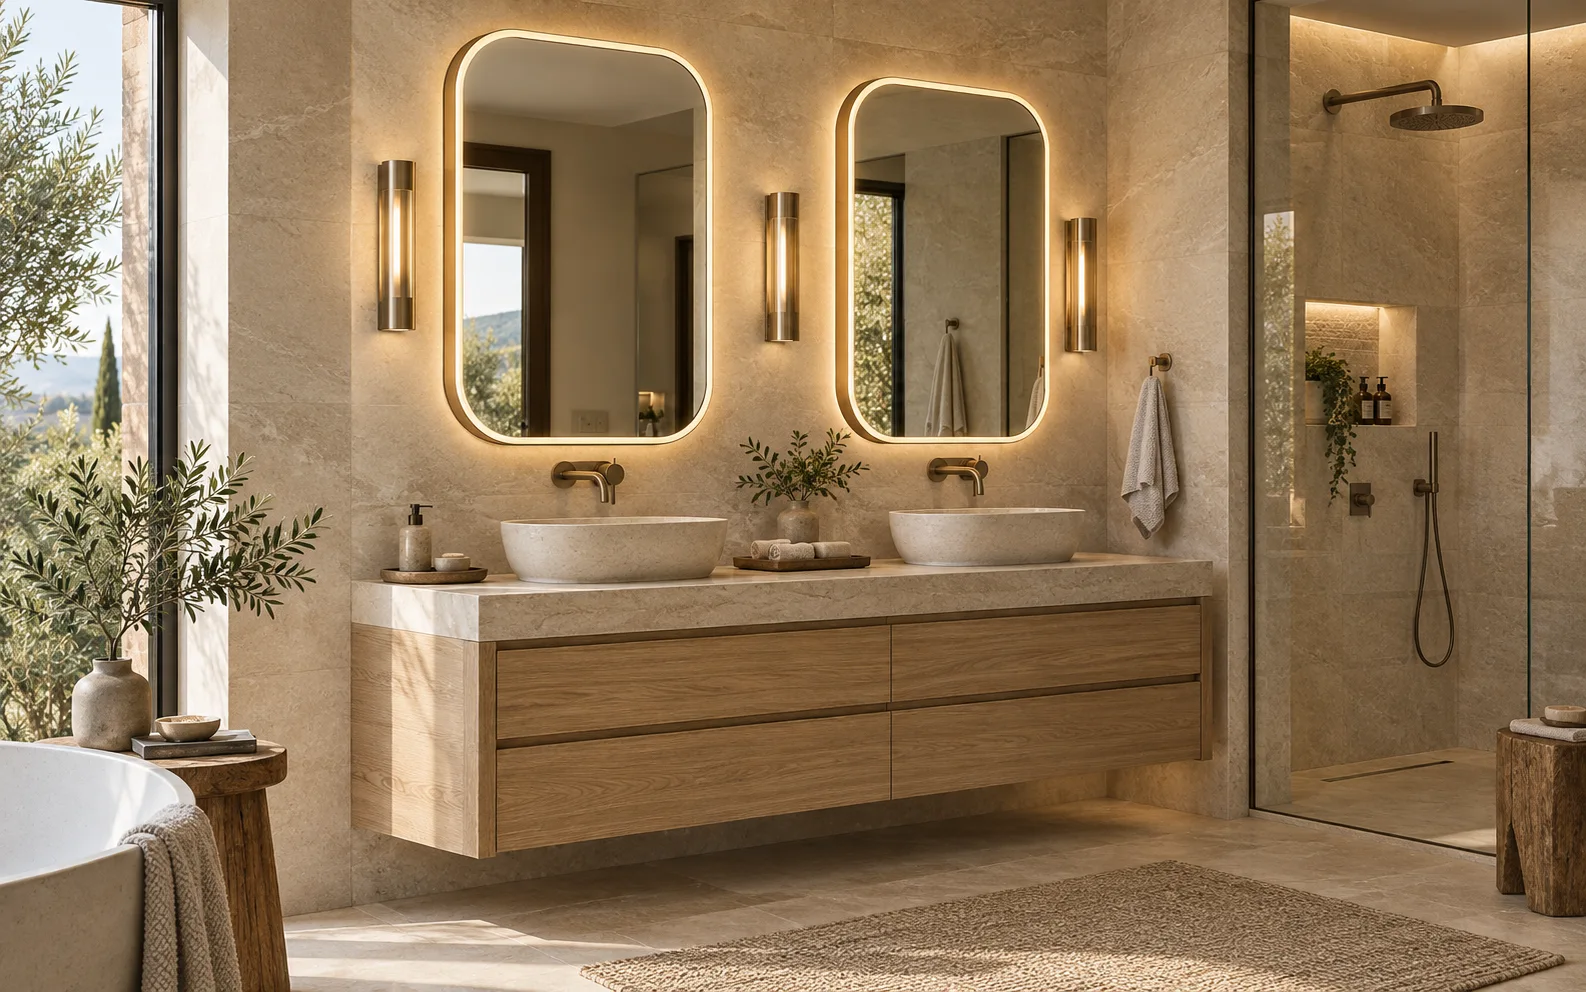
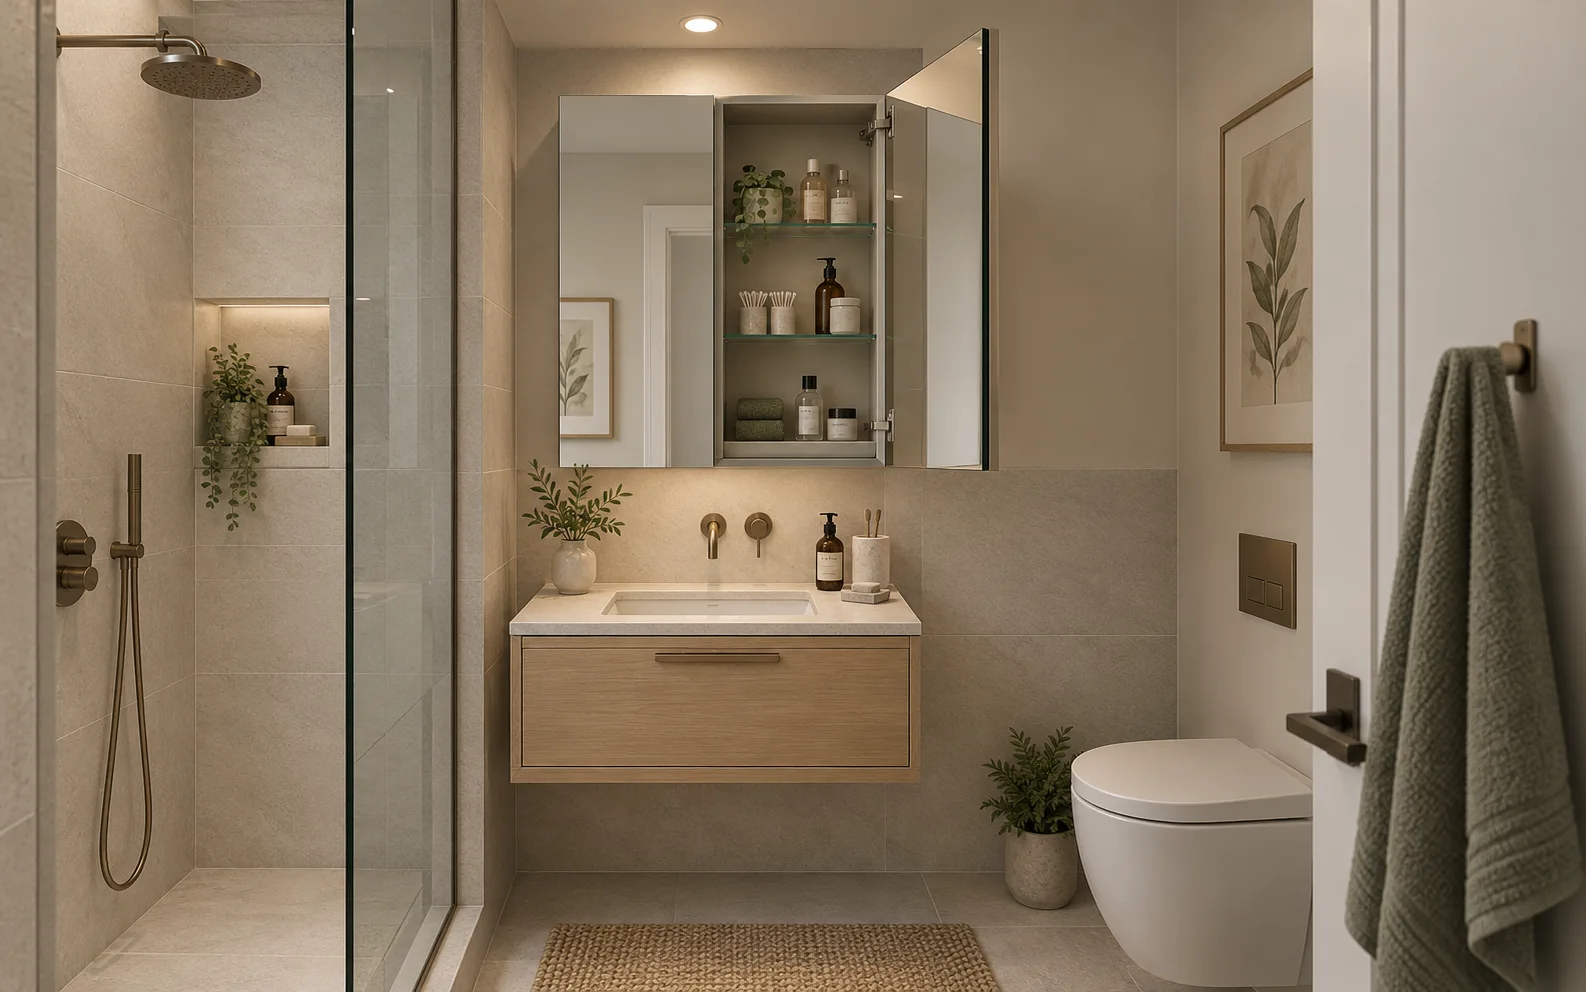
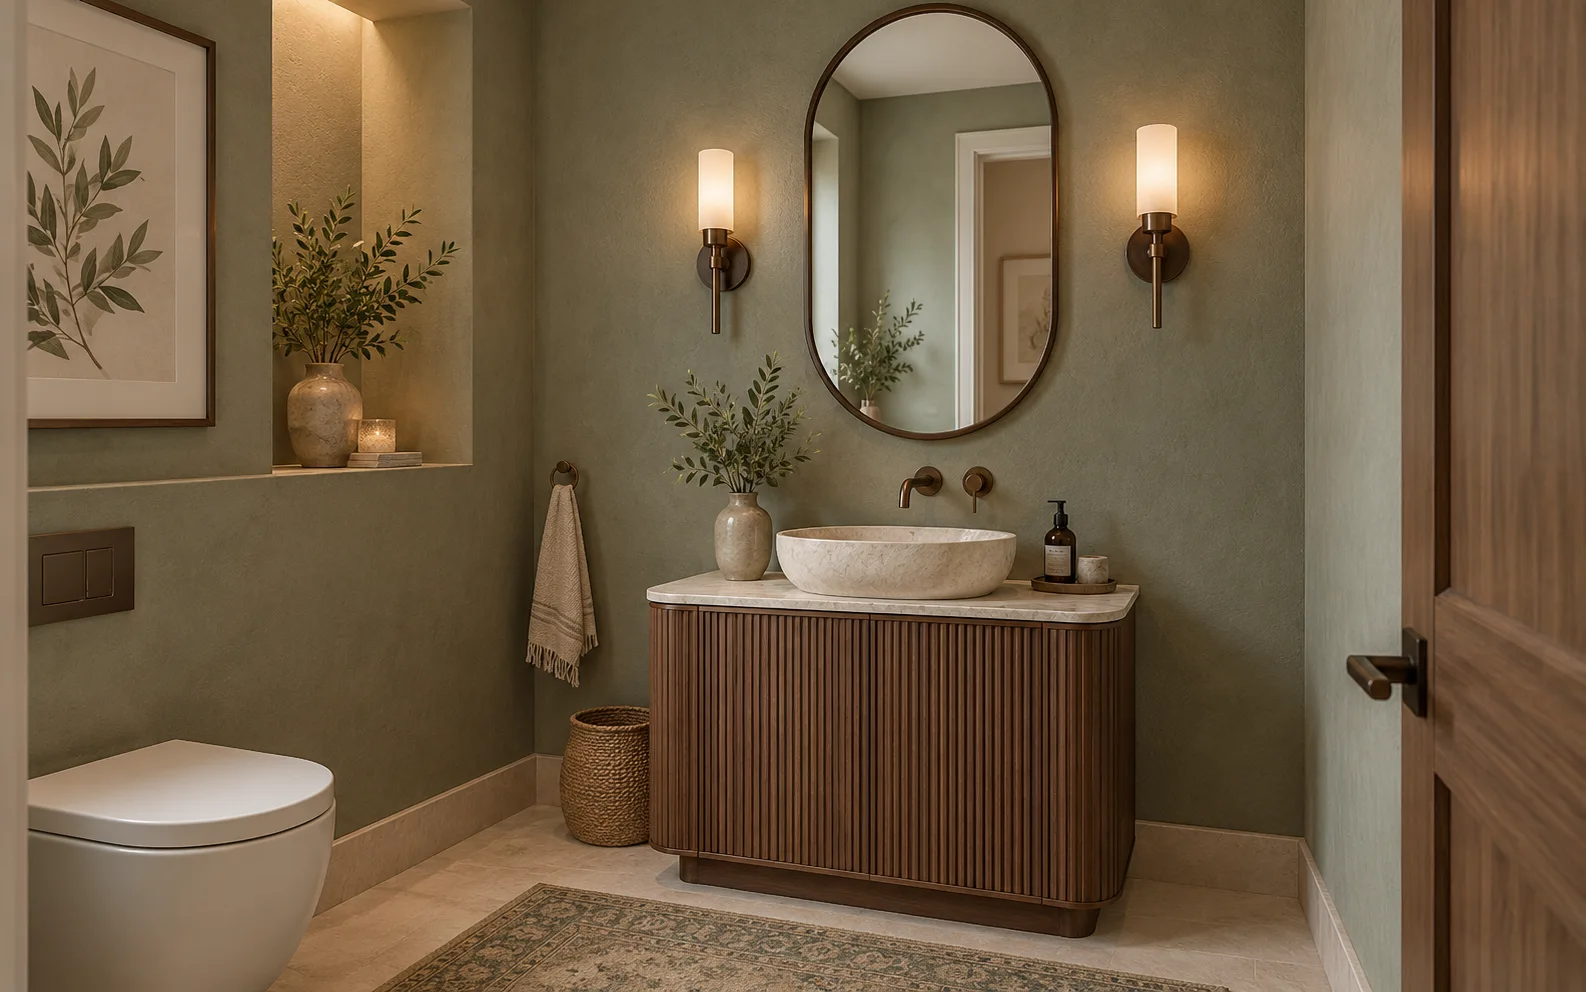
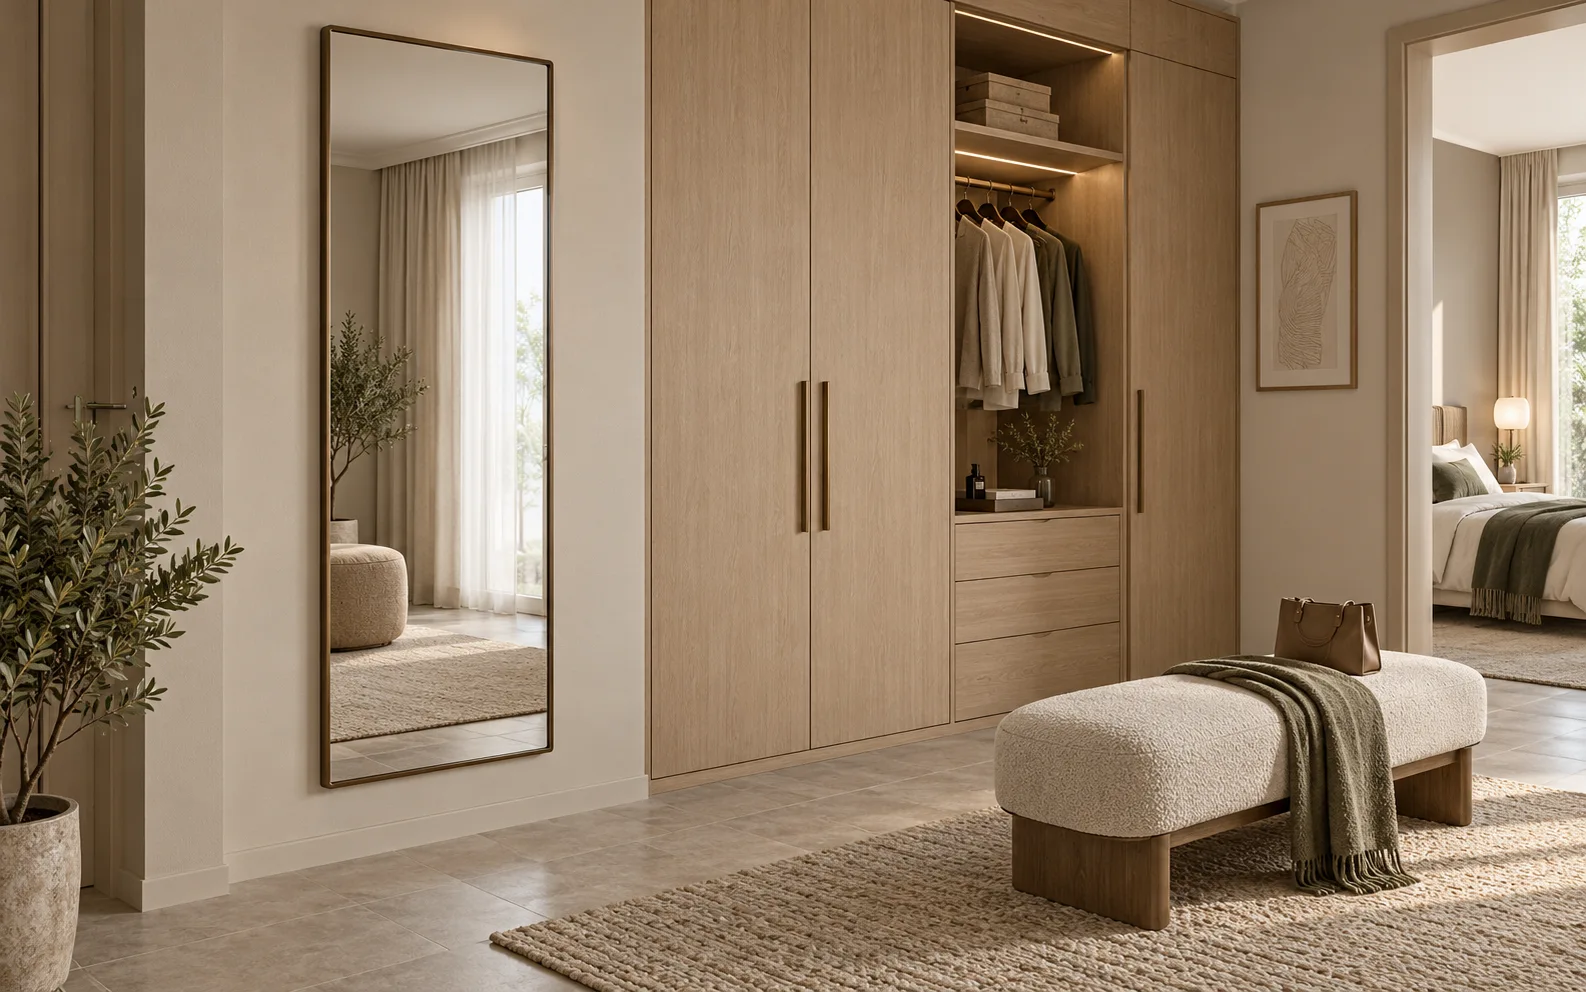
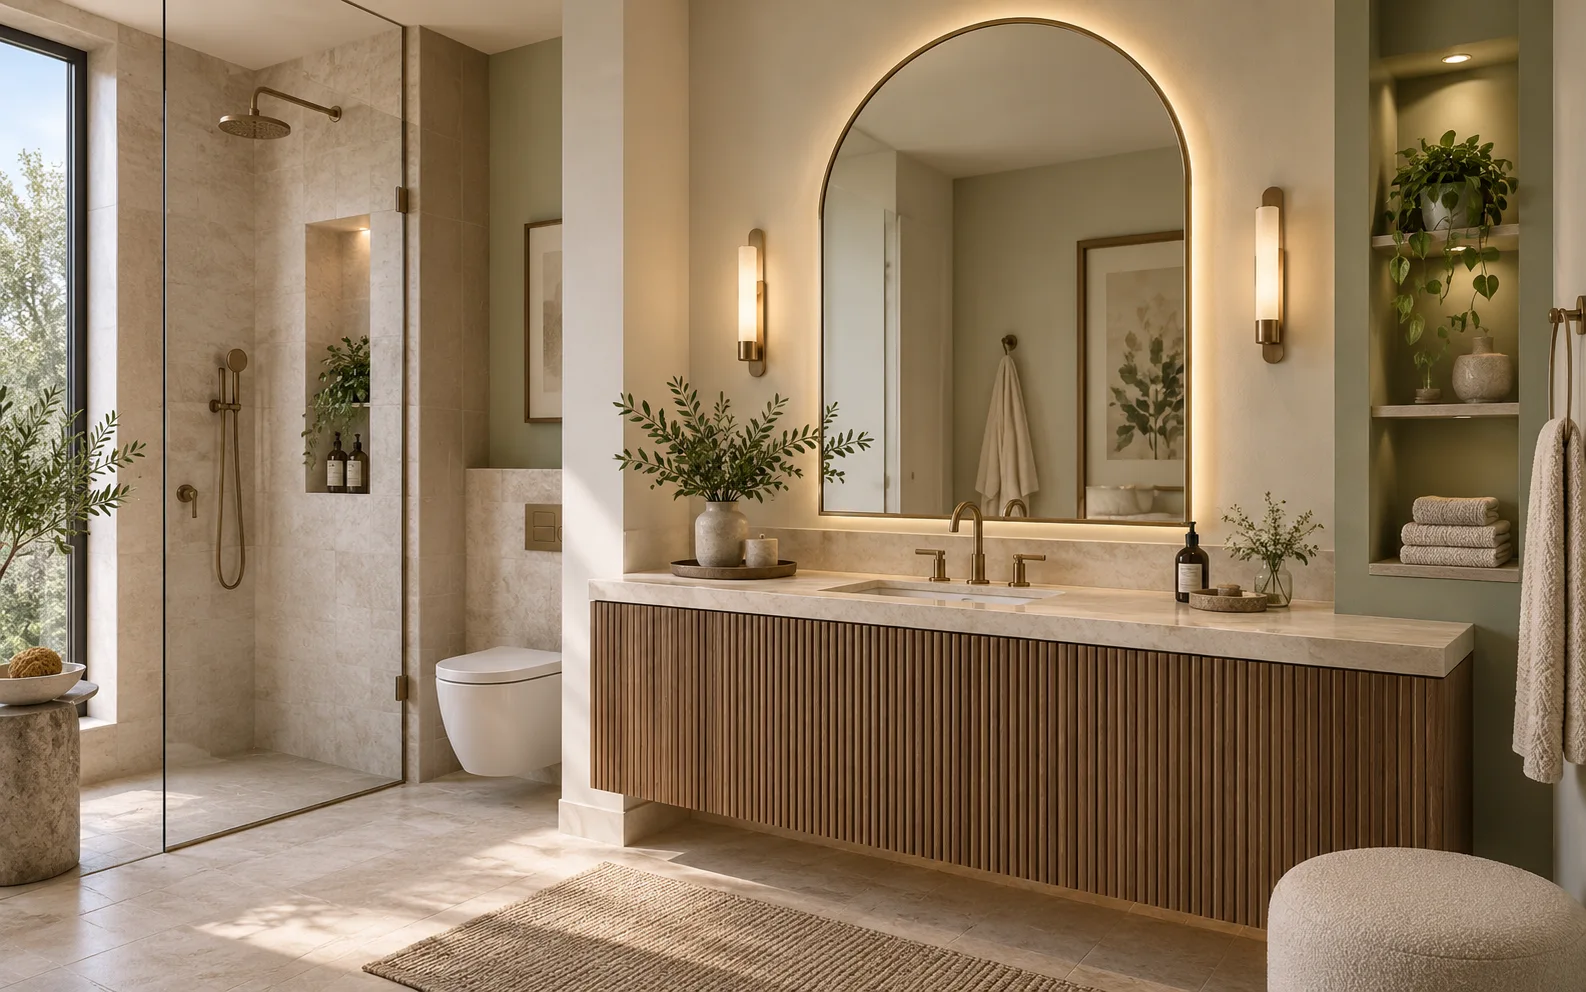
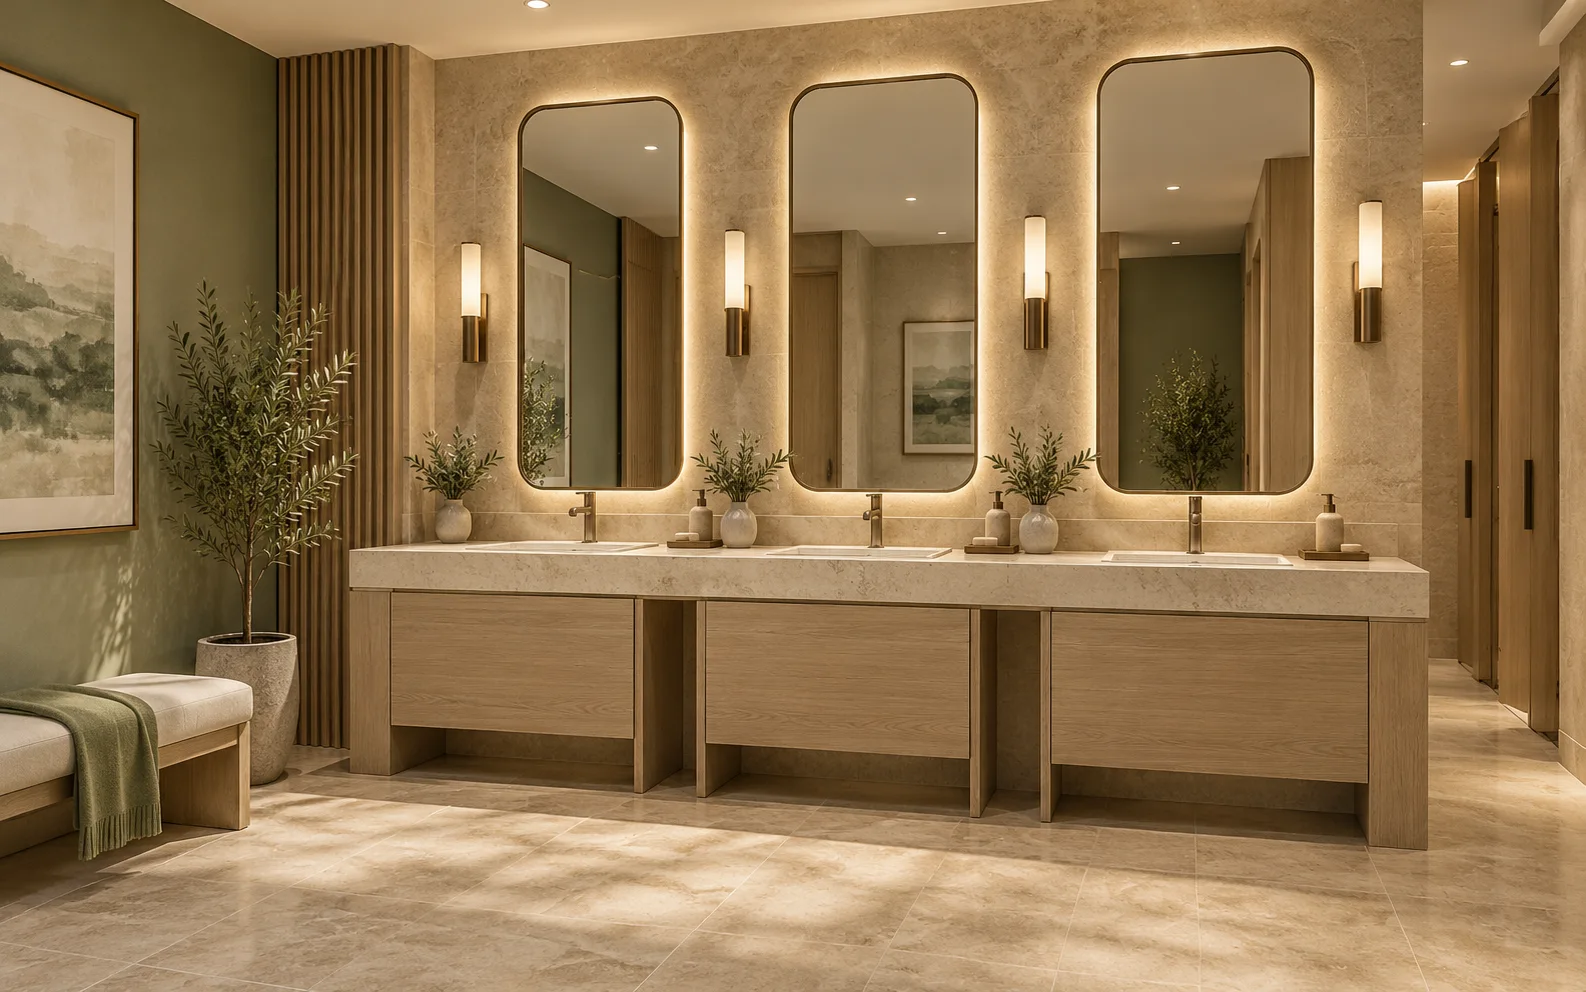
Design visualization of twin rounded LED mirrors above an oak double vanity in a warm residential bathroom
Residential & Multifamily Mirror Solutions

Custom Bathroom Mirrors for Multifamily & Residential Projects

Plan bathroom mirrors and medicine cabinets for apartments and condominiums. Compare configurations, download a mirror schedule, and send your sizes and quantities for project review.

Drawing & schedule reviewSample confirmationDelivery by project phase
Designed around daily life

Residential mirror solutions
for apartments & condominiums.

Start with how the room should feel: an uncluttered vanity, a comfortable reflection or space for two people to get ready. Then translate that experience into a mirror package that fits the residence and can be repeated across unit types.

For developers, designers, procurement teams and residential brands.

Residential mirror solutions

Three specification routes.
One coordinated development.

Compare the base bathroom package before adding upgrades. These are design briefs for quotation—not stock collections, confirmed models or fixed price tiers.

3D comparison of a frameless mirror, front-lit LED mirror and metal-framed backlit mirror in coordinated apartment bathrooms
01 / ESSENTIAL

A clear, repeatable base.

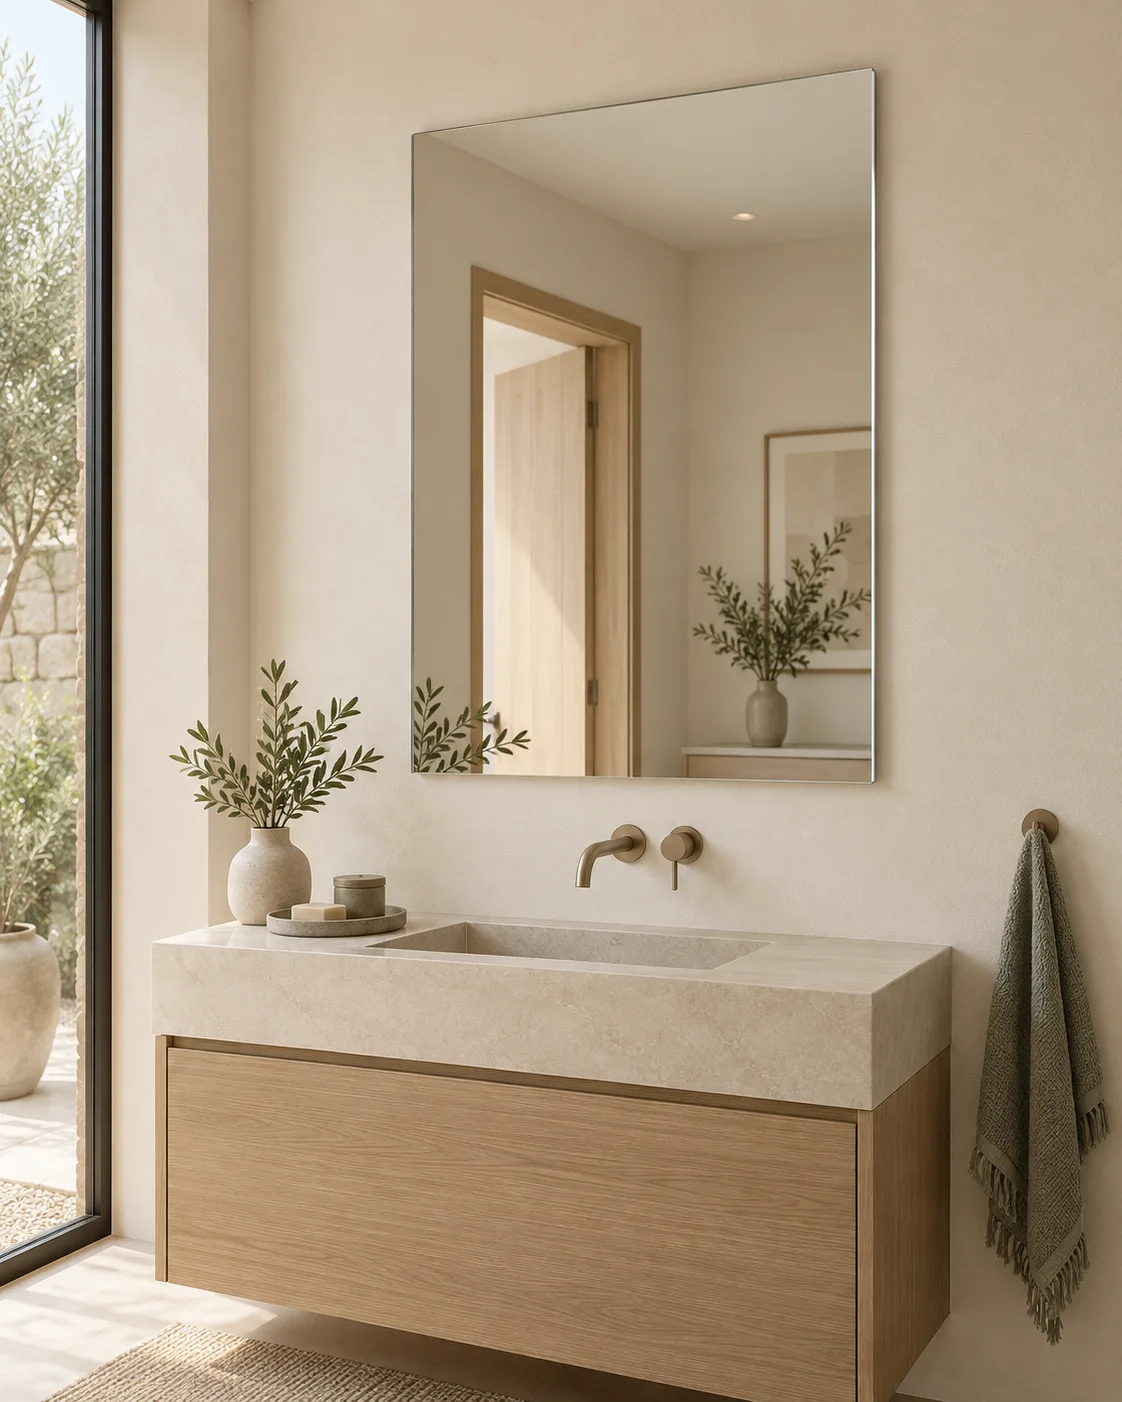
Frameless, non-lighted mirror for rental bathrooms with separate room lighting.

Reference brief
24 × 30 in or 30 × 36 in; rectangular outline; edge finish, backing and wall fixing to review.
Resident benefit
A simple reflection with no additional controls to learn.
Cost decision
Compare repeated dimensions and one agreed edge specification.
Add Essential to brief →
02 / COMFORT

Light for the daily routine.

LED bathroom mirror for apartments where integrated lighting is part of the room plan.

Reference brief
30 × 36 in or 30 × 40 in; front or back lighting; switching and light appearance to review.
Resident benefit
A consistent place to shave, apply skincare and get ready.
Cost decision
Agree one control arrangement before adding optional functions.
Add Comfort to brief →
03 / PREMIUM

Coordinate the finer details.

Framed LED mirror or a separately specified mirrored cabinet for condominium interiors.

Reference brief
30 × 40 in, 36 × 48 in or drawing-led size; frame sample and lighting to review. Cabinet dimensions are separate.
Resident benefit
A coordinated finish, with storage where the room needs it.
Cost decision
Keep display-unit upgrades distinct from the standard package.
Add Premium to brief →
Compare the product routes

Explore the residential
bathroom mirror collection.

Choose the family that solves the room requirement, then define size, finish and functions. One residential development can combine several families while retaining a coordinated appearance.

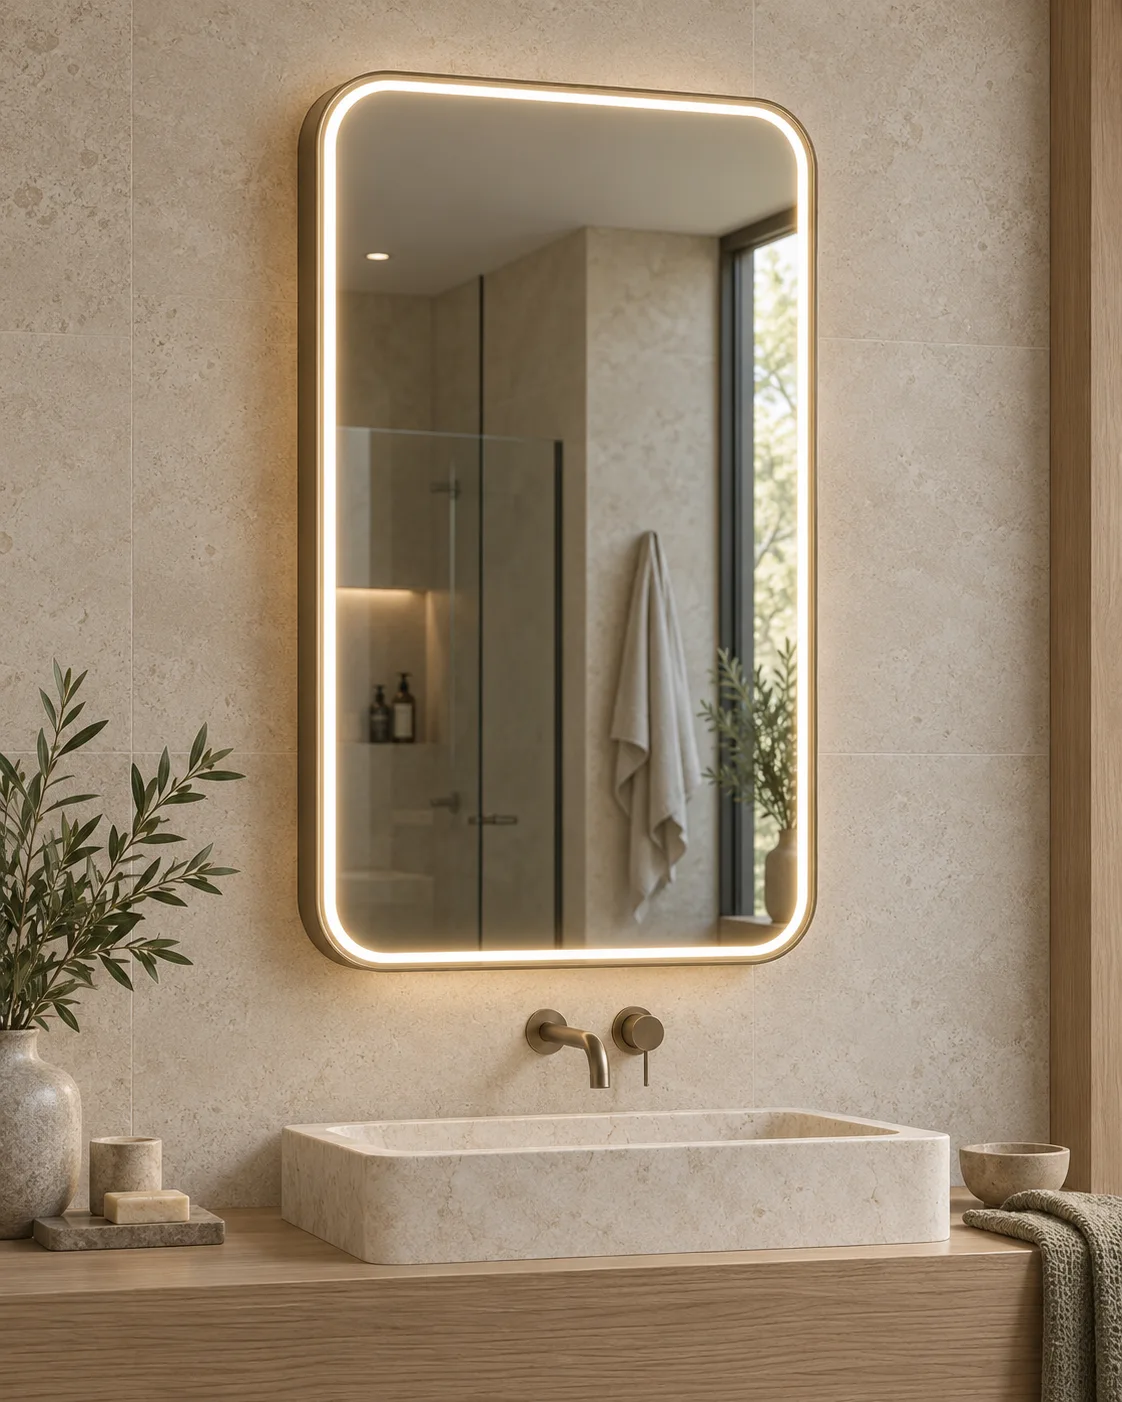
Complete rounded rectangular front-lit bathroom mirror above a stone basin

LED bathroom mirrors

For bathrooms where integrated mirror lighting is part of the design.

Define for quotation
Agree on light position, switching and the appearance with other room lights.
Selection note
Lighting is not a substitute for checking the complete bathroom lighting plan.
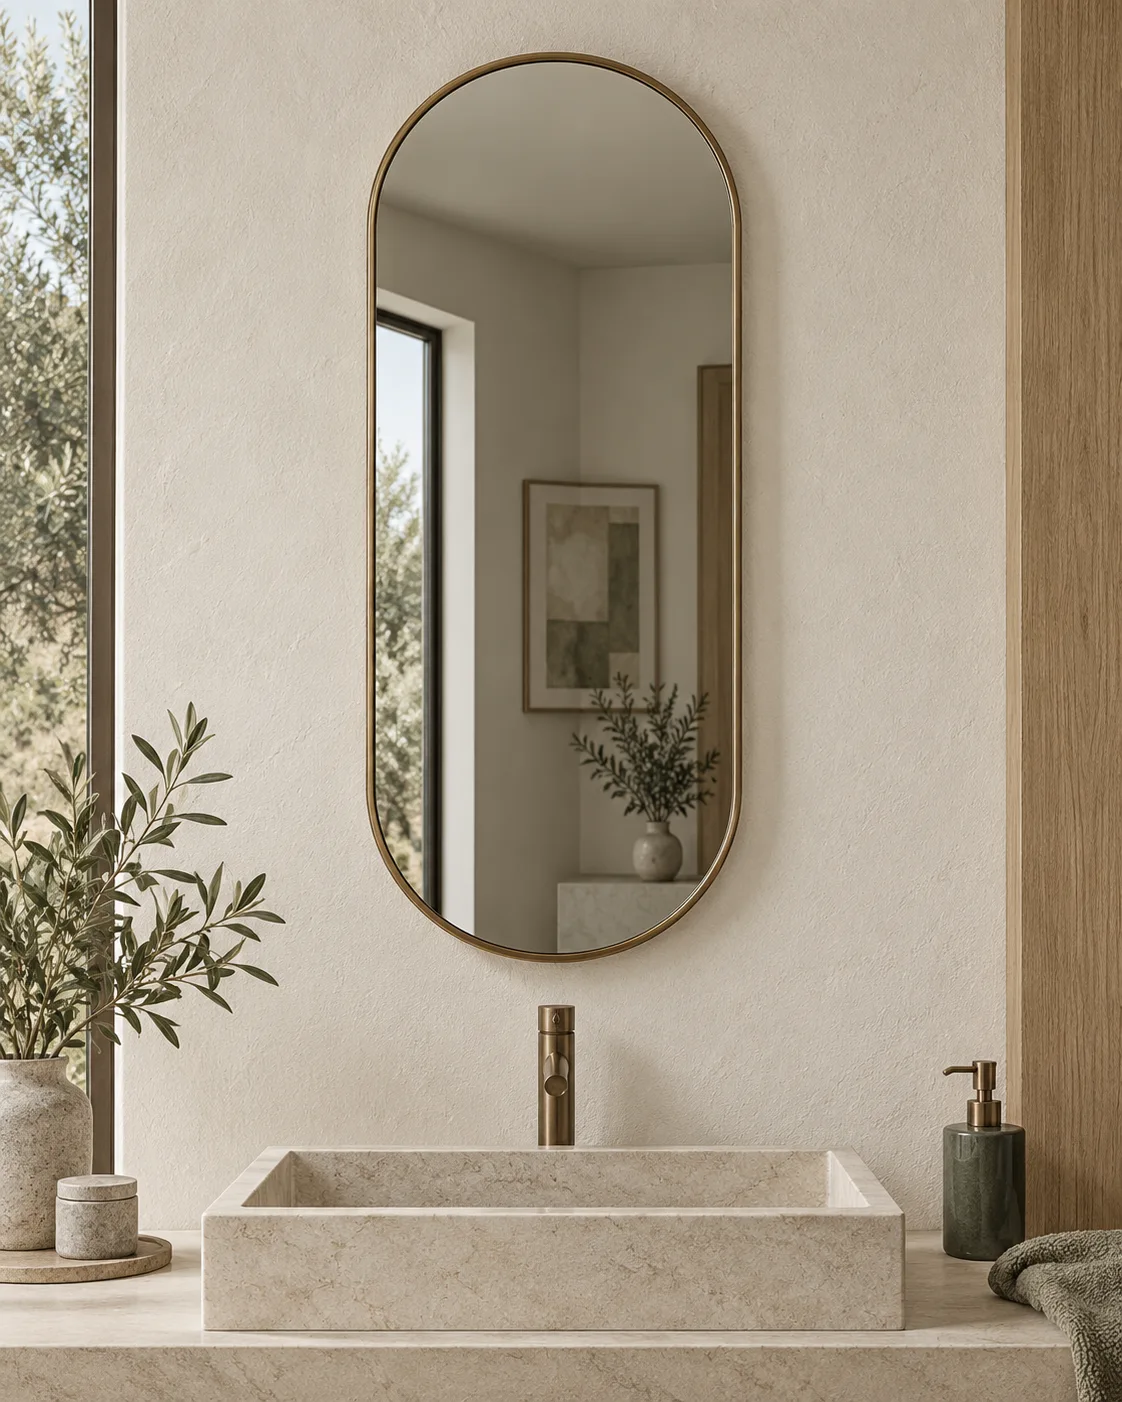
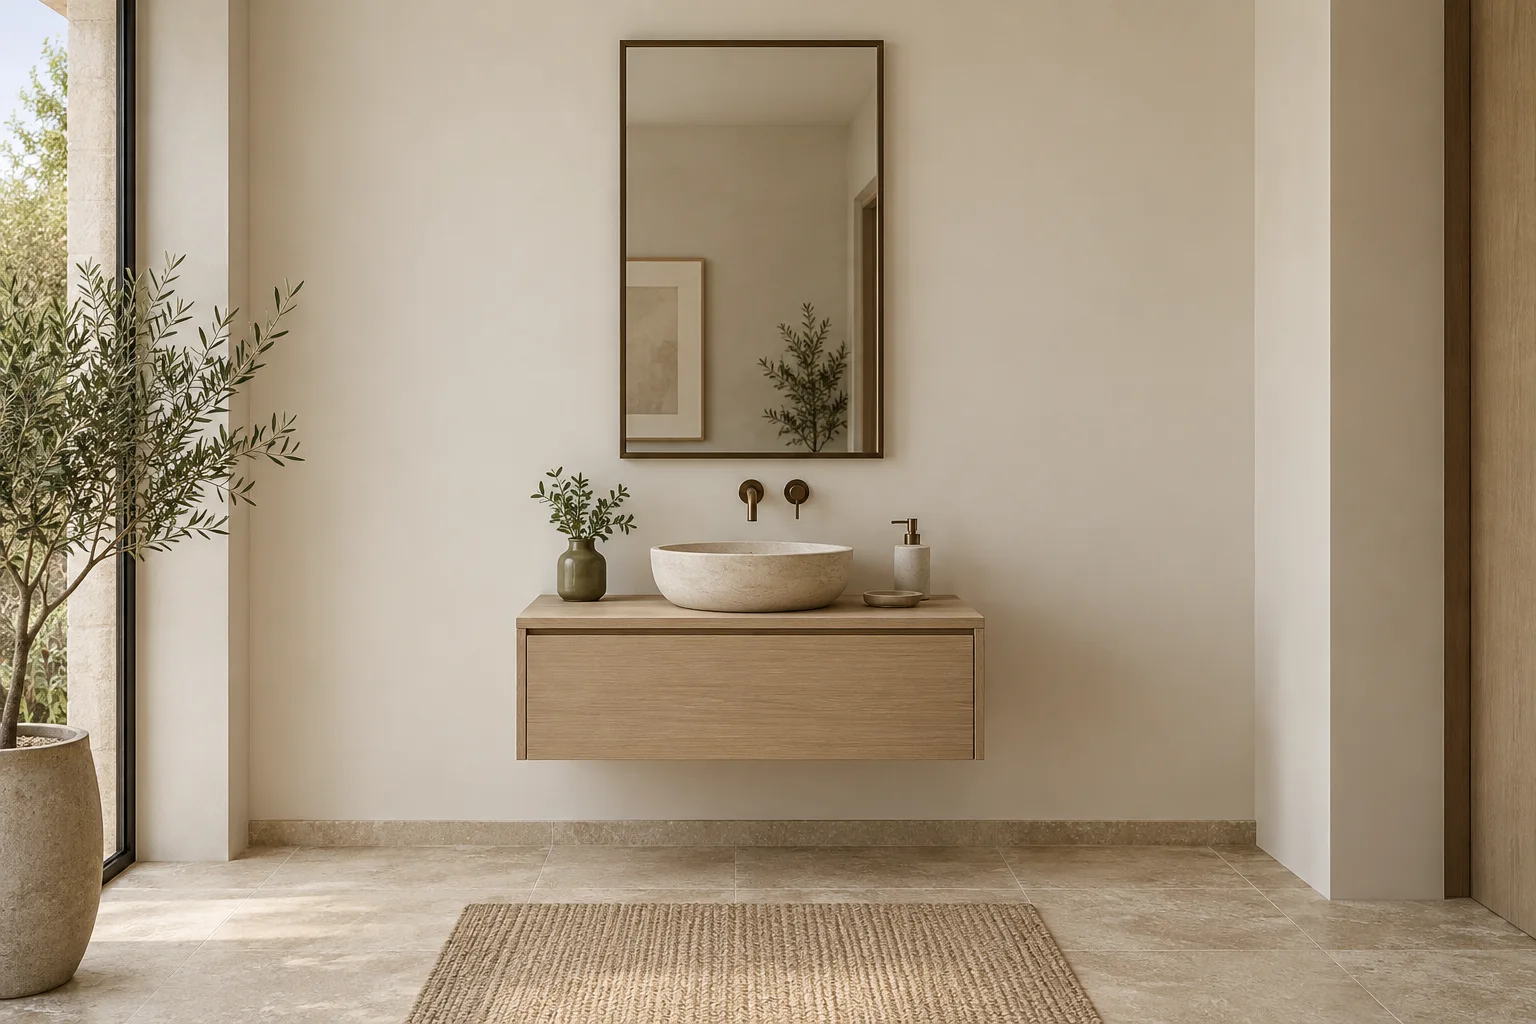
Pill-shaped non-lighted mirror showing its slender bronze metal frame

Framed mirrors

For coordinated metalwork and a defined outline above the vanity.

Define for quotation
Specify the frame material, profile, depth, sheen and finish reference.
Selection note
A finish name alone is not enough to match a faucet or cabinet handle.
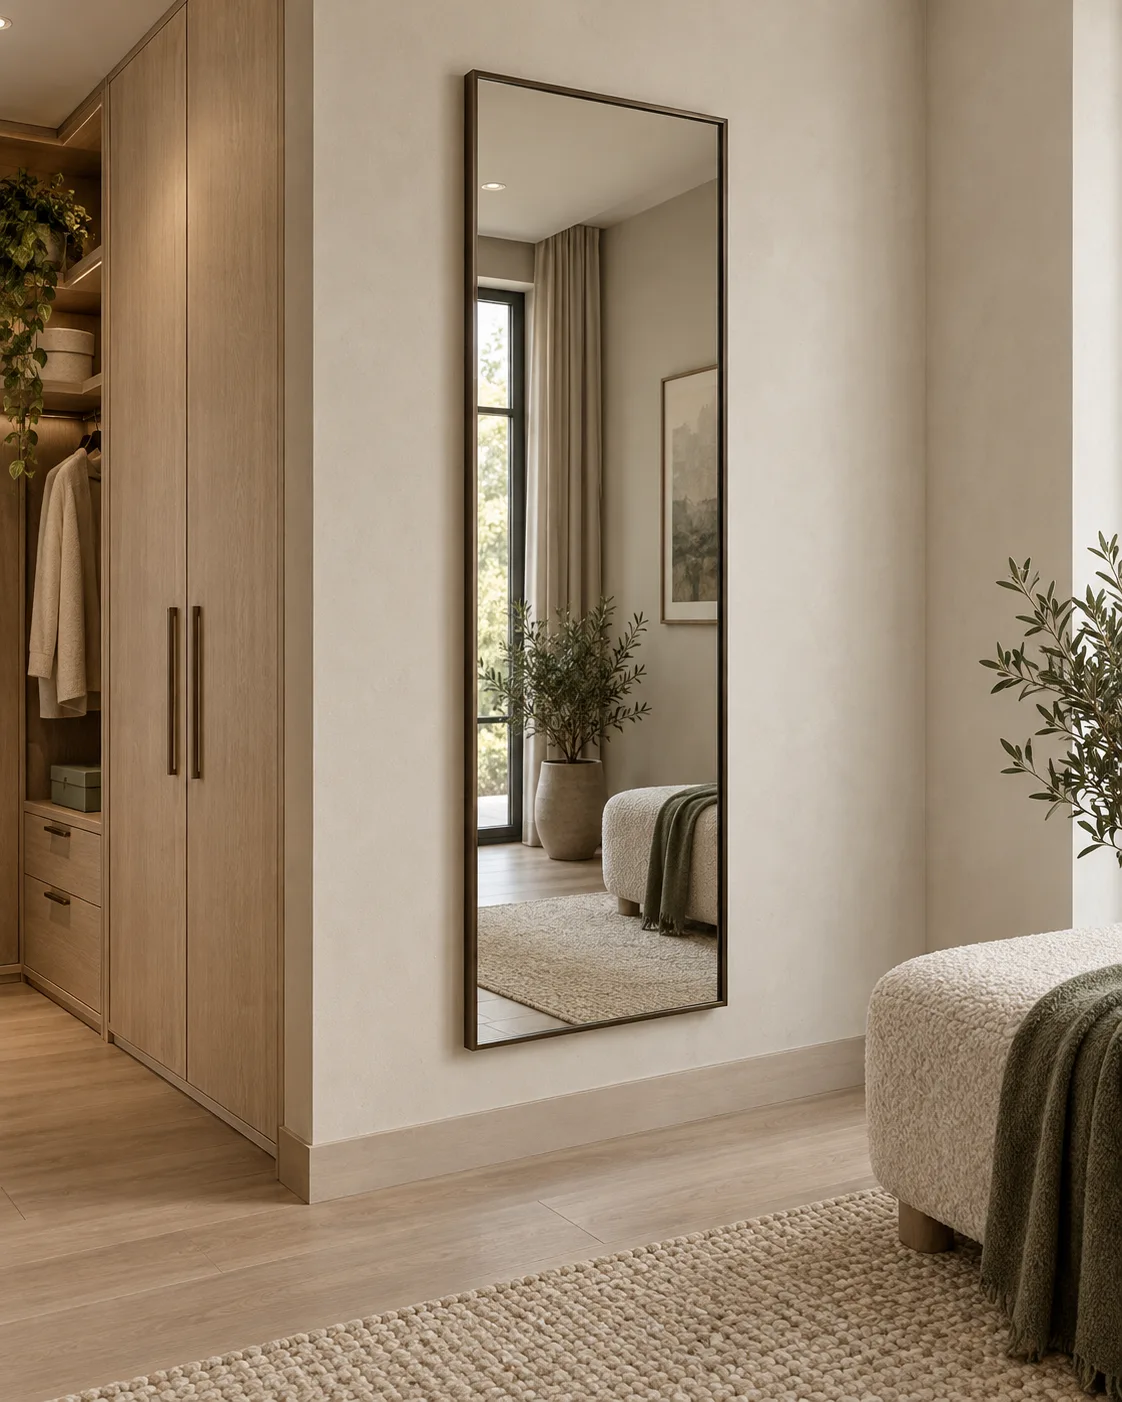
Complete dark bronze full-length wall mirror beside a residential wardrobe

Full-length mirrors

For bedrooms, wardrobes and dressing areas.

Define for quotation
Define wall-mounted use, orientation, edge treatment and backing requirements.
Selection note
Check viewing space and door clearance as well as mirror dimensions.
Rectangular frameless non-lighted mirror with a clean polished outline

Frameless mirrors

For clean elevations and rooms with lighting provided elsewhere.

Define for quotation
Define overall size, visible edge finish, backing and fixing arrangement.
Selection note
Installation and edge details still need approval even when the appearance is simple.
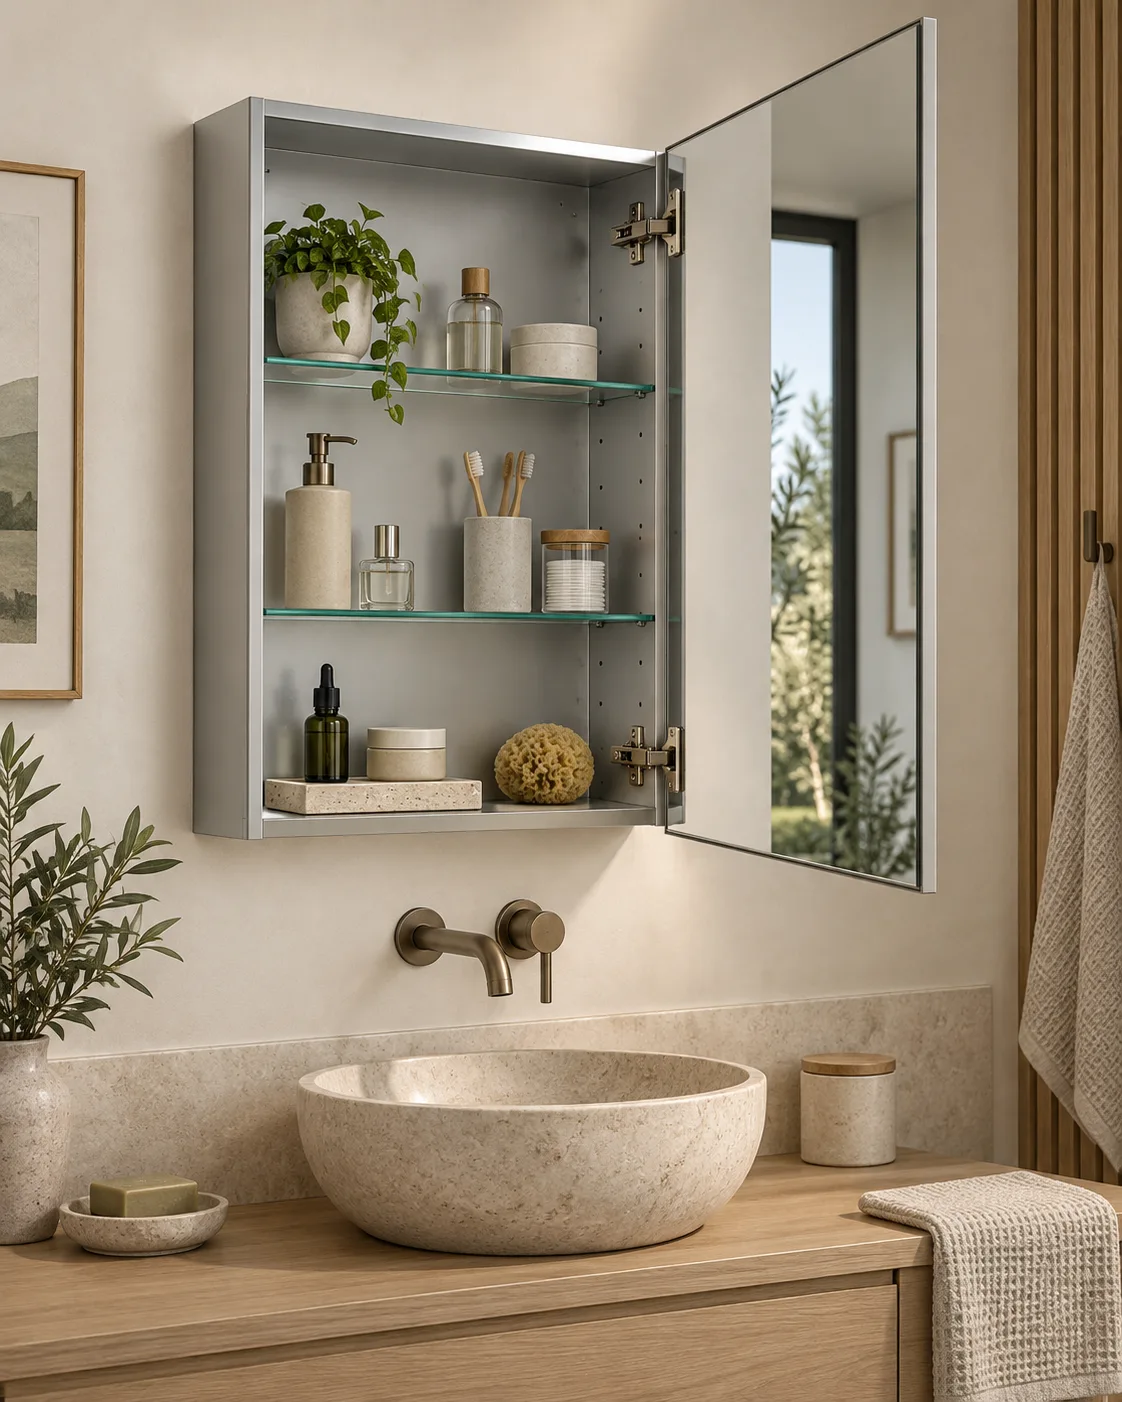
Open single-door mirrored cabinet showing glass shelves and storage depth

Mirrored medicine cabinets

For compact bathrooms that need storage at the vanity.

Define for quotation
Specify body depth, door handing, shelves and recessed or surface installation.
Selection note
The mirror face size does not define the required wall opening.
A quote-ready specification

Custom mirror specifications
& OEM options.

Record what is required, what is preferred and what remains open. The directions below are for engineering review; they are not a promise that every feature can be combined in every model.

Residential mirror specification matrix
DecisionDirections to reviewApprove before production
Family & shapeLED, framed, frameless, full-length or cabinet; rectangle, round, oval or drawing-led outlineRoom reference, drawing number, orientation and quantity
Dimensions & glassWidth × height; thickness, backing and edge treatmentOverall finished size, tolerances and selected construction
Frame & finishMaterial, profile, depth, color and sheenPhysical finish sample, not a screen color alone
Lighting & controlsFront, back or combined light; fixed or adjustable CCT; wall, touch or sensor operationCompatible driver, light sample, dimming and power-return behavior
Anti-fog & storageOptional demister; cabinet depth, door handing and shelvesCoverage, control arrangement, usable depth and opening clearance
Mounting & electricalWall condition; surface/recessed cabinet; supply and cable positionModel-specific drawing and applicable destination-market documentation
Packing & deliveryProtection, carton/crate plan, unit-type labels and shipment groupsAgreed inspection scope, packing list and receiving schedule

Voltage, certification scope, material availability, MOQ, warranty and lead time must be confirmed against the quoted model and order.

Size and installation planning

Common mirror sizes.
Resolve the room fit.

Mirror width is only one part of the elevation. Review the usable wall, faucet and backsplash, adjacent doors, lighting positions and access behind the mirror together.

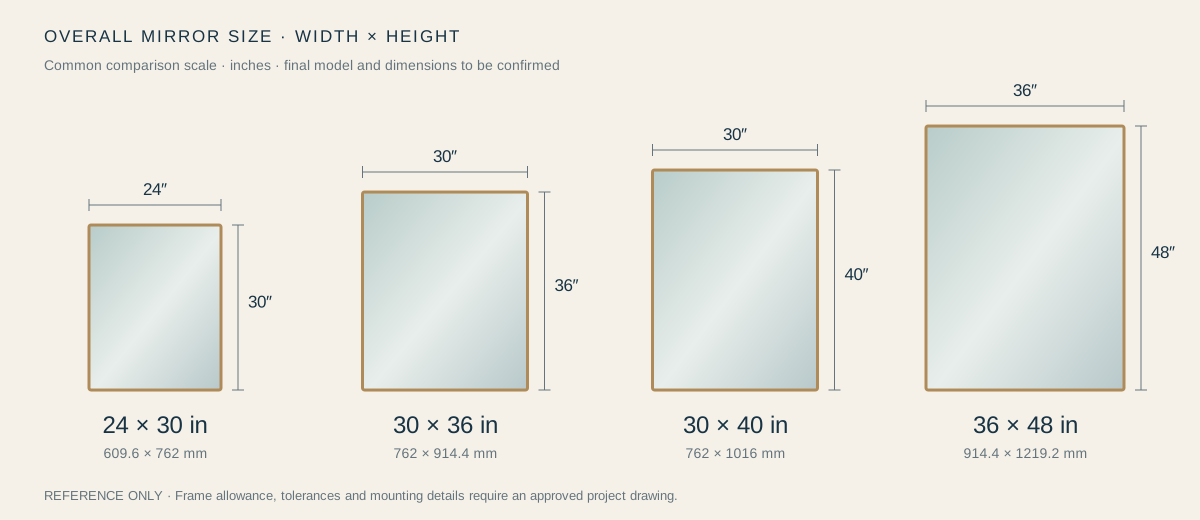
Reference sizes for multifamily bathrooms

Use these width × height combinations to start a room-layout comparison. They are planning references, not stock sizes, recommended clearances or confirmed manufacturing limits.

Four proportionally scaled mirror outlines: 24 by 30, 30 by 36, 30 by 40 and 36 by 48 inches
Front elevations at a common comparison scale. Dimensions refer to the overall proposed mirror, including a frame if selected. Not a construction drawing.
Width × height · inches and exact millimeter conversion
Reference sizeMillimetersLayout to compareCheck first
24 × 30 in609.6 × 762 mmCompact single vanityUsable wall and side lights
30 × 36 in762 × 914.4 mmSingle-basin apartment bathroomBasin center and backsplash
30 × 40 in762 × 1016 mmTaller primary-bathroom elevationFaucet and ceiling clearance
36 × 48 in914.4 × 1219.2 mmLarger vanity or portrait compositionHandling, access and fixing design
Drawing-ledConfirm W × HWide double vanity or custom outlineOne wide mirror versus two separate stations
Residential bathroom mirror elevation planningDiagram marking mirror width A, height B, clearance above faucet C, cable exit D and overall vanity width E. Dimensions are to be supplied for the actual room. A · Mirror widthBCDE · Vanity width
Planning diagram, not an installation drawing. Supply actual dimensions and the finished wall condition for review.
A + B

Overall dimensions

Specify width × height, orientation and whether dimensions include the frame. For custom shapes, include the full outline and corner geometry.

C

Clearance around the mirror

Show the top of the faucet, backsplash, side walls and nearby doors. Allow for the space needed to lift the mirror onto its mounting system.

D

Connection and service access

Identify the intended cable exit and power connection. Coordinate the driver location, switching arrangement and replacement access in the selected construction.

E

Vanity and basin alignment

Mark the vanity edges and basin centerlines. For two basins, compare one continuous mirror with two independent mirrors before fixing the electrical layout.

One vertical mirror centered above one basin on a single vanity

Single vanity

Center the mirror on the basin or the full composition. Confirm room for side lighting where specified.

One wide horizontal mirror spanning two basins on a double vanity

Double vanity · one mirror

A continuous reflection connects both basins. Review handling size, fixing positions and transport access.

Two separate vertical mirrors centered over two basins on a double vanity

Double vanity · two mirrors

Separate mirrors create individual stations. Record the gap, basin centers and connection position for each.

What changes when a bathroom has already been finished?

Provide site measurements rather than relying only on the original plan. Identify retained tiles, existing power points and any surface that cannot be cut or drilled. Confirm whether a cabinet recess is possible before selecting recessed storage; a surface-mounted cabinet still needs suitable wall fixing and door clearance.

Room-by-room selection

Mirror solutions for
different residential spaces.

Choose around the routine, the available wall and the storage already in the room. These starting points help turn a general residential brief into a room-specific specification.

Twin rounded illuminated mirrors above two basins in a warm residential primary bathroom
01 / PRIMARY BATHROOM

Everyday grooming, shared comfortably.

Start with LED mirrors or coordinated framed mirrors. For a double vanity, decide whether the room needs one continuous reflection or a separate station for each basin.

THE RESIDENT EXPERIENCE

A calmer start to the day.

A clear reflection around each basin supports shaving, skincare and getting ready. Two well-positioned stations give residents their own space during a shared morning routine.

What to resolve in the room drawing

Review basin centerlines, light placement and whether each station needs its own controls.

Add this room to the brief →
Open mirrored cabinet and compact vanity in a small apartment ensuite
02 / COMPACT ENSUITE

Make a small vanity work harder.

Compare a slim wall mirror with a mirrored cabinet when the room has limited storage. Cabinet depth should be reviewed alongside the faucet, side wall and door opening.

THE RESIDENT EXPERIENCE

Small space, easier mornings.

Storage behind the mirror keeps daily essentials close and the vanity less crowded. Check that residents can open the door comfortably and reach the shelves.

What to resolve in the room drawing

Check the available wall depth before choosing recessed storage; confirm side appearance and projection for surface mounting.

Add this room to the brief →
Oval bronze framed mirror above a walnut vanity in a guest powder room
03 / POWDER ROOM

Let the proportions do the work.

A framed, round or softened shape can give a small guest washroom a distinct identity. If other fixtures provide the required light, a non-lighted mirror is a useful option to compare.

THE GUEST EXPERIENCE

A welcoming moment to freshen up.

For a guest washing their hands or checking their appearance, a well-proportioned mirror and comfortable room lighting make a small space feel welcoming.

What to resolve in the room drawing

Coordinate frame color and profile with the faucet and wall finish. Avoid choosing the shape before measuring the usable wall.

Add this room to the brief →
Full-length wall mirror beside an oak wardrobe with clear standing space
04 / DRESSING AREA

Plan for the whole reflection.

Use a full-length mirror where residents dress or check an outfit. Position it within the furniture layout so the viewing area remains usable when wardrobe and room doors are open.

THE RESIDENT EXPERIENCE

Leave home feeling put together.

Enough space to step back lets residents see an outfit from clothing to shoes. Keep opening doors out of that viewing area for an easy final check.

What to resolve in the room drawing

Identify the clear wall, mounting direction and nearby doors. Specify whether the mirror is wall-mounted rather than assuming a leaning installation.

Add this room to the brief →
Arch-top illuminated mirror and fluted walnut vanity in a premium residence concept
05 / SHOW HOME & PREMIUM UNIT

Make the approved finish repeatable.

Use the model unit to agree on the visible details: frame profile, light line, control position and the relationship to the vanity. Separate display-unit upgrades from the standard residence package.

THE VISITOR & RESIDENT EXPERIENCE

Picture everyday life here.

Coordinated finishes help visitors picture daily life in the residence. Carry the approved proportions and simple controls into the delivered room, not just the display unit.

What to resolve in the room drawing

Keep an approved room schedule so a premium display specification is not mistaken for the scope of every unit.

Add this room to the brief →
Three illuminated mirrors over three basins in a shared resident washroom
06 / SHARED AMENITIES

Specify each shared space separately.

Common washrooms, changing areas and resident fitness rooms have different layouts and daily-use demands. Plan mirror coverage, lighting and maintenance access for the actual room.

THE RESIDENT & GUEST EXPERIENCE

Feel at ease in a shared space.

A clear reflection gives residents and guests somewhere to freshen up. In changing or fitness areas, allow viewing space so people do not crowd one another.

What to resolve in the room drawing

For larger wall coverage, review panel joints, delivery access and mounting with the site team. Do not reuse a bathroom specification by default.

Add this room to the brief →
Start with the way people live

Different residences.
Different priorities.

A rental operator, a condominium developer and a private villa project may use similar mirrors but need different decisions recorded. Choose the project profile first, then refine the room package.

01 / BUILD-TO-RENT

Make repeat orders easier.

For managed rental communities, agree on a small number of repeatable sizes and a clear control layout. Record the approved construction so later buildings and replacement orders can be reviewed against the same reference.

Define early
Unit mix, bathroom types and replacement approach.
Keep consistent
Mounting positions, connection details and resident instructions.
Plan a rental program →
02 / CONDOMINIUMS

Keep upgrades controlled.

Separate the base specification from purchaser-selected upgrades. A finish or lighting change should have its own approved reference and a clear cut-off date before production is released.

Define early
Standard and upgrade schedules, selection deadlines.
Keep consistent
Unit identification, finish references and packing labels.
Plan unit upgrades →
03 / BRANDED RESIDENCES

Carry the interior language.

Coordinate the mirror with the vanity, stone, metalwork and room lighting. Use a representative bathroom mock-up to check the complete composition before approving the same details across residences.

Define early
Design authority, finish board and mock-up scope.
Keep consistent
Frame profile, visible light line and controls.
Coordinate the design →
04 / VILLAS & RENOVATIONS

Work with the actual room.

Review each elevation for sloping ceilings, niches, existing tile and retained wiring. When layouts vary, group only the mirrors that can share a construction without compromising fit.

Define early
Finished wall dimensions and existing services.
Keep consistent
Measurement units, drawing revisions and installation access.
Review a room layout →
Design coordination, before site work

Installation details
& technical drawings.

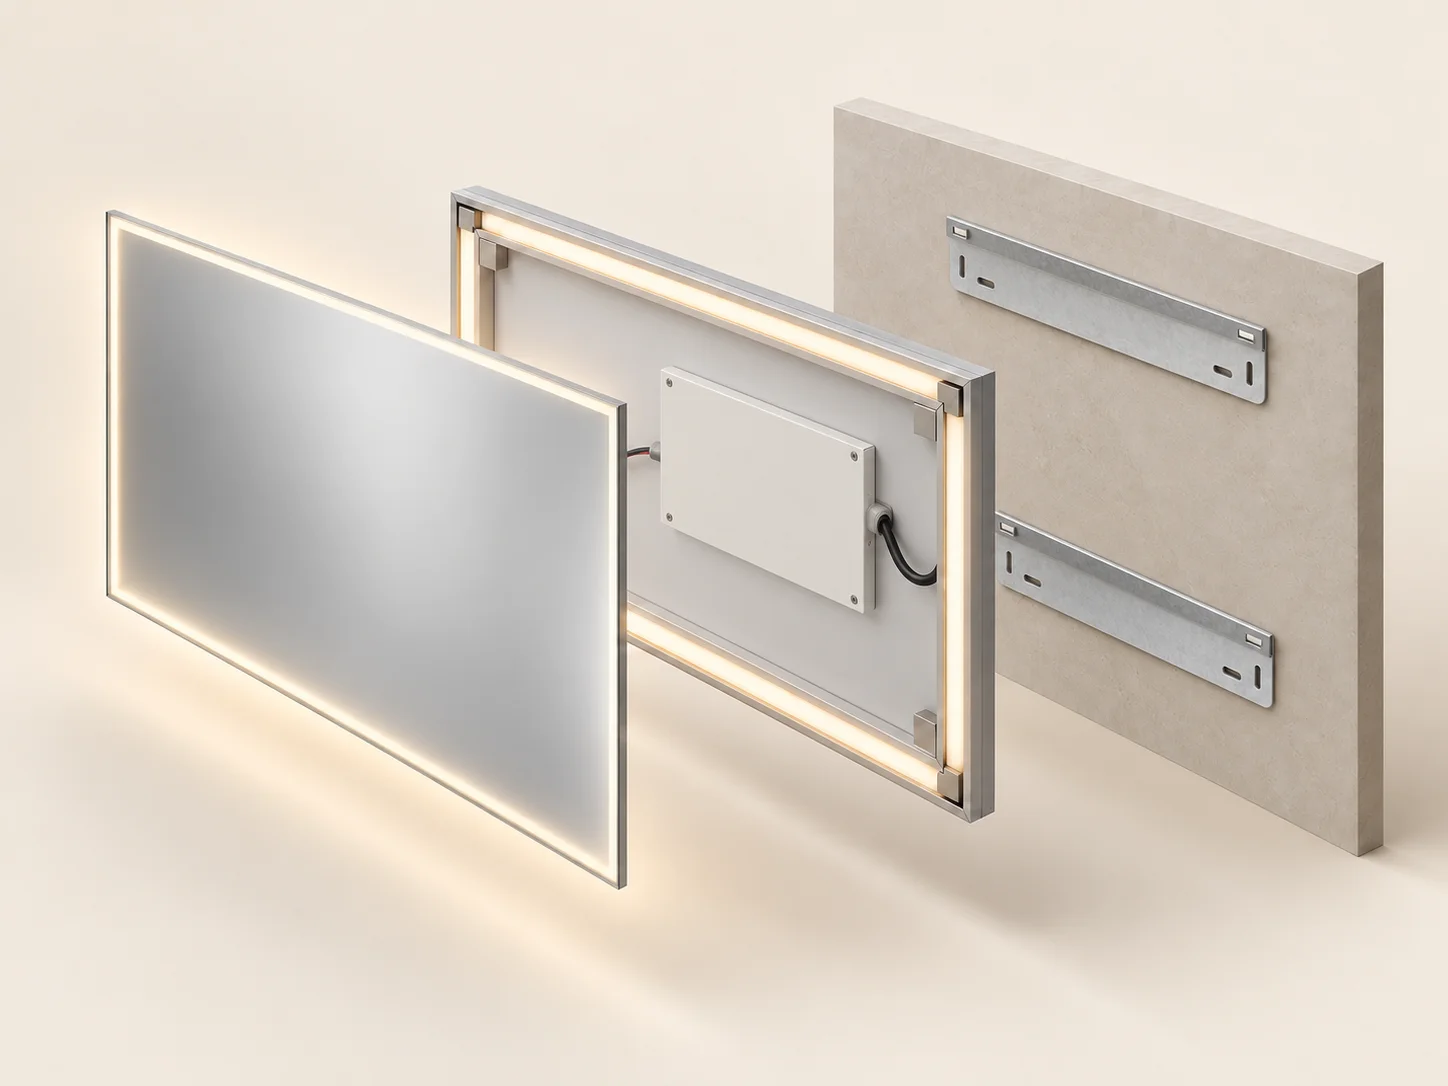
Review the mirror, rear assembly and wall as one interface. An attractive front elevation is not enough to define how a mirror is supported, connected or removed for service.

Conceptual exploded 3D view of mirror glass, illuminated rear assembly and wall mounting interface
Design reference only. Use the approved model-specific drawing for installation.

What the approved drawing must resolve

  1. Mirror face: overall outline, glass specification and frame allowance.
  2. Lighting assembly: light direction, diffuser and rear structure.
  3. Driver and cable: actual location, connection method and service access.
  4. Wall interface: suitable substrate, fixing design and mounting engagement.
  5. Working clearance: room to lift on, connect and later remove the assembly.

Do not derive dimensions, load ratings or electrical instructions from this illustration.

Request a drawing review →
NEW CONSTRUCTION

Coordinate before walls close.

Agree mirror centers, intended cable position and wall support with the site team. For cabinets, confirm the body, opening and trim dimensions independently. Freeze the approved drawing revision before repeating it across rooms.

RENOVATION

Start with measured conditions.

Record finished tile, retained wiring, existing holes and surfaces that cannot be altered. Check door swing and projection before choosing cabinet storage. An original plan does not replace a current site measurement.

Agree responsibility in the project scope
Factory-side reviewSite-side confirmation
Quoted model, shop drawing, selected components, product instructions and packing scopeSite measurement, substrate assessment, appropriate fixing design, electrical connection and local installation requirements
Record sample decisions and proposed changes for approvalCoordinate adjacent trades, installation access and sign-off authority
Behind the mirror

Actual components.
A clearer drawing brief.

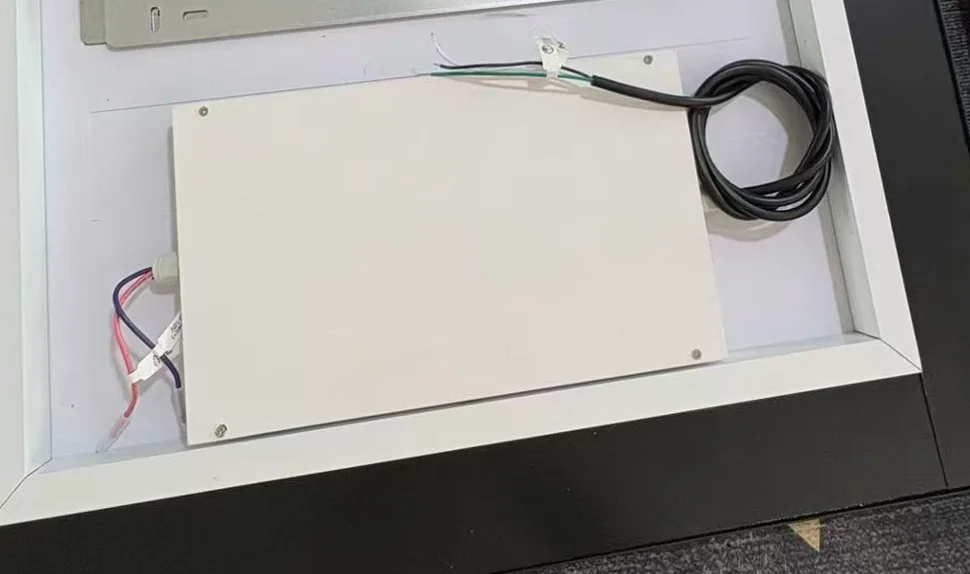
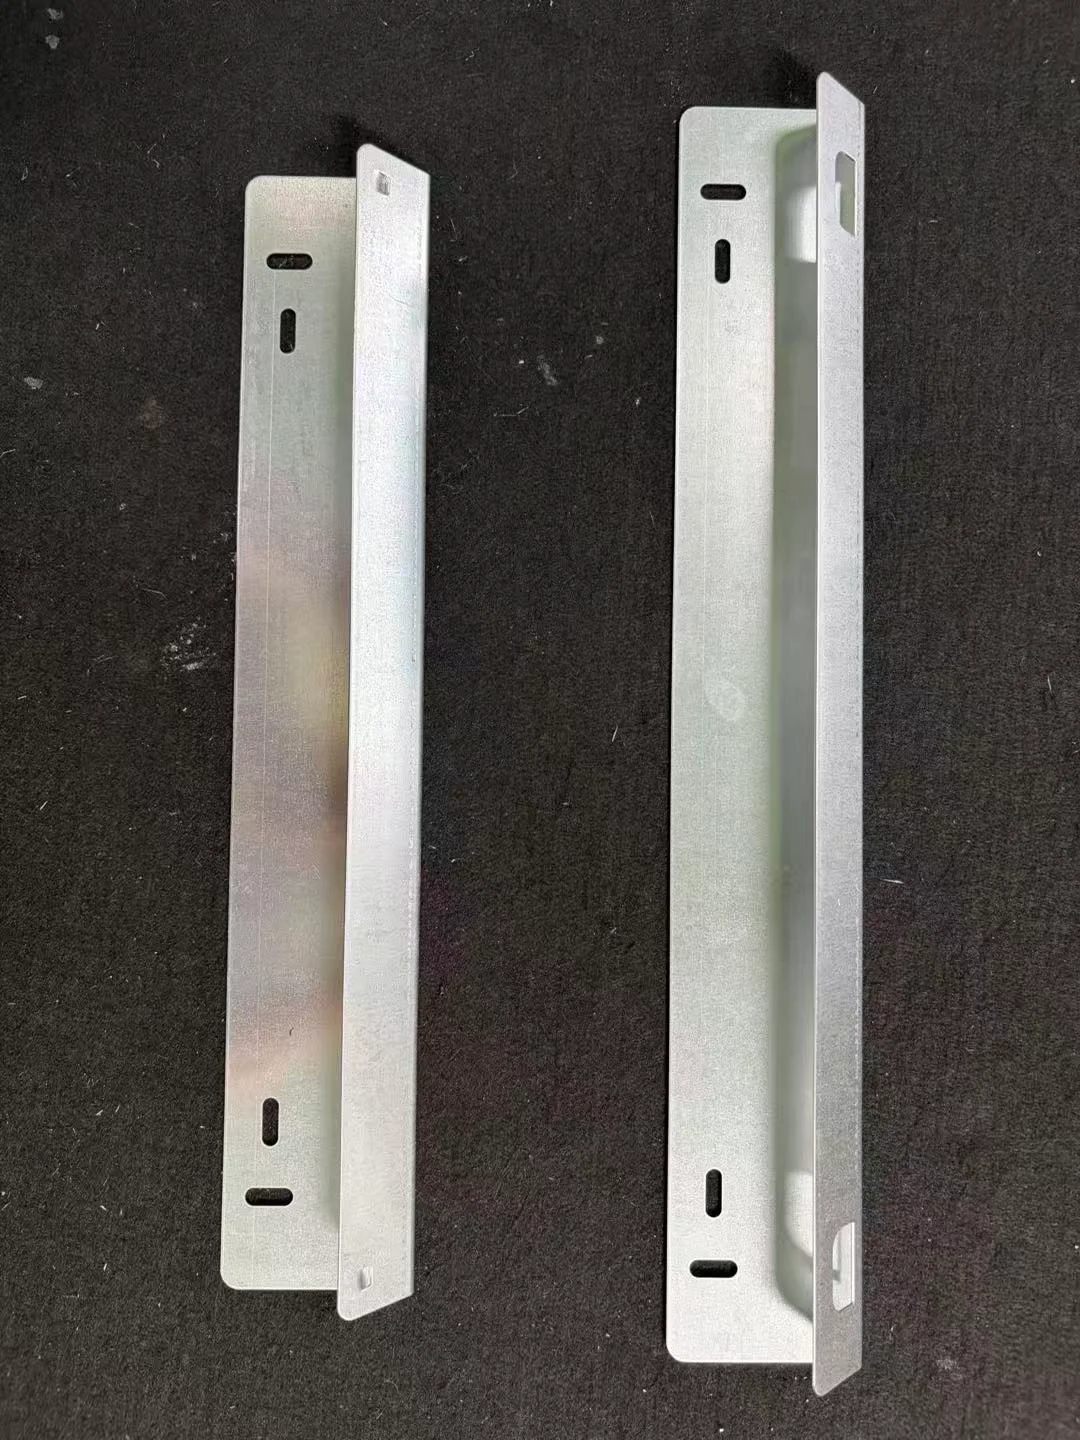
These component photographs show the enclosed power box and folded mounting plates supplied as design references. Confirm the selected model's dimensions, location and fixing arrangement in its approved drawing.

Actual mirror rear assembly with a flat white metal power enclosure and cable outlets
Enclosed power boxReview enclosure access, cable routing and the model's electrical documents. The photograph does not establish a voltage or certification rating.
Two actual folded metal mounting plates with elongated fixing slots
Folded mounting platesCoordinate engagement, orientation and service clearance. The installer must review suitable wall support and fixings for the actual substrate.
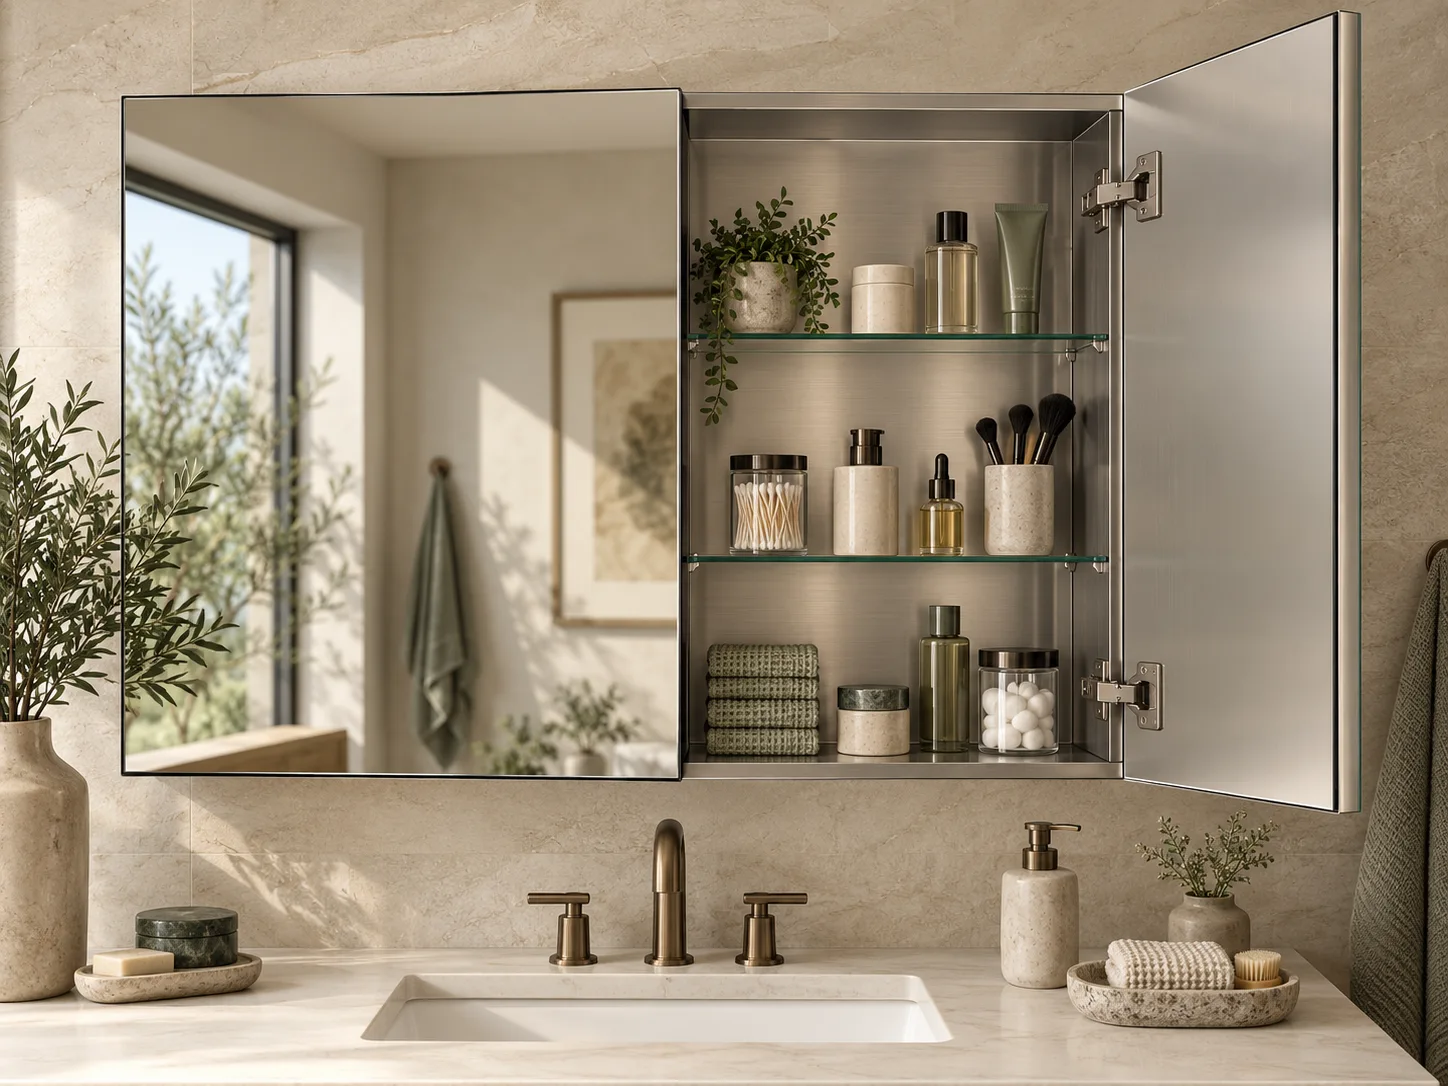
Two-door mirrored cabinet with the right door open to reveal shelves and hinges
Mirror and storage, planned together

More room for
everyday essentials.

A mirrored medicine cabinet can bring storage into the vanity zone when drawers or counter space are limited. Select the installation method from the wall condition, then review how the doors and shelves will be used.

Recessed · coordinate the wall opening

Review the required opening, available depth and concealed services with the site team. Keep the finished mirror dimensions separate from the cabinet body and opening dimensions.

Surface-mounted · review depth and side finish

Confirm how far the cabinet projects above the vanity, what is visible from the side and whether the door can open without contacting a wall, light or adjacent fixture.

Doors, shelves and power · confirm the actual configuration

Specify door count and handing, shelf arrangement and storage needs. Where internal outlets or charging are requested, confirm the electrical configuration and applicable documentation for that model and market.

Light for the daily routine

A clear reflection.
A comfortable room.

Choose the lighting effect and the control behavior separately. Review the mirror with the bathroom's other lights so appearance and usability can be judged in context.

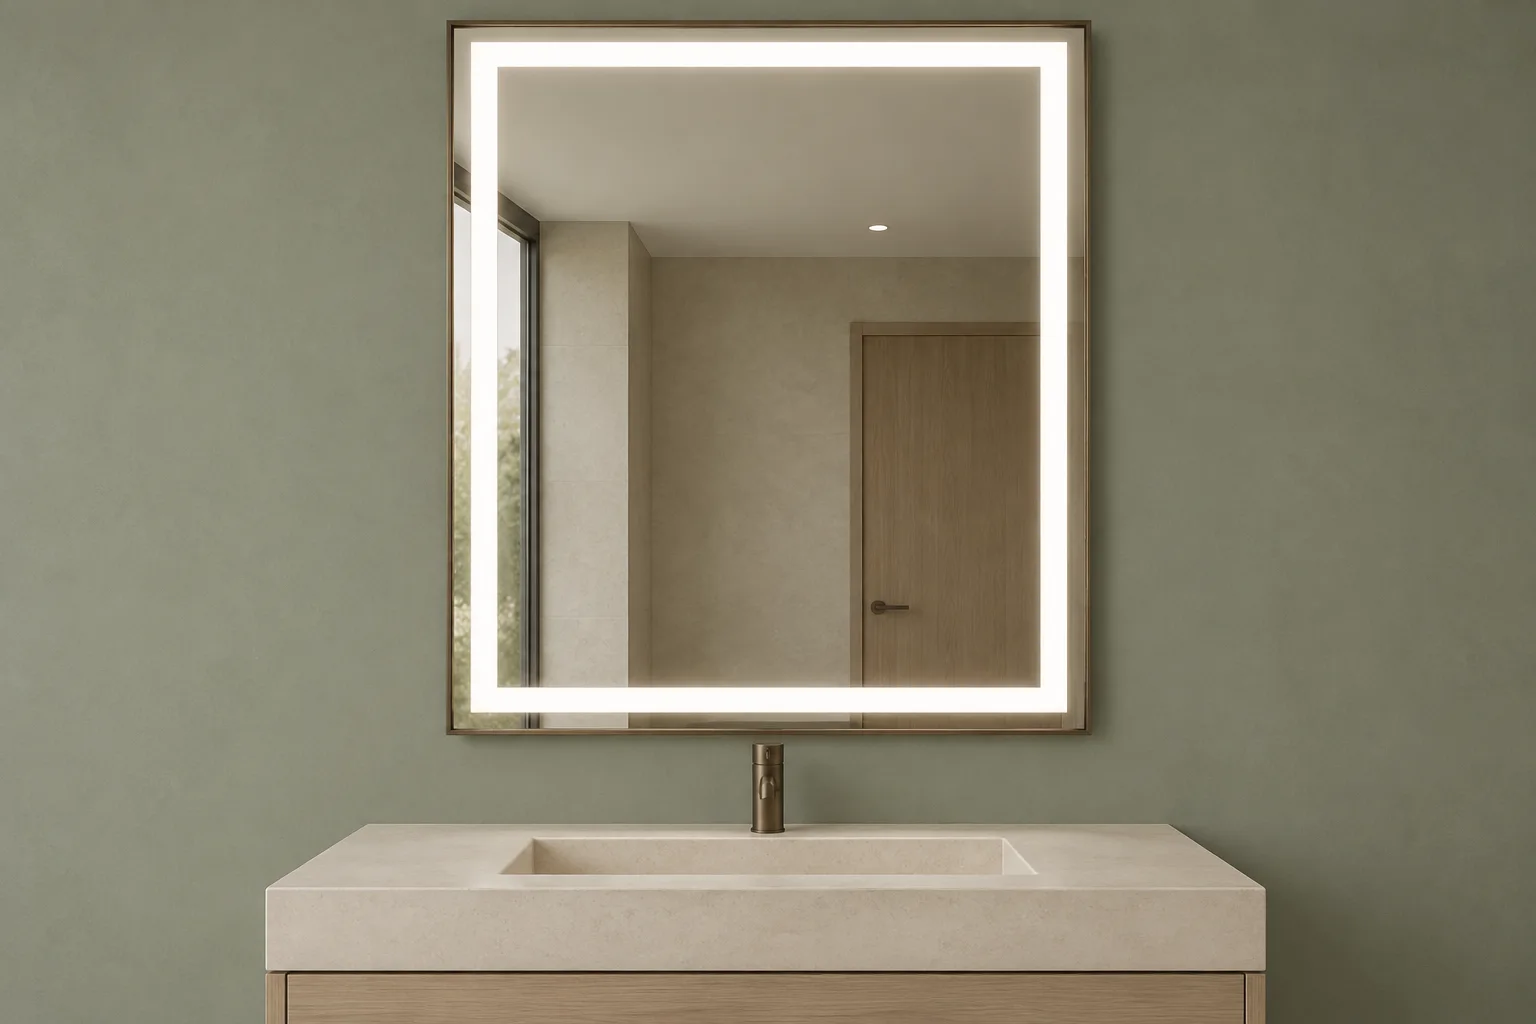
Front-light concept with a luminous band on the mirror face and no rear halo

Front light

A visible light line at the mirror face can be considered where grooming visibility is a priority. Review facial illumination, glare and the actual sample with the room lighting.

Discuss: light position, output and diffusion.
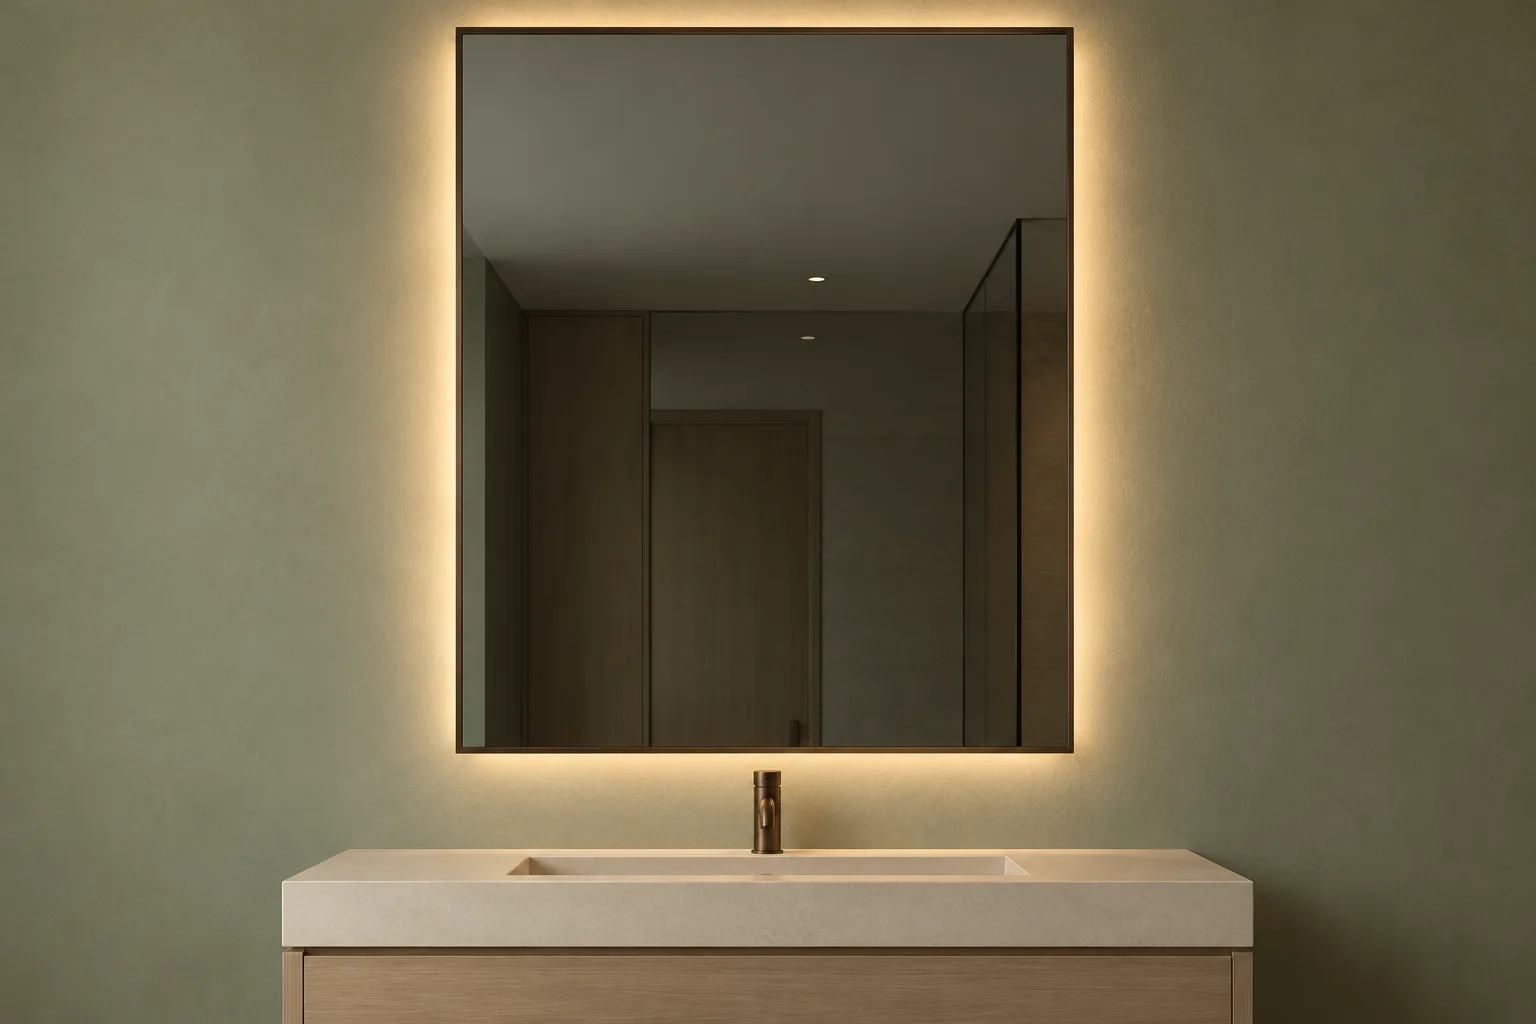
Backlight concept with a wall halo behind the mirror and no front light band

Backlight

A glow around the perimeter emphasizes the mirror and wall finish. Its appearance depends on wall color, texture and the distance behind the mirror.

Discuss: wall finish, rear clearance and other task lights.
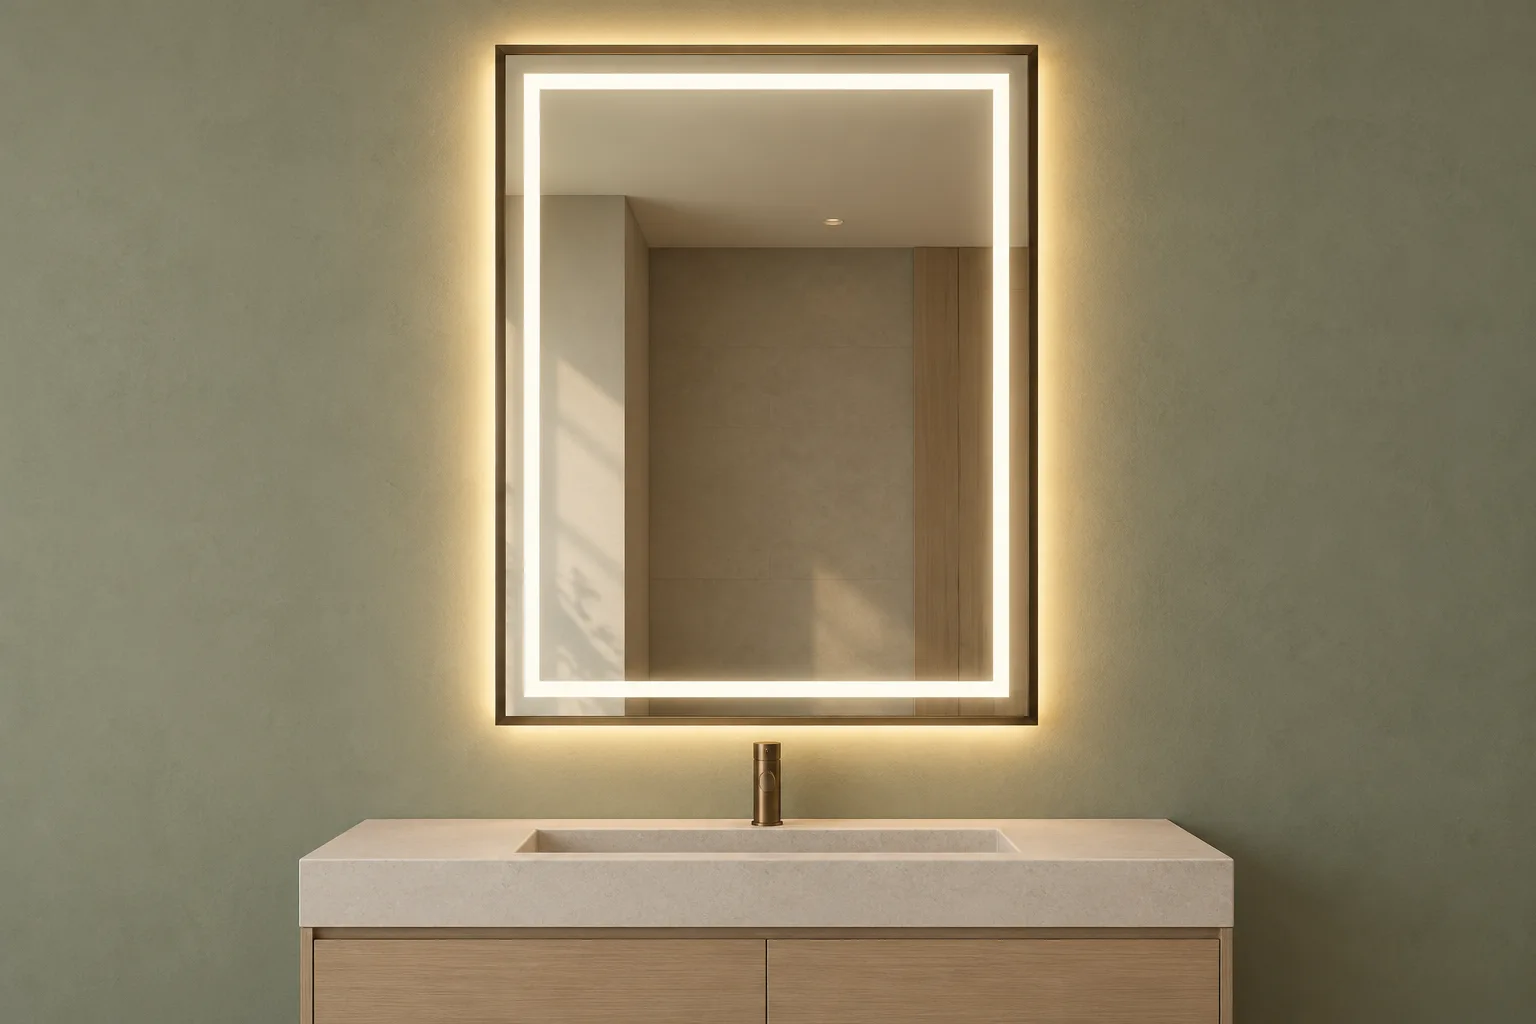
Combined-light concept with a luminous front band and a separate rear wall halo

Front light + backlight

Combine the two effects where the selected construction allows. Define whether they work together or need independent control.

Discuss: switching, dimming and preferred default state.

Color appearance

Compare the selected color temperature with the room's ceiling and accent lights. If adjustable color is requested, define the range and the setting residents should see at first use.

Dimming and controls

Choose mirror-touch or wall-control operation and confirm compatibility. Include power-off / power-on behavior in the sample review, especially for managed rental units.

Anti-fog and daily use

Confirm the heated area, how it is activated and whether a timer is required. Treat anti-fog, lighting and other controls as a defined combination for each unit tier.

Budget and scope

Value-engineered mirrors
for multifamily projects.

A useful cost review compares clearly defined alternatives. Keep the room dimensions and selected appearance visible while reviewing the construction, functions and delivery assumptions behind the quotation.

1. Group sizes that can genuinely repeat

Check whether similar bathrooms can use the same mirror dimensions and mounting arrangement. Retain separate sizes where vanity widths or wall clearances differ; do not standardize from approximate drawings.

2. Separate the base package from upgrades

Quote the standard configuration first, then price each upgrade against its own room quantities. These are planning directions, not fixed product bundles; availability and compatibility depend on the selected construction.

Essential
A non-lighted frameless base; confirm dimensions, edge treatment, backing and mounting.
Comfort
Compare an LED mirror with one agreed lighting and control arrangement; price optional functions separately.
Premium
Compare a coordinated frame, custom shape or separately specified mirrored cabinet against the base mirror.
3. Compare visible details with a physical reference

For an alternative frame or finish, compare profile width, corner construction, color and sheen. Approve a representative sample before accepting the alternative across a development.

4. Review delivery assumptions before comparing totals

Confirm whether quotations include the same packaging, labeling, spare quantities and shipment grouping. Discuss receiving dates and delivery terms separately so a lower product price does not conceal a different scope.

Make the brief usable

Give every variation
its own clear reference.

Use room references to connect drawings, quantities and carton labels. The examples below show a schedule format; dimensions and quantities should come from your project.

What to include with each room reference

Attach the current drawing revision and record the mirror size, orientation, quantity, frame finish and mounting method. For lighted models, add voltage, cable exit, lighting and controls; for cabinets, add body depth, door handing and recess details. Include the destination, carton references and required receiving phase. Mark undecided items as “to confirm” rather than guessing.

Example schedule structure — illustrative room references
Room referenceMirror directionRecord for quotationSite coordination
A · Standard bathroomRectangular LED mirrorW × H, quantity, lighting and controlsVanity centerline, cable exit and fixing
B · Primary bathroomTwo framed mirrorsSize of each mirror, pair count and finishBasin centers, gap and power if lighted
C · Compact ensuiteMirrored medicine cabinetFace size, body depth, doors and storageRecess feasibility, handing and opening clearance
D · Dressing areaWall-mounted full-length mirrorOverall size, frame and backing requirementDoor swing, usable wall and mounting direction

Send the information you already have.

A marked-up elevation, room schedule or finish reference is enough to begin a review. Keep unknown items visible so they can be resolved before the sample is approved.

Start a schedule review
Evidence for the procurement file

Project references.
Model-specific proof.

Compare references by building type, mirror construction and delivery scope—not by a room image alone. Request permission-cleared records relevant to your proposed package.

PROJECT REFERENCES

Match the reference to the scope.

Review the project library, then ask for the supplied product, approved specification and relevant installation or delivery records.

Browse project references →
MANUFACTURING & QC

Approve what will be checked.

Agree checks for dimensions, visible edges, finish consistency and ordered functions. Request dated sample and inspection records tied to the model and drawing revision; do not substitute a generic factory photograph for a batch record.

ELECTRICAL DOCUMENTS

Check the actual model scope.

State the destination country and project requirements. Review the relevant model identification, electrical configuration and supporting documents before approval. A certification logo on another product is not evidence for this one.

From sample to repeat production

Approve the room.
Keep the reference.

A sample review is more useful when it ends with a recorded decision. Agree on who signs off each item and use the approved drawing revision and finish reference for the next phase.

  1. 01 Brief
  2. 02 Specification
  3. 03 Sample approval
  4. 04 Production review
  5. 05 Phased delivery
DESIGN REVIEW

Look at the complete composition.

Check mirror proportions against the vanity, frame color against the hardware, and the appearance of the light line under the intended room lighting.

Keep: the finish reference, approved drawing and marked-up sample comments.

INSTALLATION REVIEW

Check the actual wall interface.

Review fixing access, wiring position, cable clearance and the space needed to install or remove the mirror. For cabinets, include door swing and recess details.

Keep: mounting details, electrical notes and installation responsibilities.

USE & HANDOVER

Confirm how it works every day.

Check switching, dimming, anti-fog activation and the preferred state after power returns. Align resident instructions with the controls actually supplied.

Keep: the approved function list and care or operation instructions.

Which records should support the selected mirror?

Agree on the documents and checks for the actual configuration before placing an order. Match model numbers and drawing revisions across the quotation, sample and supporting records.

Sample & finish

Request photographs of the actual sample, a dimensional drawing and the approved physical finish reference.

Model & inspection

Request applicable model-specific documents and an agreed inspection checklist covering dimensions, appearance and the functions ordered.

Packing & labels

Review the proposed protection, carton references and packing list. Agree separately on any packaging tests or shipment inspection records required.

Document availability and inspection scope depend on the selected configuration; confirm both during quotation.

Delivery and later phases

Keep the right mirror with the right room.

Confirm the packing and shipment plan before releasing the order. Installation teams need clear identification at carton level, while procurement needs an agreed record for changes, shortages and later orders.

Labels and delivery batches

Agree which references appear on cartons: project, building, floor, room type, mirror dimensions and quantity. Match the packing list to the approved delivery batches and receiving plan.

Receiving, damage and storage

Clarify the inspection and reporting process at receipt, including carton identification and photographs if an issue is found. Agree on site storage and handling arrangements before delivery.

Spares and future orders

Discuss whether spare mirrors or components are needed for the project. Record the model, drawing revision and finish reference; availability and compatibility for later orders should be reconfirmed.

Changes after sample approval

Record changes to dimensions, finish, lighting or controls before they enter production. Review their effect on samples, quantities, price, packing and delivery dates.

Practical project resources

Start with a useful
procurement file.

Download the planning files without registering. Complete what you know, mark open decisions TBC, and attach your schedule to the inquiry below.

PDF / CHECKLIST

Specification checklist

One page covering room fit, finishes, electrical review, sample approval and delivery records.

Download checklist ↓
EXCEL / EDITABLE TEMPLATE

Mirror schedule

Record quantities by room and phase, then use the model-review sheet to track requirements and evidence.

Download Excel schedule ↓
PDF / DESIGN COORDINATION

Installation reference

Front and side planning views identify the dimensions and interfaces to resolve. Not an approved model drawing.

Download coordination reference ↓
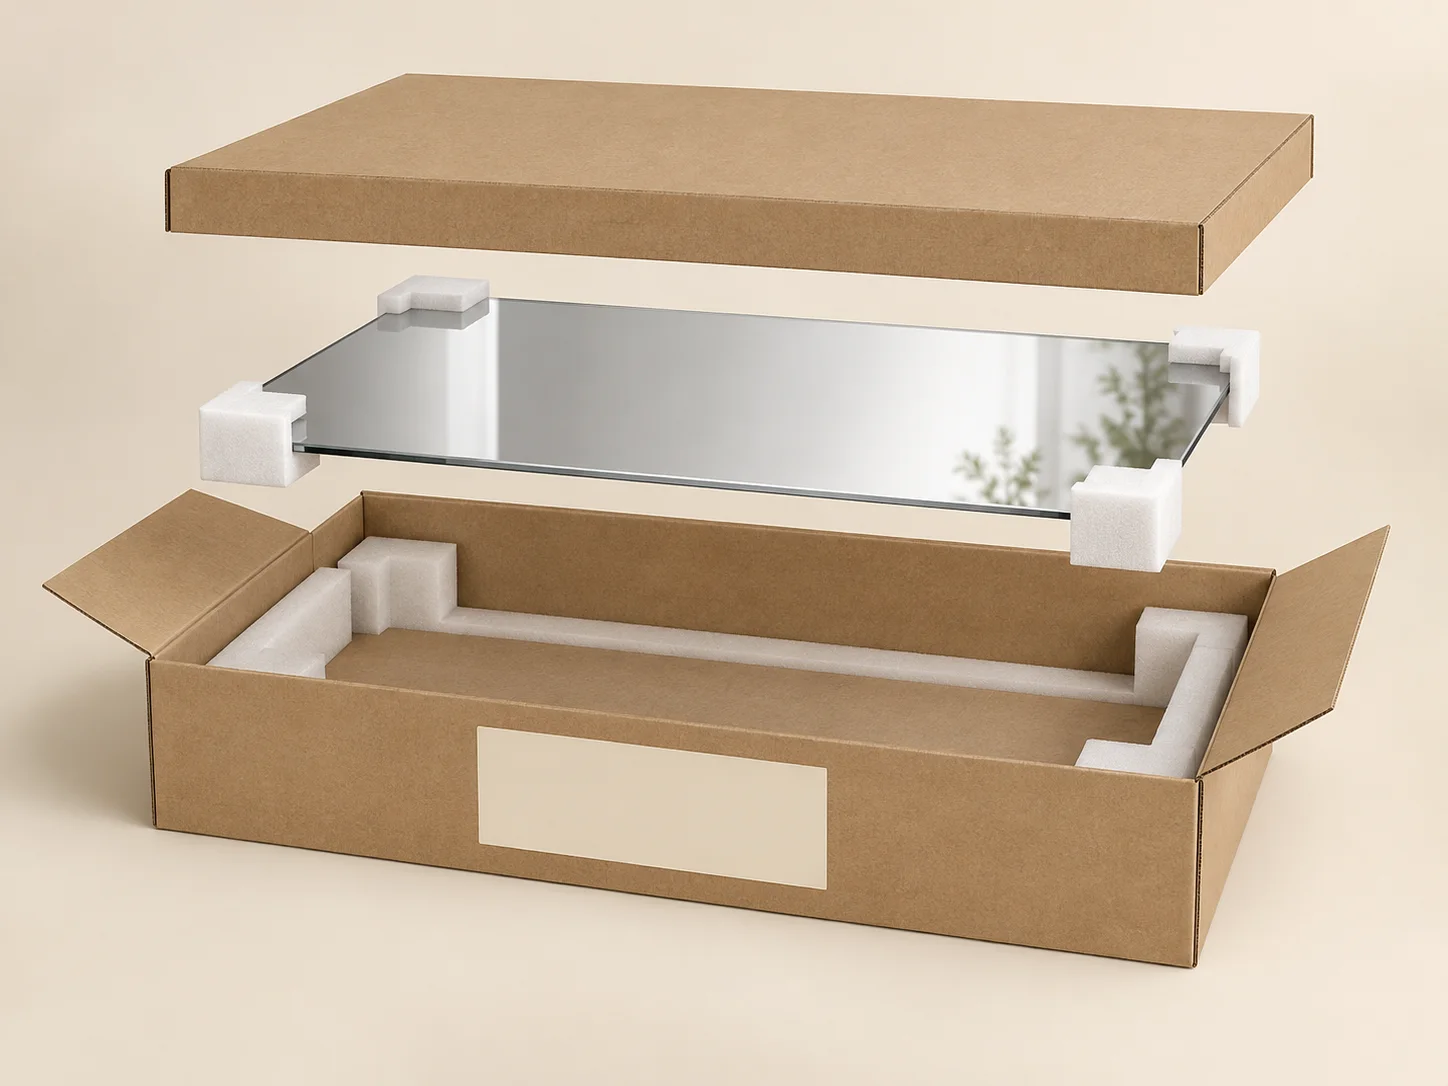
3D packaging concept showing a rectangular mirror, protective corner inserts, carton and separate lid
Packaging concept only. Confirm the actual packing design and any required testing for the selected mirror and transport route.
Plan the handover, too

Make every carton identifiable.

Agree project, building, room type, model and quantity references before packing. Keep the label format consistent with the mirror schedule and phased packing list.

At receipt, record carton condition and any damage with photographs and the relevant carton reference. Agree the inspection, reporting and replacement process in the order scope.

Include packing requirements in your inquiry →
Residential project questions

A few details
worth resolving early.

Start with the room and the project schedule. Product details can then be reviewed against a clear brief.

What should I send for an initial residential mirror quotation?

Share the residence type, mirror sizes or drawings, estimated quantities, destination country and preferred appearance. A room schedule is useful, but an elevation or reference image can also start the review. Identify which details are still open.

Can one design be used across several unit types?

A common appearance can often be developed in different sizes or finish options. Group each variation by room reference and confirm whether it can share the same construction, mounting and control system.

When should we choose mirror cabinets instead of flat mirrors?

Consider a cabinet when storage near the vanity is part of the room brief. Review wall depth, services, door swing and projection before choosing recessed or surface-mounted installation. A flat mirror may suit a bathroom whose storage is already provided elsewhere.

Should a double vanity use one wide mirror or two separate mirrors?

Compare basin centers, wall width, nearby lights and the intended appearance. One wide mirror needs a handling and fixing plan for its overall size. Two mirrors require a defined gap and coordinated connections where lighting is included.

Can standard and premium units have different features?

Define a base package first, then record each upgrade by unit type. Size, frame finish, lighting, controls and cabinet storage should be listed separately so the difference in scope can be quoted and approved.

How can we review cost without losing the design direction?

Compare the effect of repeated sizes, common frame profiles, lighting choices, controls and packing. Keep the dimensions and visible details that matter to the room design, and review proposed changes against the actual project brief.

What should be approved in a sample or mock-up room?

Review overall dimensions, finish, light appearance, controls, wiring and mounting fit. Include cabinet door clearance and storage layout where applicable. Record the approved drawing revision and any changes needed before repeat production.

What are the minimum order quantity and lead time?

Both depend on the construction, size mix, finish, quantity and packaging requirements. Request sample and production timing separately, and provide the target receiving date so the proposed schedule can be reviewed.

How are electrical requirements and documents confirmed?

Provide the destination market and project requirements. The proposed voltage, connection, driver and controls must be reviewed for the selected configuration. Ask for documents that match the actual model rather than relying on a general product description.

Can deliveries be arranged by building or handover phase?

Discuss the quantities, receiving dates and shipment groups before order confirmation. Agree on carton references and packing lists that allow site teams to identify each building, room type and installation area.

Can we plan replacement mirrors or components?

Include the maintenance approach in the project brief. Spare quantities, replaceable components and future availability need to be agreed for the chosen construction; retain the approved drawings and finish references for later review.

How do we coordinate mirror finishes with faucets and cabinetry?

Send a physical finish reference where possible, together with the target profile and sheen. Confirm who approves the sample and view it with adjacent room materials. Similar finish names from different suppliers should not be treated as an exact match.

What if the room drawings are not final yet?

Share the current revision and identify dimensions or quantities that may change. A preliminary comparison can define the options to review, while the final quotation and production release should use the confirmed room schedule and approved drawings.


Send the project, not just a contact request

Get your residential
mirror scope reviewed.

Send the sizes and quantities you know. We can review the product family, missing decisions and documents needed for a quotation.

  • Room schedule or elevation, if available
  • Destination and target receiving date
  • Finish, lighting and storage priorities

Not ready to send? Prepare a brief first →

Model specifications, compliance documents, minimum quantities and timing are confirmed for the proposed configuration. No standard lead time is implied.

We use these details to review and respond to your inquiry. Privacy policy. Keep a copy of your submitted requirements.

Start with what you know

Request a custom
residential mirror quote.

Tell us which rooms matter, what residents should find easier and the information you have today. Room selections from this page will appear in your brief.

Useful for a first review
  • Residence type and destination
  • Room references, approximate sizes and quantities
  • Lighting, storage or finish priorities
  • Target receiving date and open decisions

Drawings are not final? Say which details may change.

Prepare a brief here, then transfer it to the project inquiry above. Preparing a brief does not send it.

Prefer to write directly?
info@ojmirror.com

Project brief builder

Bring your room choices together.

Prepare a draft, then open it in your email app or copy it into your inquiry. This builder does not submit a form.

Nothing is sent by this builder. Review and send the prepared draft in your email app, or use the separate inquiry form. For long briefs, copy the text and attach drawings in your email to info@ojmirror.com.

WhatsApp